
Overview
The articles module can have either a simple workflow or an approval workflow process. For the majority of partners, the simple workflow process should be the most efficient approach for their entity. The approval workflow process would be used in cases where there are some users who can write articles, but they should not publish articles. In the approval workflow, there would be users who review and then publish the articles.
Also to consider here are the use of translators in the workflow process. Translators should have a group of their own, which can be for all languages or for specific languages.
How to
Note: This article assumes one has already reviewed the article on Creating user groups and is familiar with the steps to create a new user group. See the reference to Creating user groups below if needed.
Simple workflow
The simple workflow is for the case where users can write and publish their articles to the website. They are also allowed to use the Articles Discover tab to search for articles from other entities and publish those articles to the website as well.
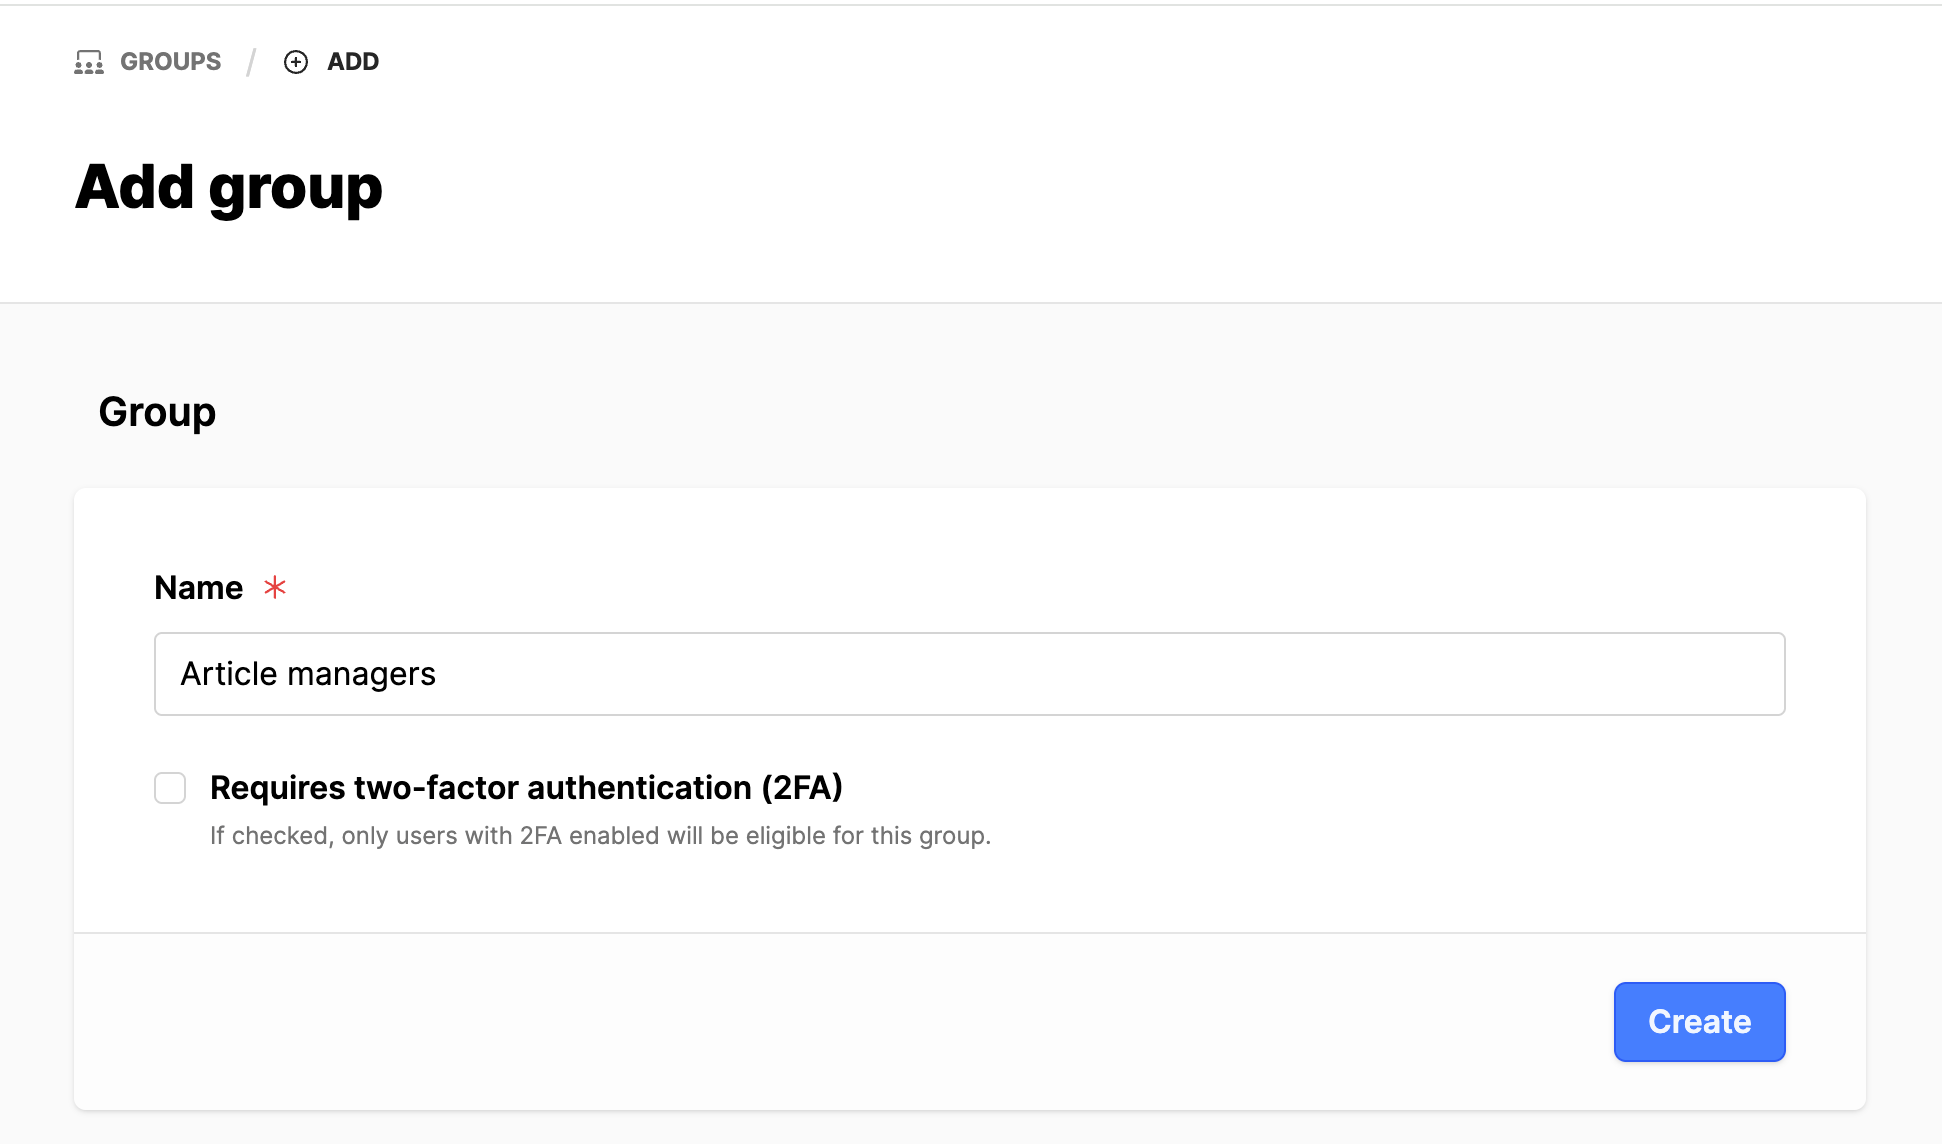
- Under the Admin Area, in the Groups submodule, click on the Add group button.
- In the Add group interface, Name: Article managers.
- Click on the Create button.
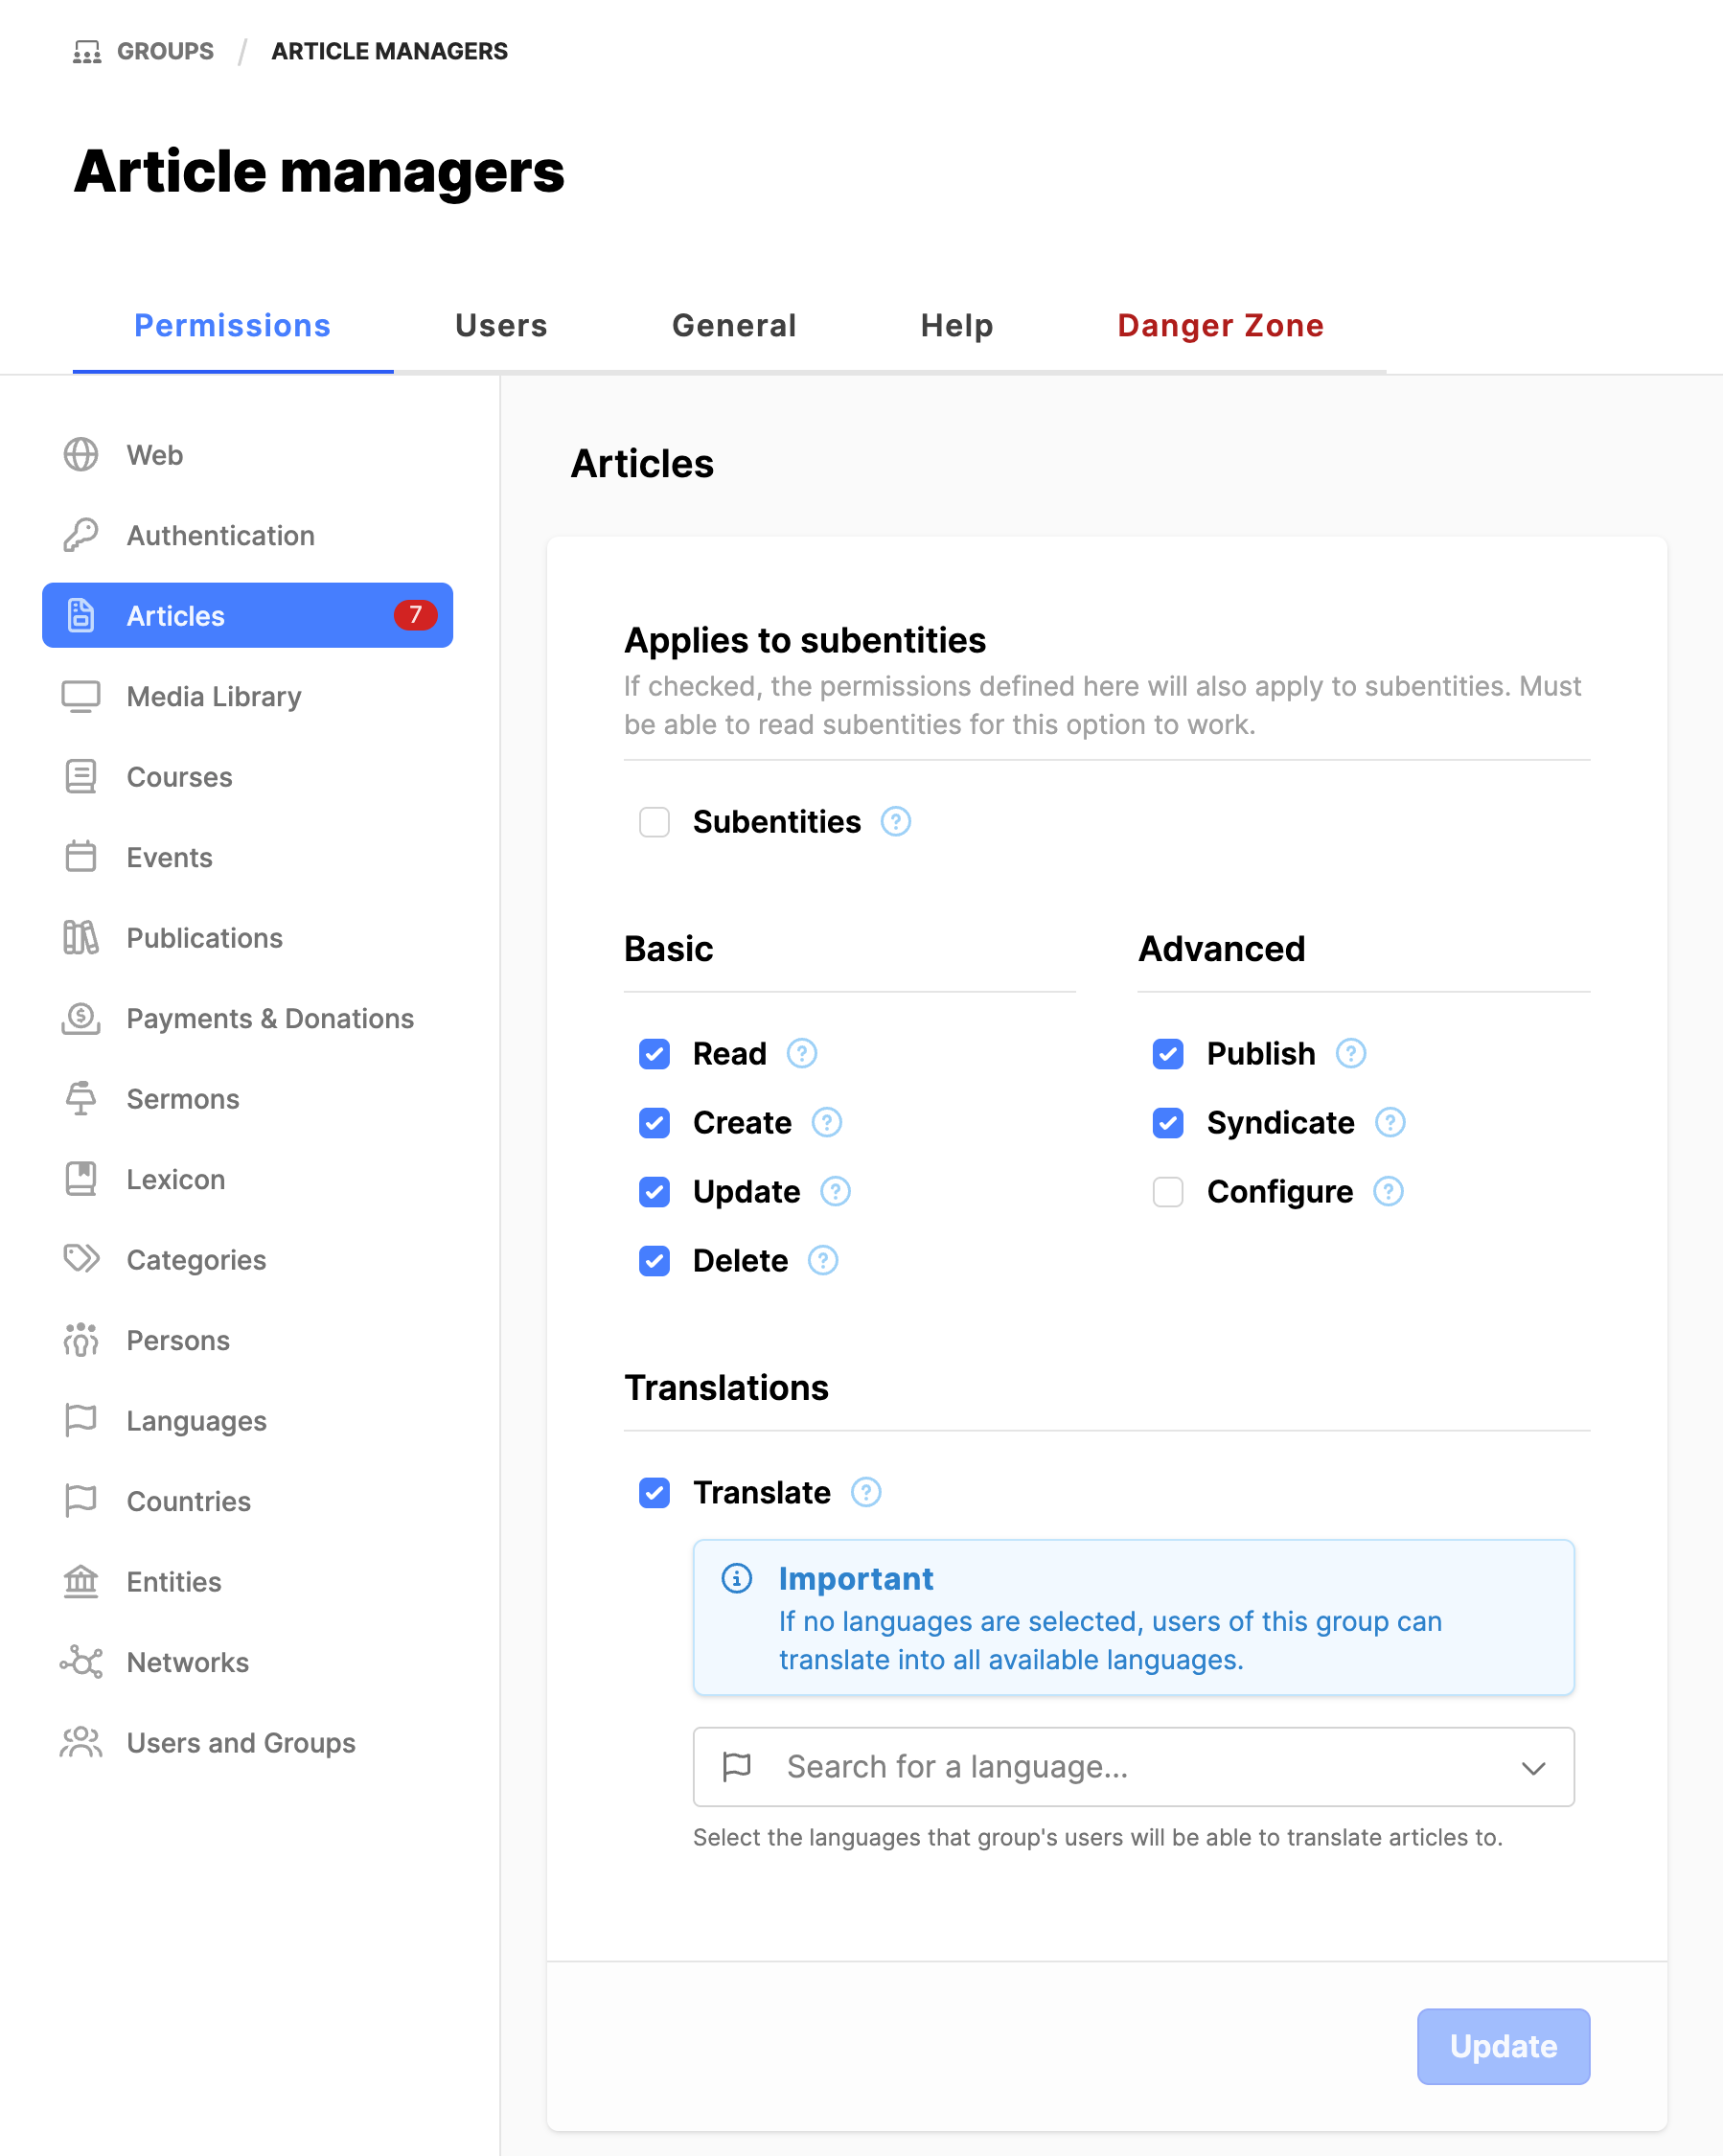
- In the new group, Article managers, click on Articles under the Permissions tab.
- Set the following checkmarks:
- Basic:
- Read
- Create
- Update
- Delete
- Advanced:
- Publish
- Syndicate
- Translations:
- Translate
- Click on the Update button.
- With this, the rights for the group are established.
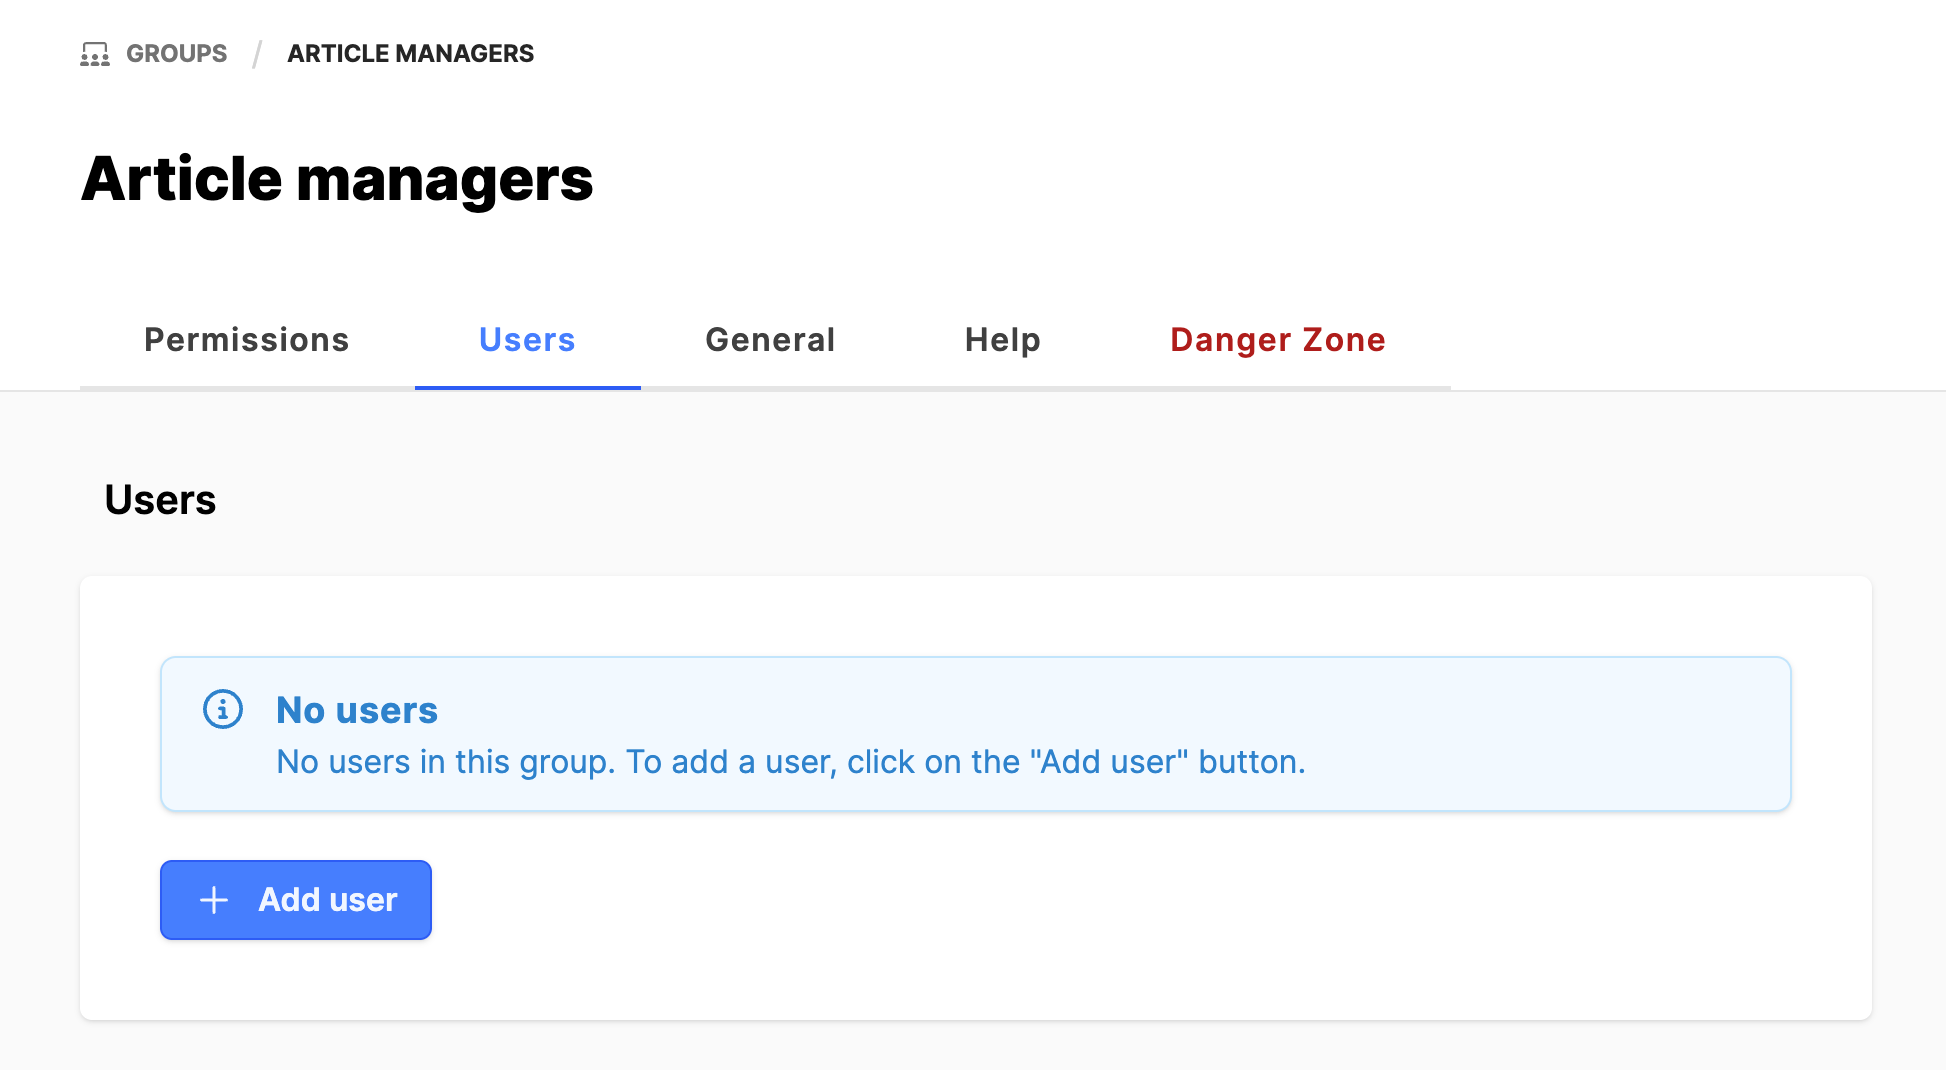
- If you are ready to add users to the group, click on the Users tab.
- Click on the Add user button.
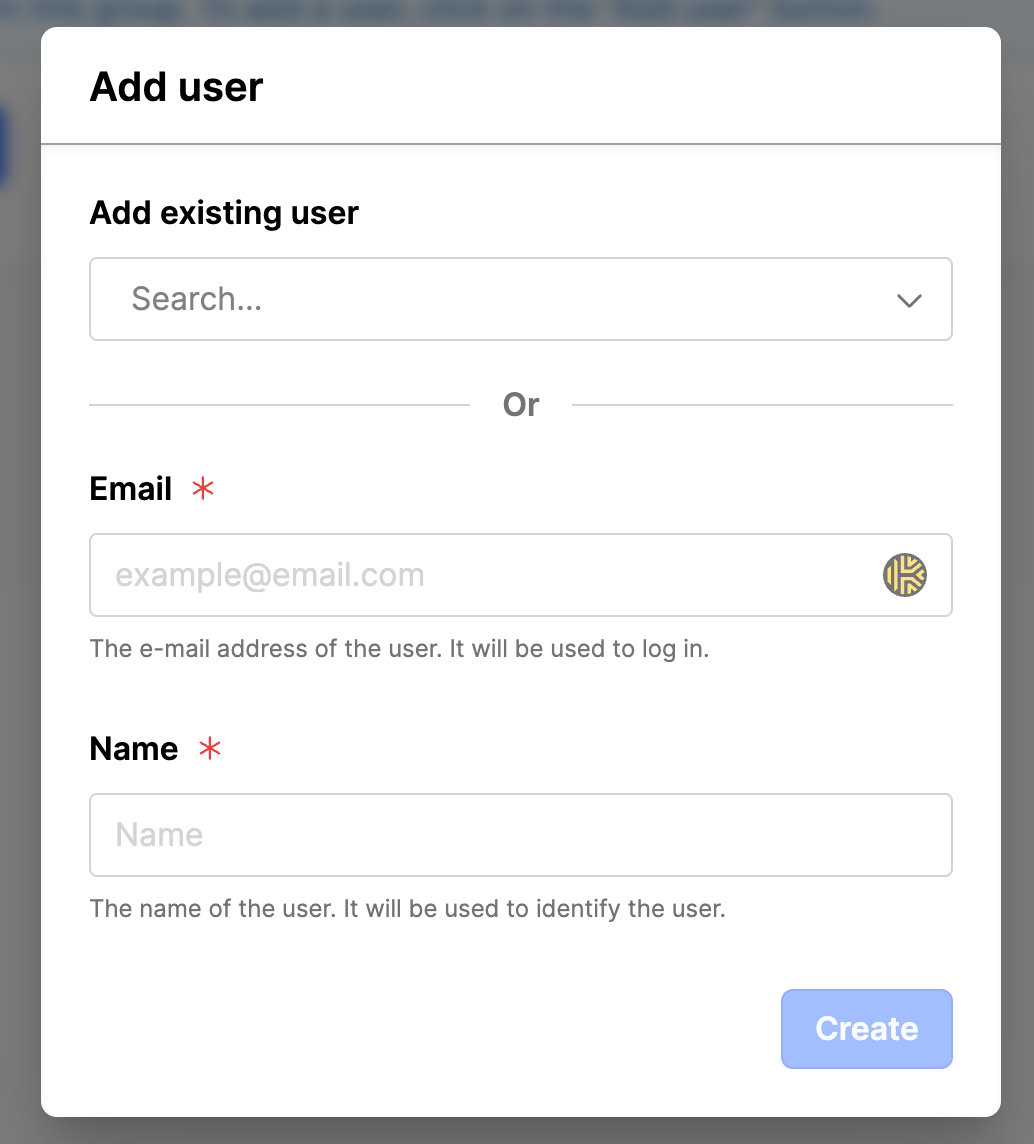
- Either use the Add existing user field to search for an existing user or create a new user by adding their Email and Name.
- Once the user is found in the list, or the email and name fields are populated, click on the Create button.
- The user's name will appear in the list of users in this group.
Approval workflow
The approval workflow is used when some users are in a group that is allowed to write articles but not publish the articles. A second group will review the written articles and then publish the articles to the website.
Note for the article authors group: Users in this group should only click on the Done button when they are completely finished with the article. Otherwise they should click Save as draft button and come back later to complete their work.
Create the Article managers group:
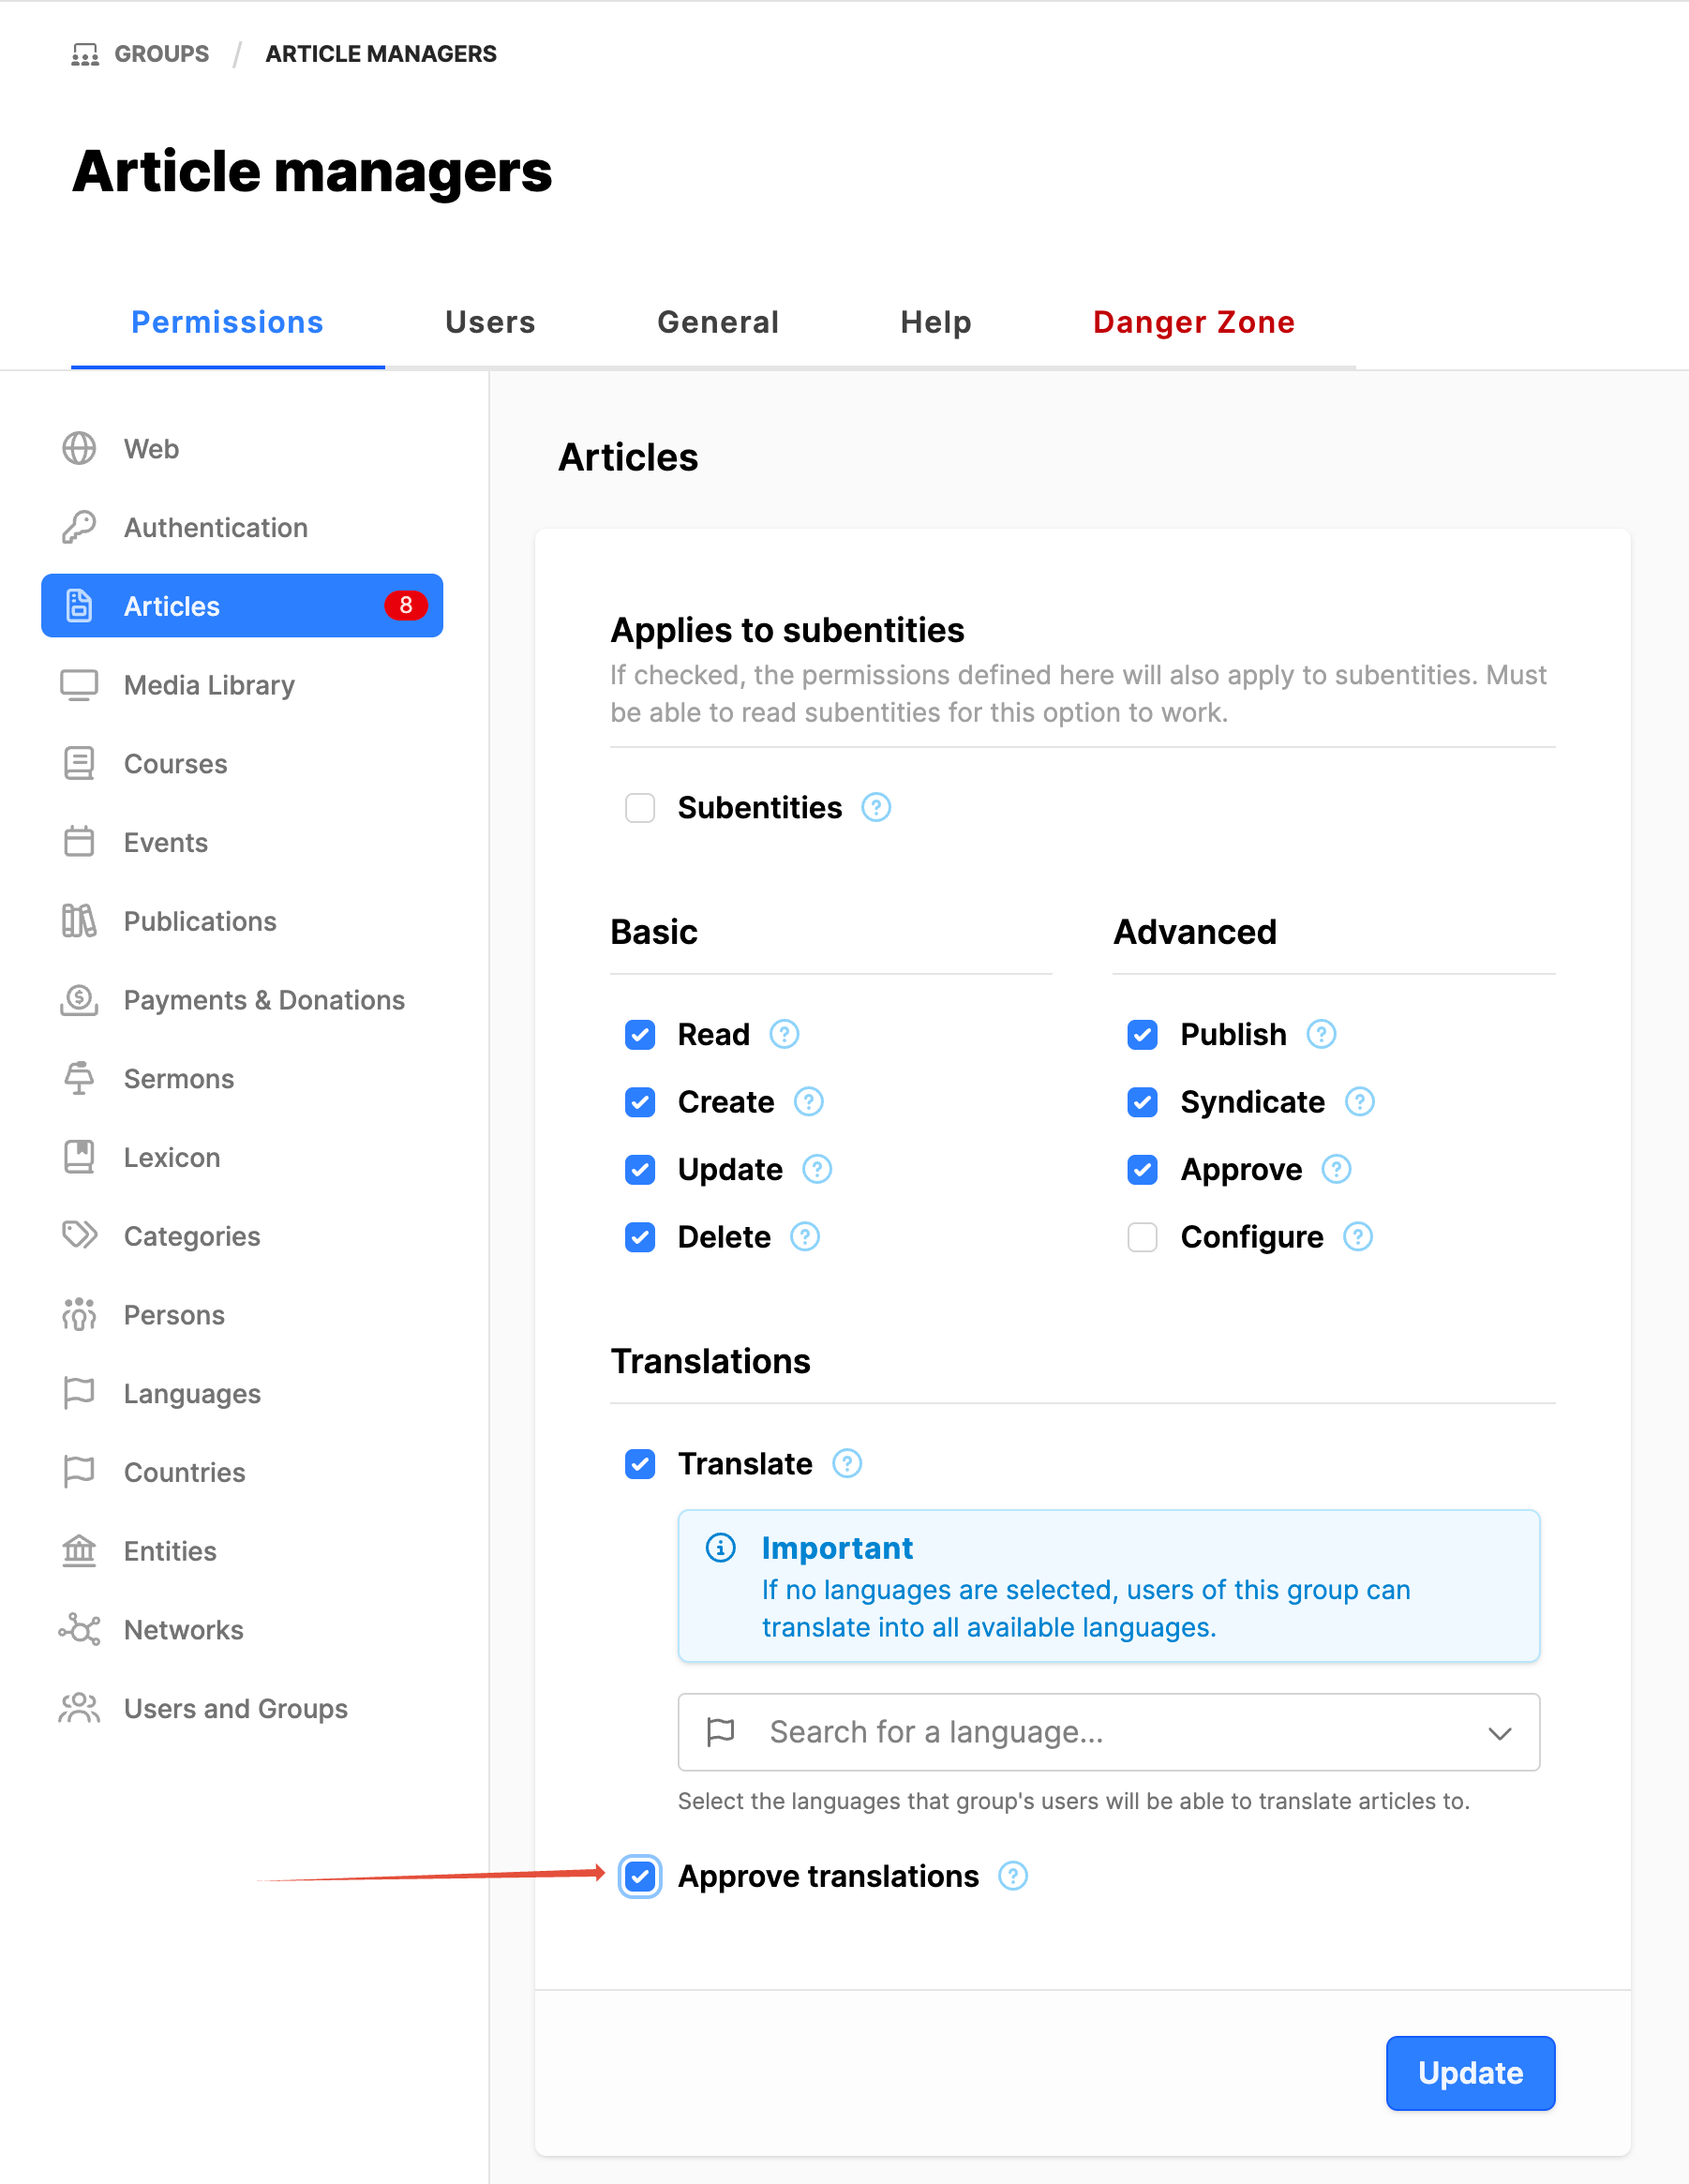
- Follow the instructions above, starting by clicking on the Groups submodule. Then click on the Add group button. Add a group with the rights of Article managers.
- Additionally, set the checkmark for the Advanced: Approve and the Approve translations fields. (If the Approve translations field is not visible, see below reference on Setup article workflow)
- Click the Update button.
Create the Article Authors group:
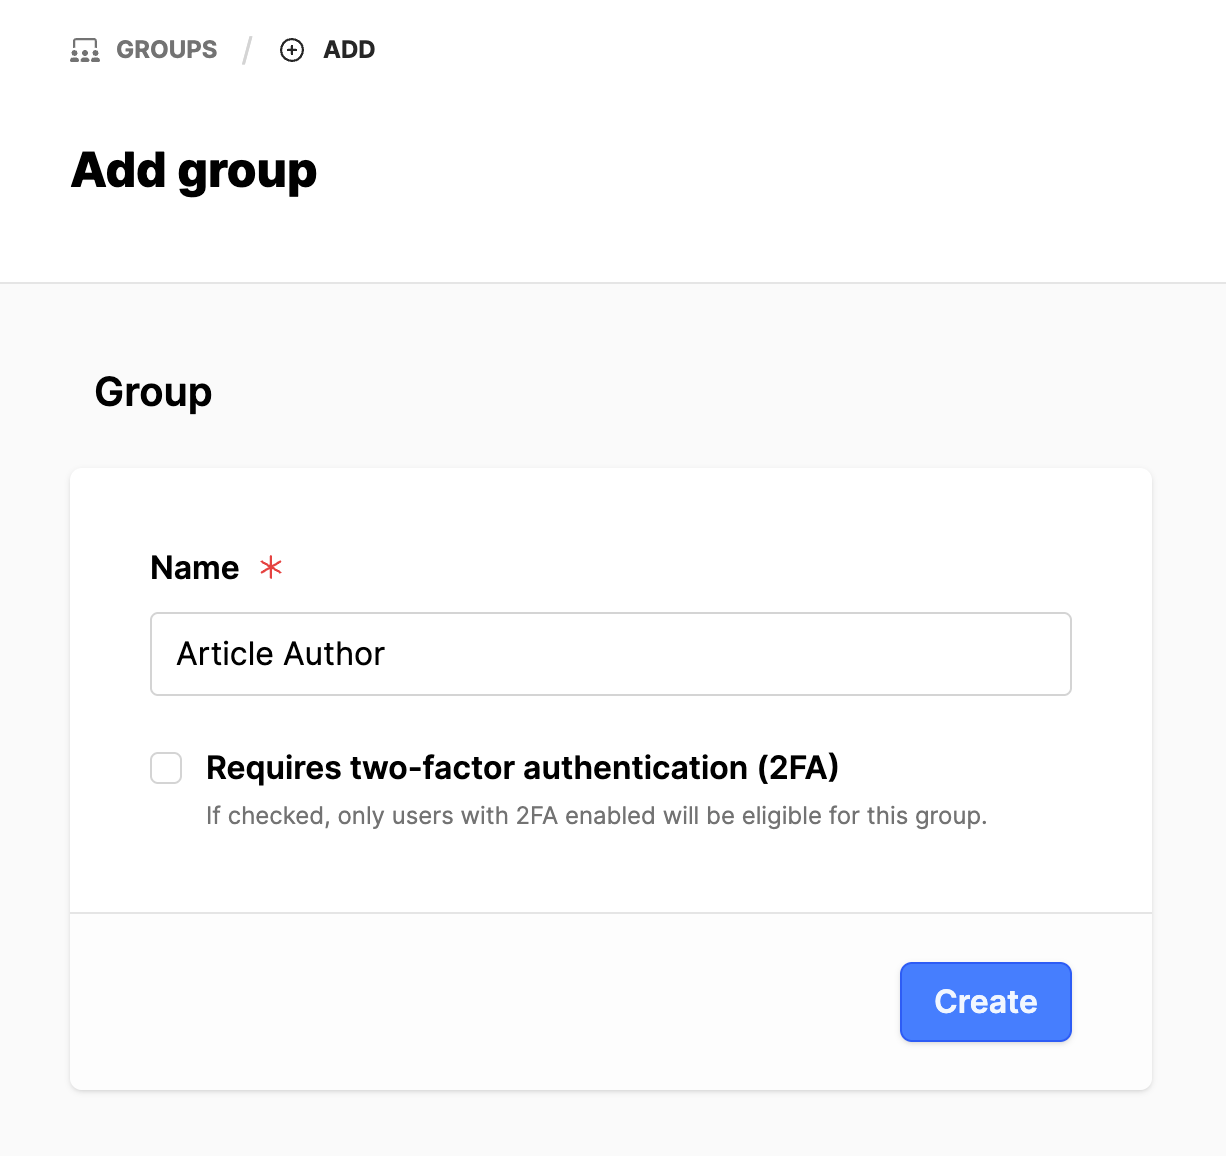
- Under the Admin area, click on the Groups submodule. Click on the Add group button.
- In the Add group interface, Name: Article Authors.
- Click on the Create button.
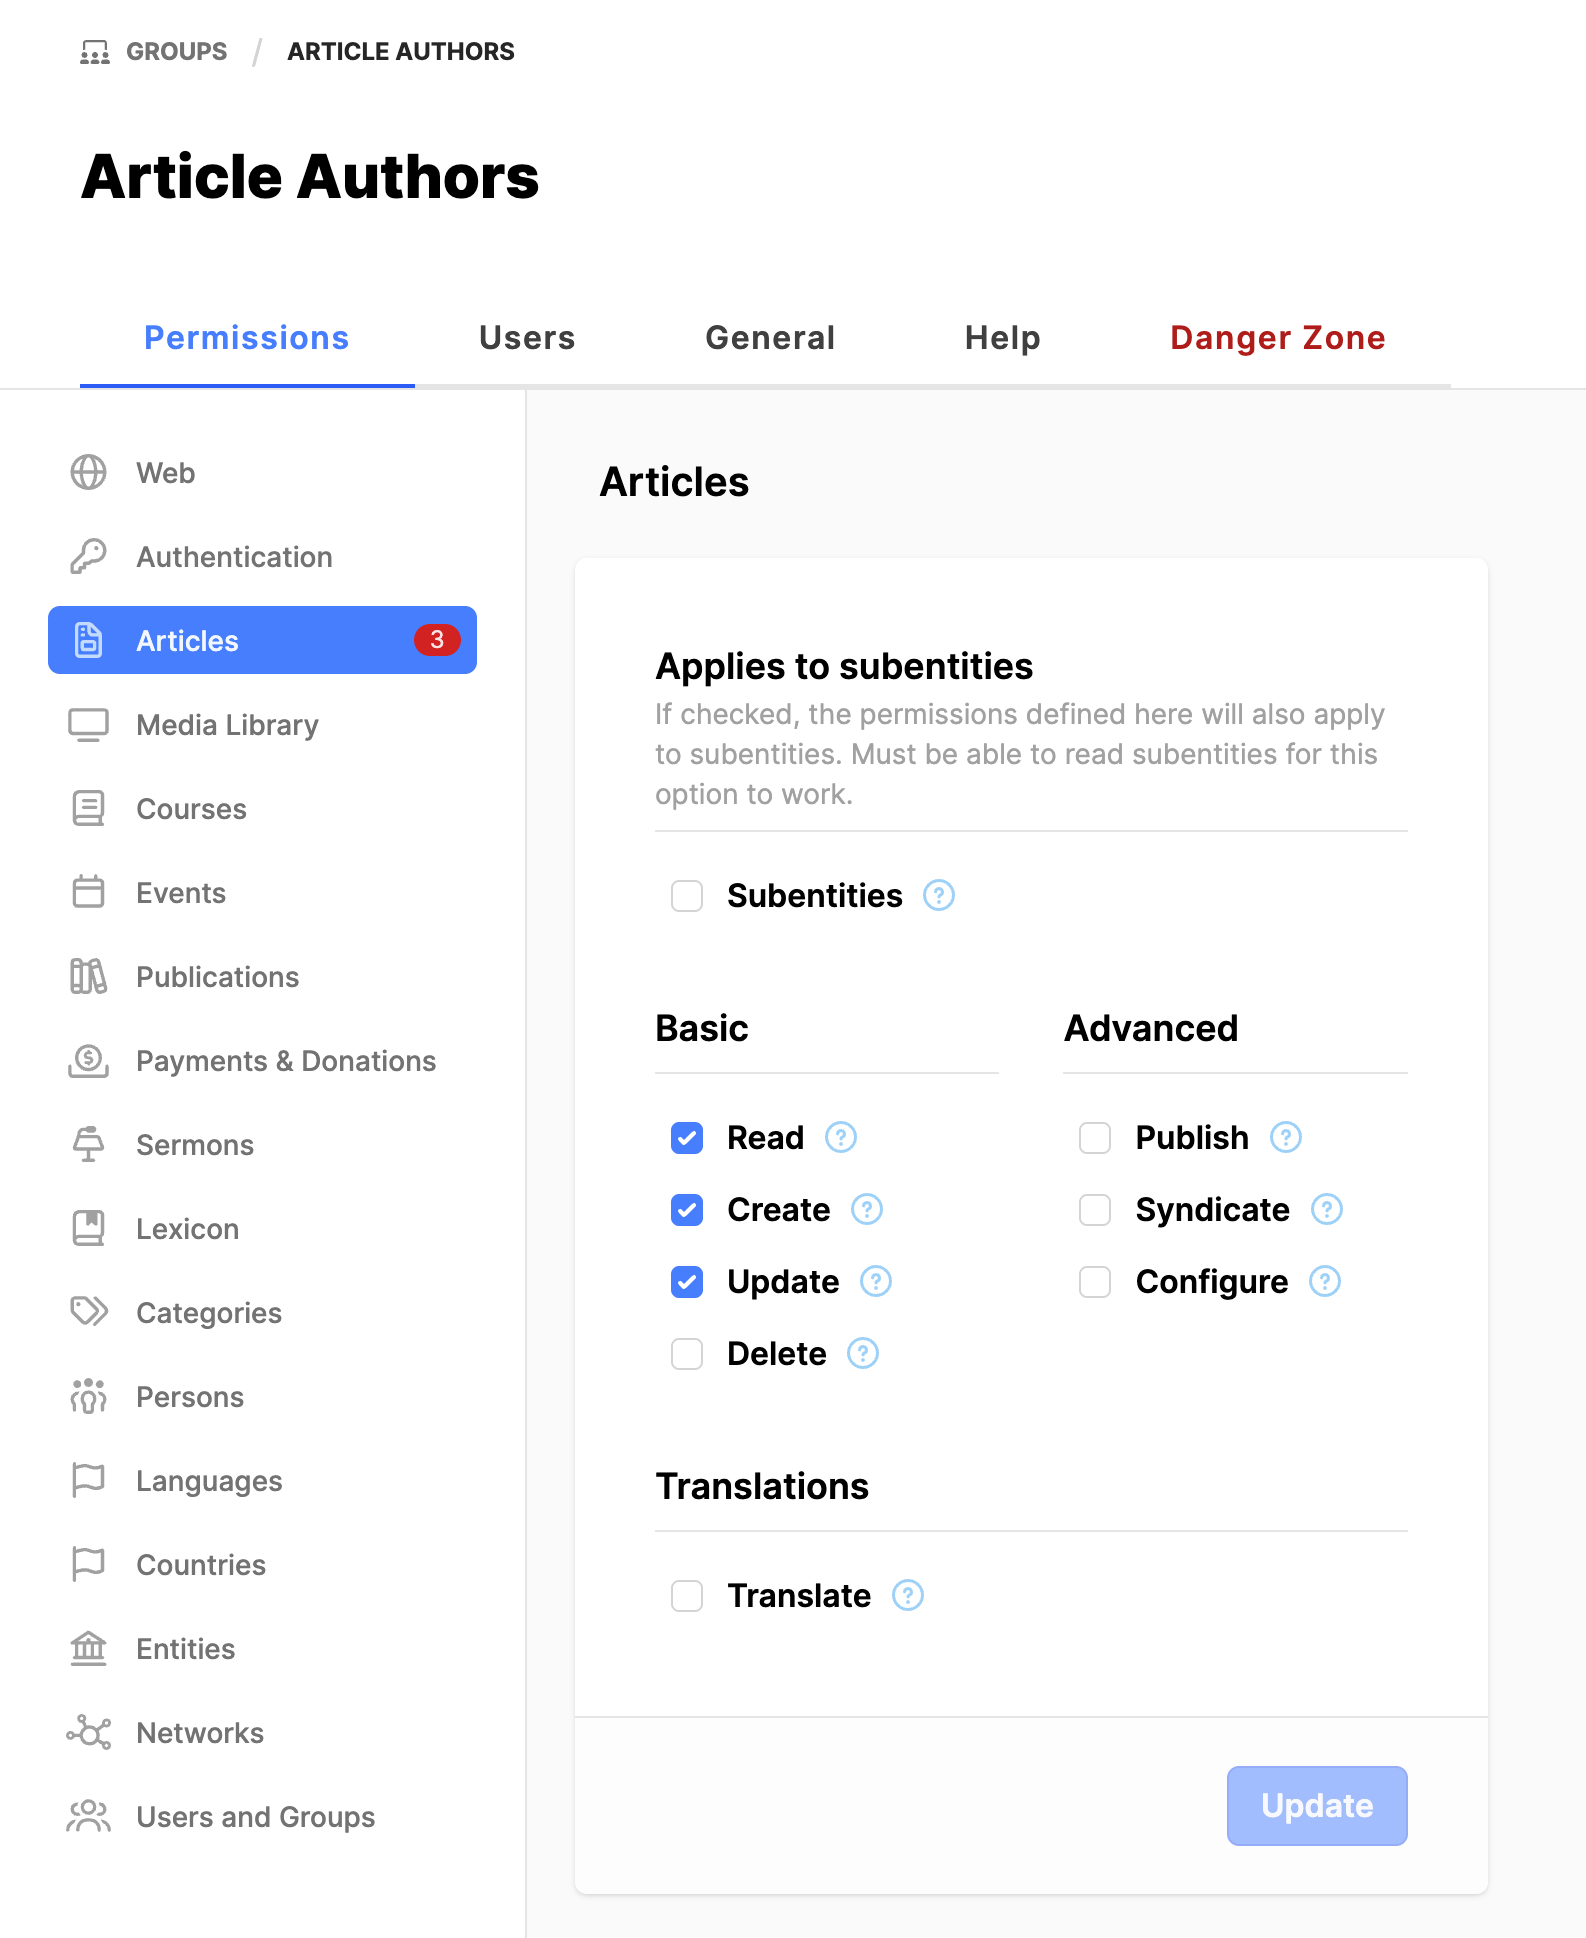
- In the new group, Article Authors, click on Articles under the Permissions tab.
- Set the following checkmarks:
- Basic:
- Read
- Create
- Update
- Click on the Update button.
- With this, the rights for the group is established.
- Follow the directions above under Article managers, to add users if you are ready to do that.
Translators
Note:
- Consider if the article must be approved, before translation starts.
- Consider what languages must be translated or is this a global group for users of any language.
- This only takes into consideration articles, not translation of the website also.
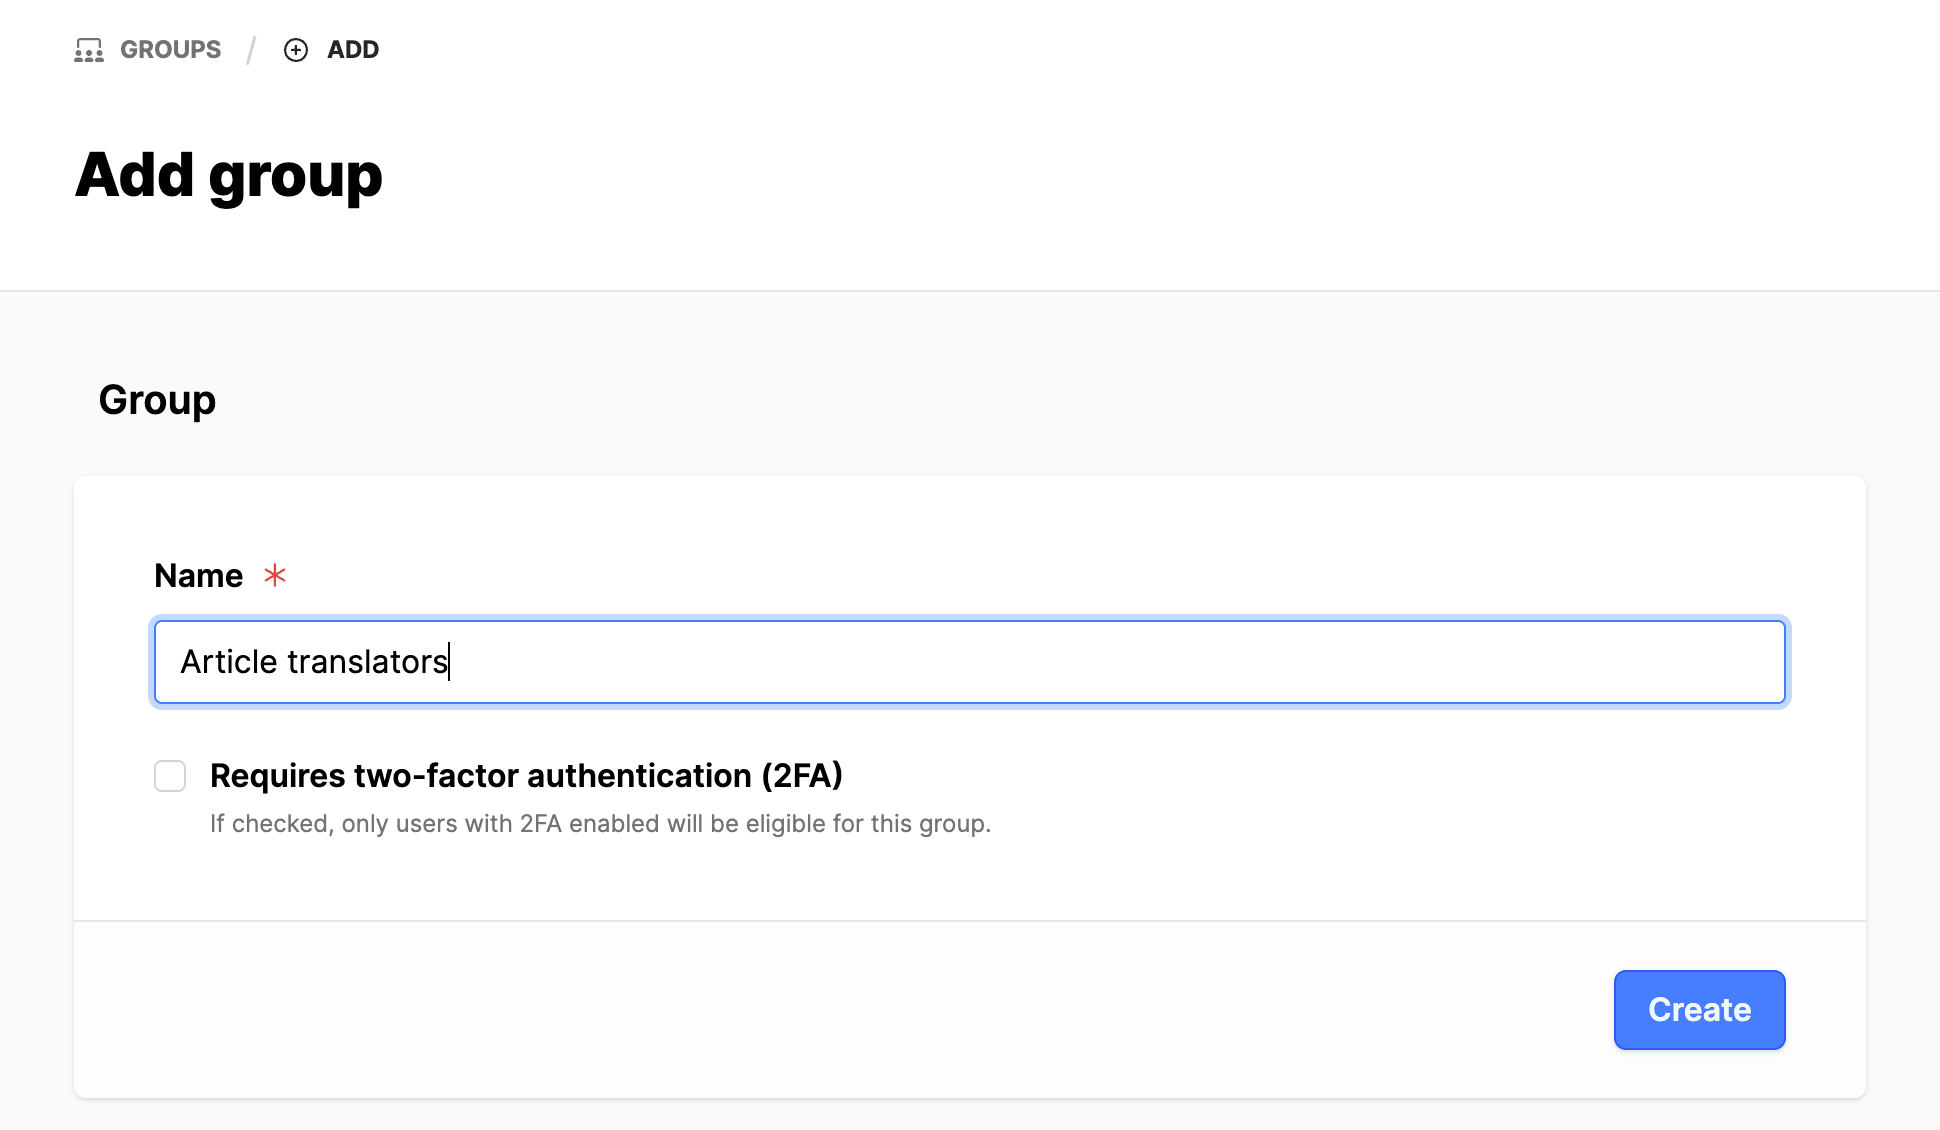
- Under the Admin area, click on the Groups submodule. Click on the Add group button.
- In the Add group interface, Name: Article translators.
- Note: Add language code to the group name if the group has rights only to specific languages.
- Click on the Create button.
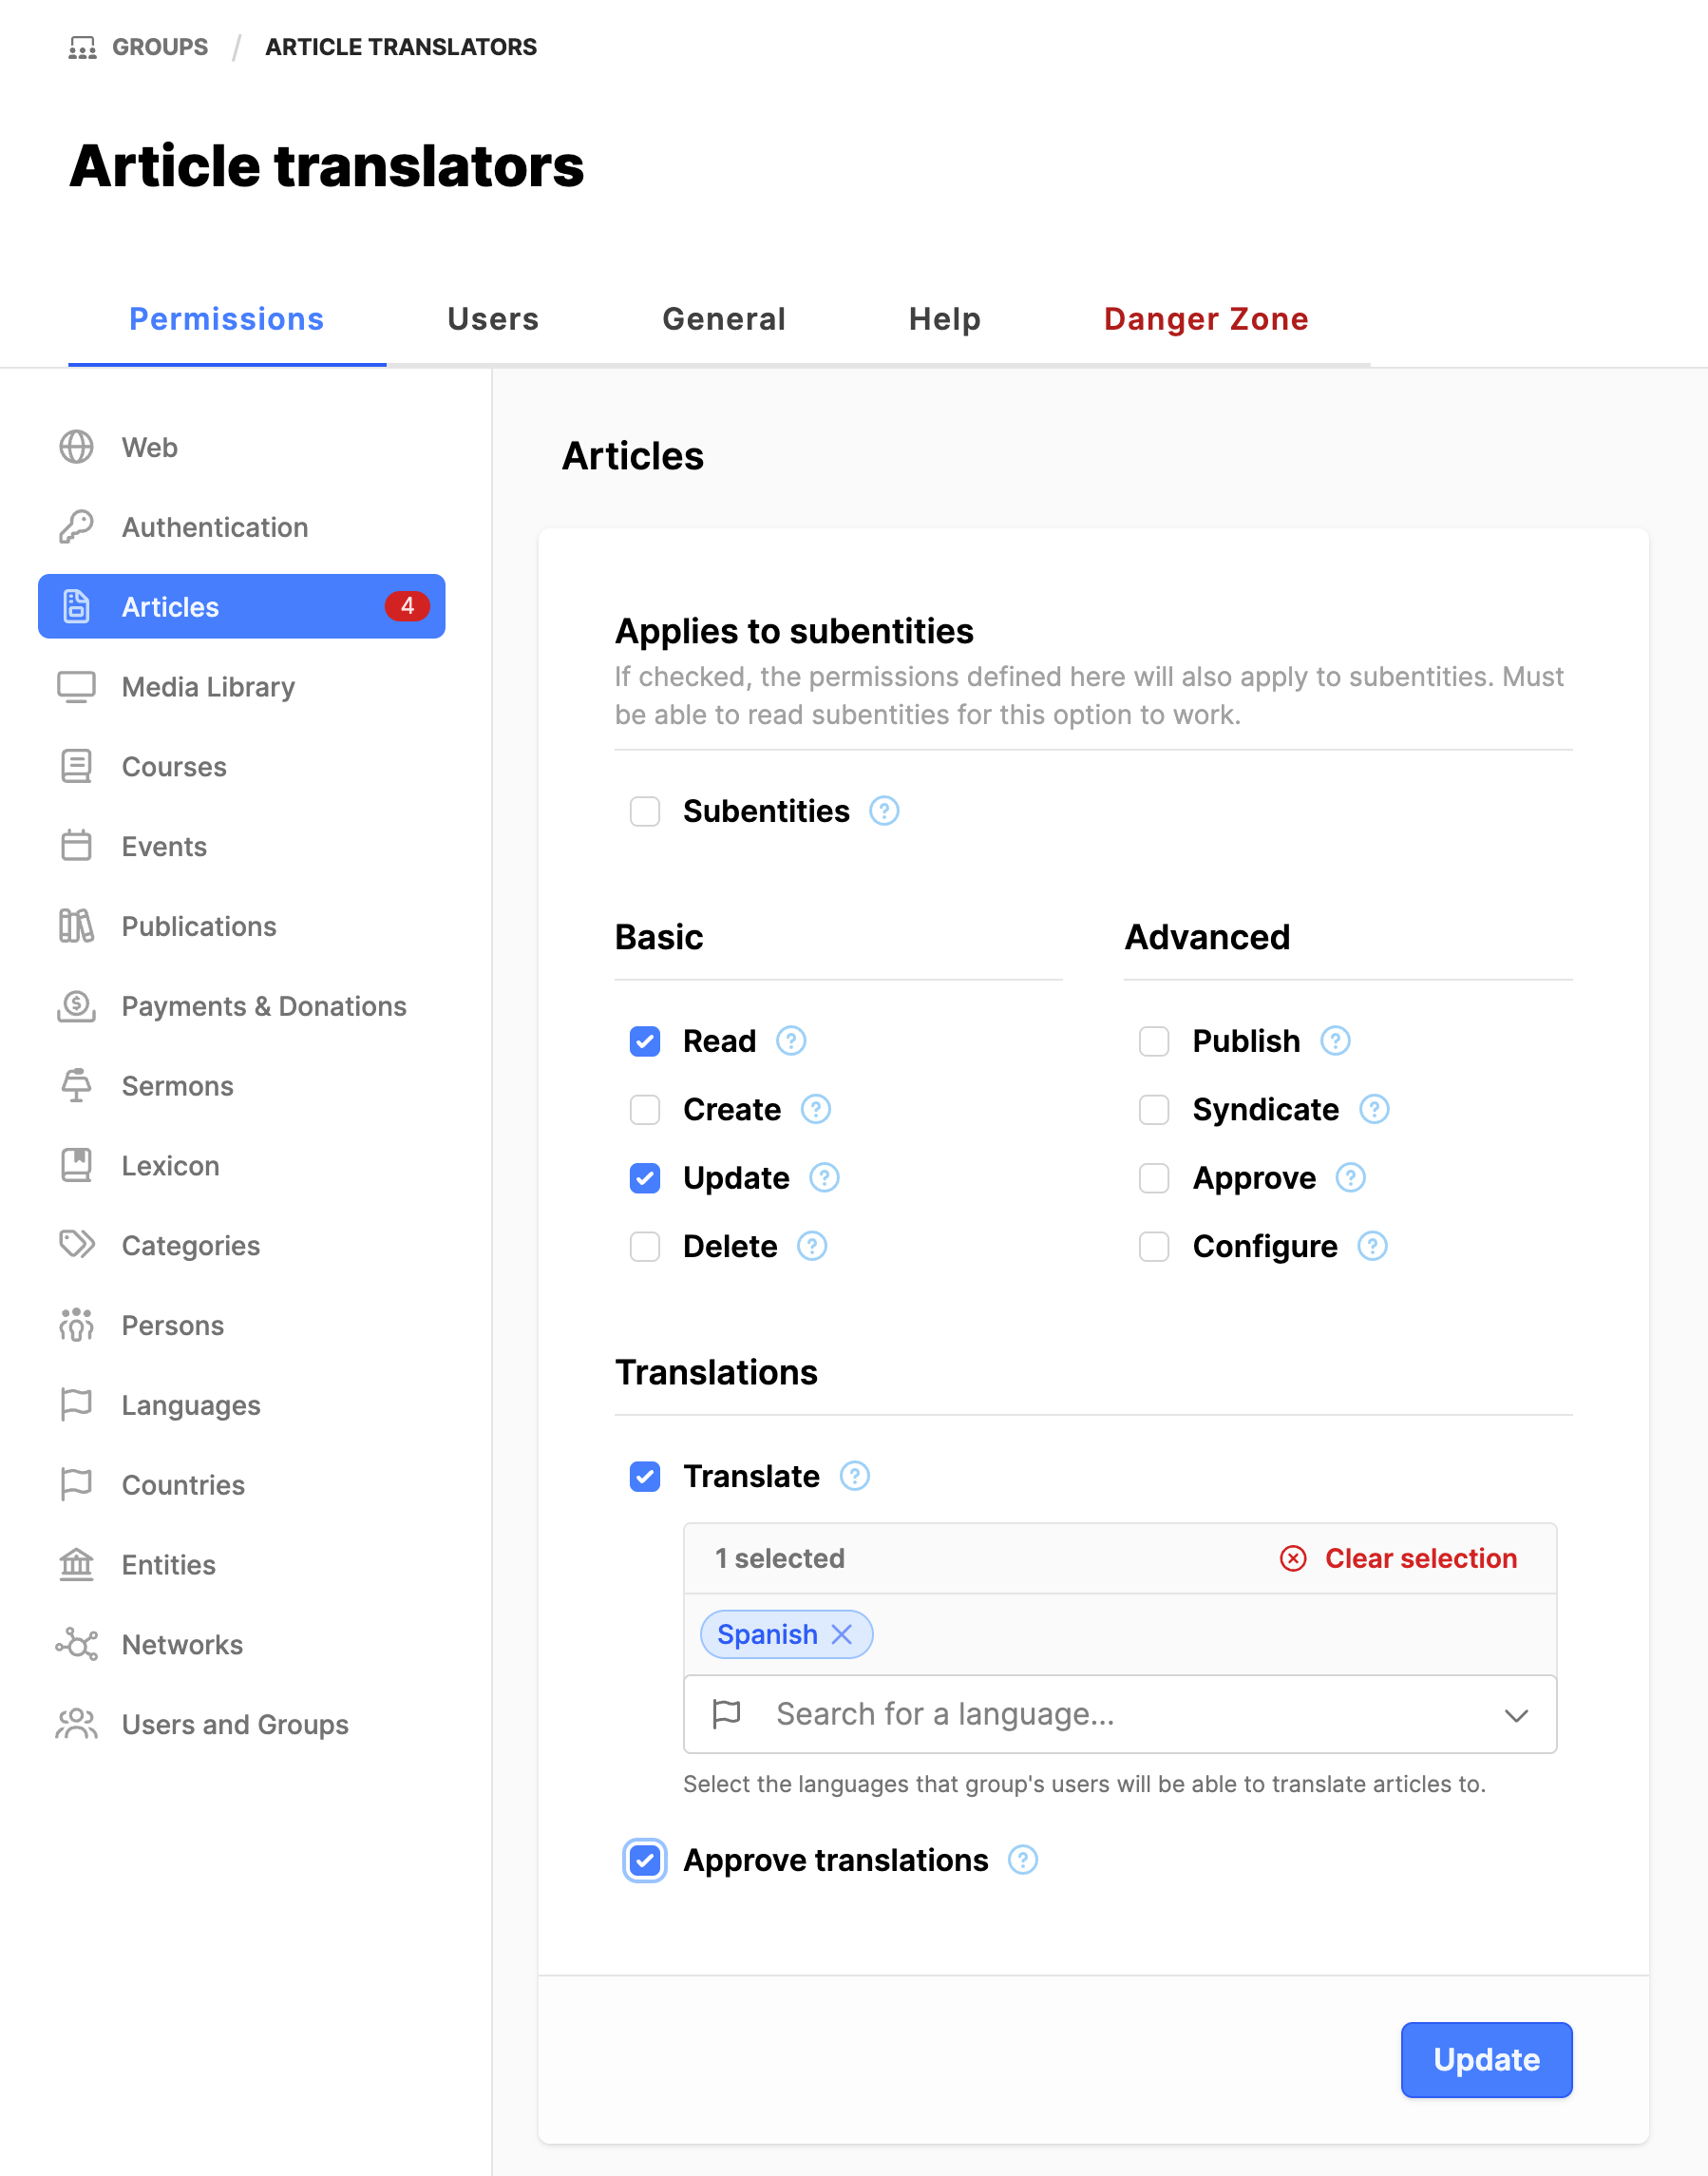
- In the new group, Article translators, click on Articles under the Permissions tab.
- Set the following checkmarks:
- Basic:
- Read
- Update
- Translations:
- Translate
- If the group is for all languages, don't add any languages.
- If the group is for one specific language, search for the language and add it to the group.
- Approve translations
- (If the Approve translations field is not visible, see reference below to Setup article workflow)
- Click on the Update button.
- With this, the rights for the group is established.