
Overview
This article covers creating a basic event for displaying it on the website frontend. It does not cover online registration. It simply covers getting information about the event onto the website to inform website visitors that an event is taking place. If the event should not appear in the frontend at the current time, disable it in the backend.
Note: As mentioned in article: Setup Events module in backend (READ FIRST), the organizers, regions and categories should be created before Events are created.
How to
Add Events
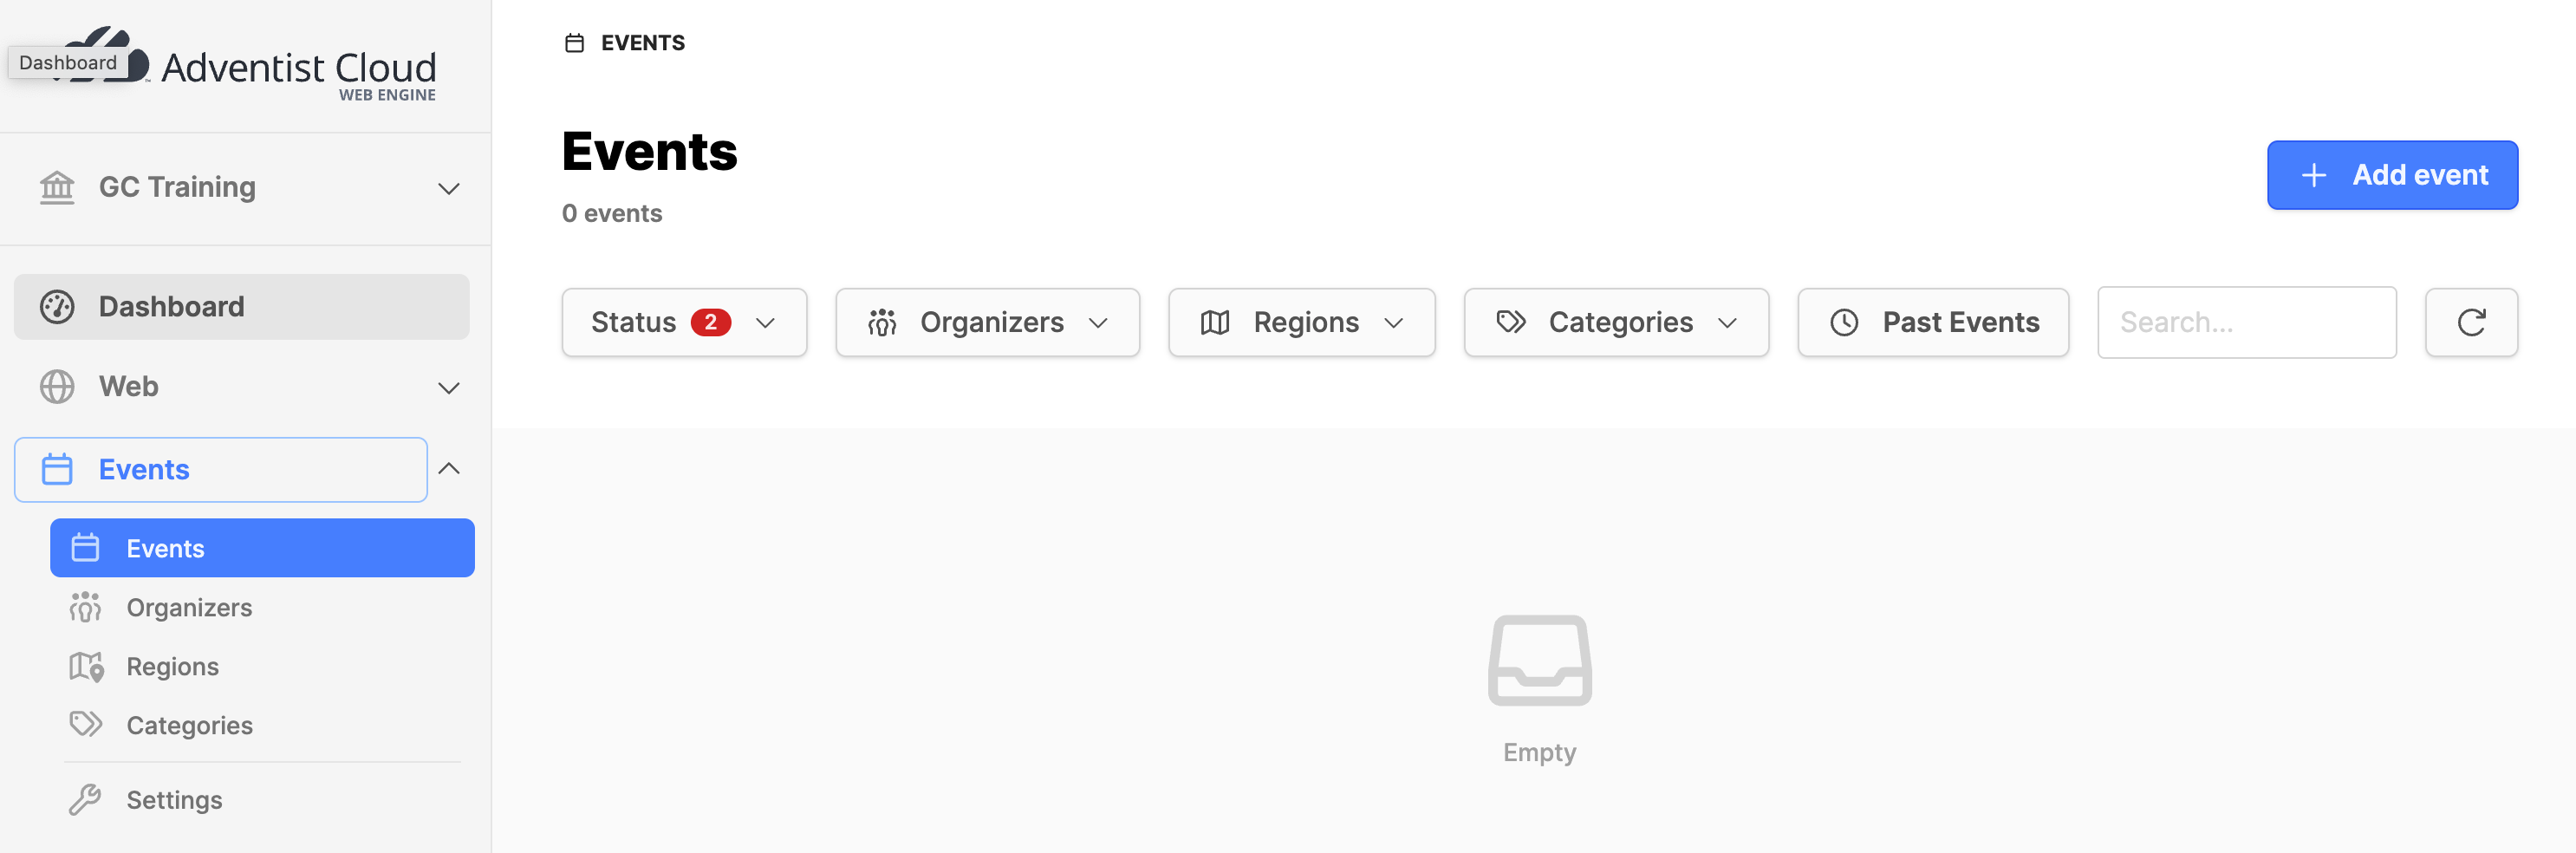
- Navigate to the Events module and expand it.
- Click on the Events submodule.
- Click on the Add event button in the upper right corner.
- Click on Add event in the modal box. (Clone Event will be handled in a different article)
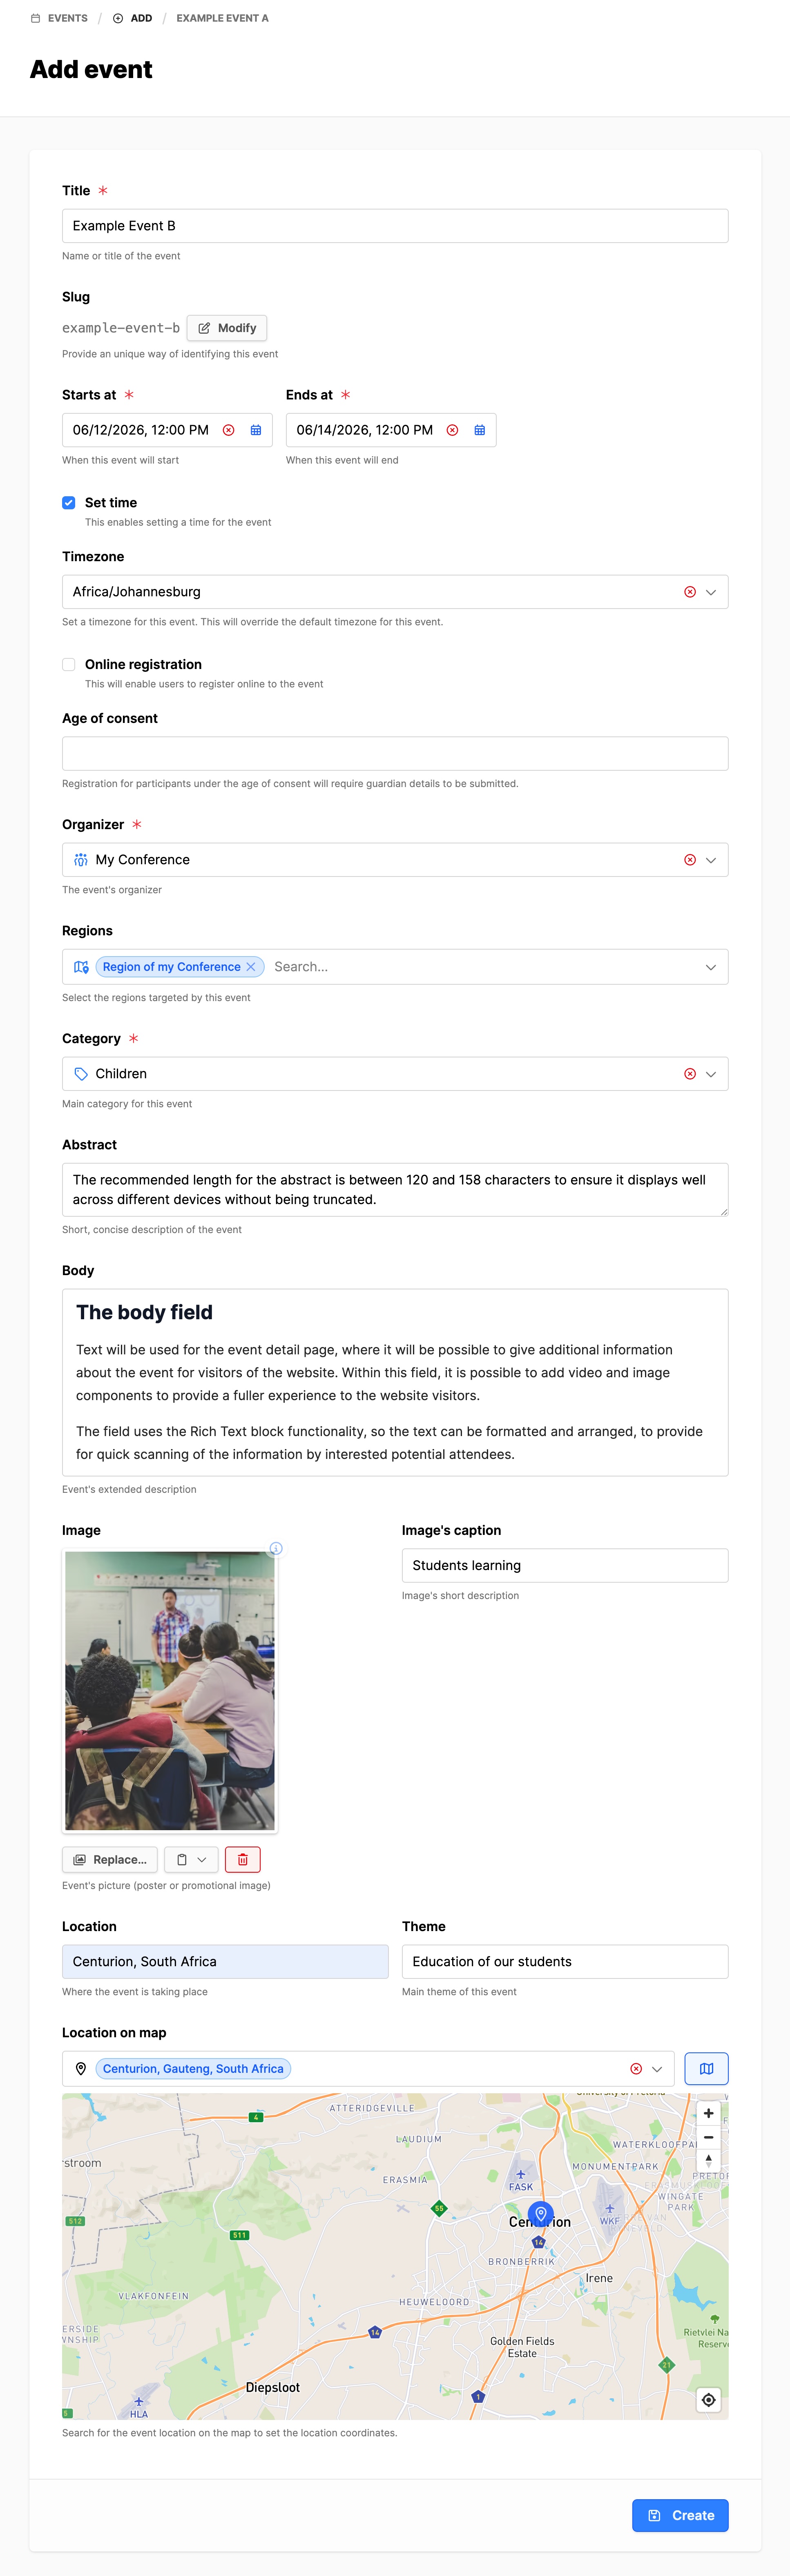
- Title: Add a descriptive title for this event.
- Set time: Before adding the start and end times, set a checkmark if desired.
- Starts at: Add the date and time.
- Ends at: Add the date and time.
- Time zone: Select the time zone where the event will happen, if needed.
- Online registration: Leave this unchecked at this time.
- Age of consent: See the help text below the field.
- Organizer: Select the organizer for this event.
- Region: Select the regions for this event.
- Category: Select the main category for this event.
- Abstract: Enter a concise text between 120 and 158 characters.
- Body: Provide a more descriptive text with images and video embedded for the detail page.
- Image: Add the event image: 16 x 9 format. (This may vary with the design).
- Image caption: Add a short image description.
- Location: Add the location of the event.
- Location on map: Add the location to put a pin on the map.
- When done, click on the Create button. (Clicking on the Create button will save the record, then open a detailed event interface.)
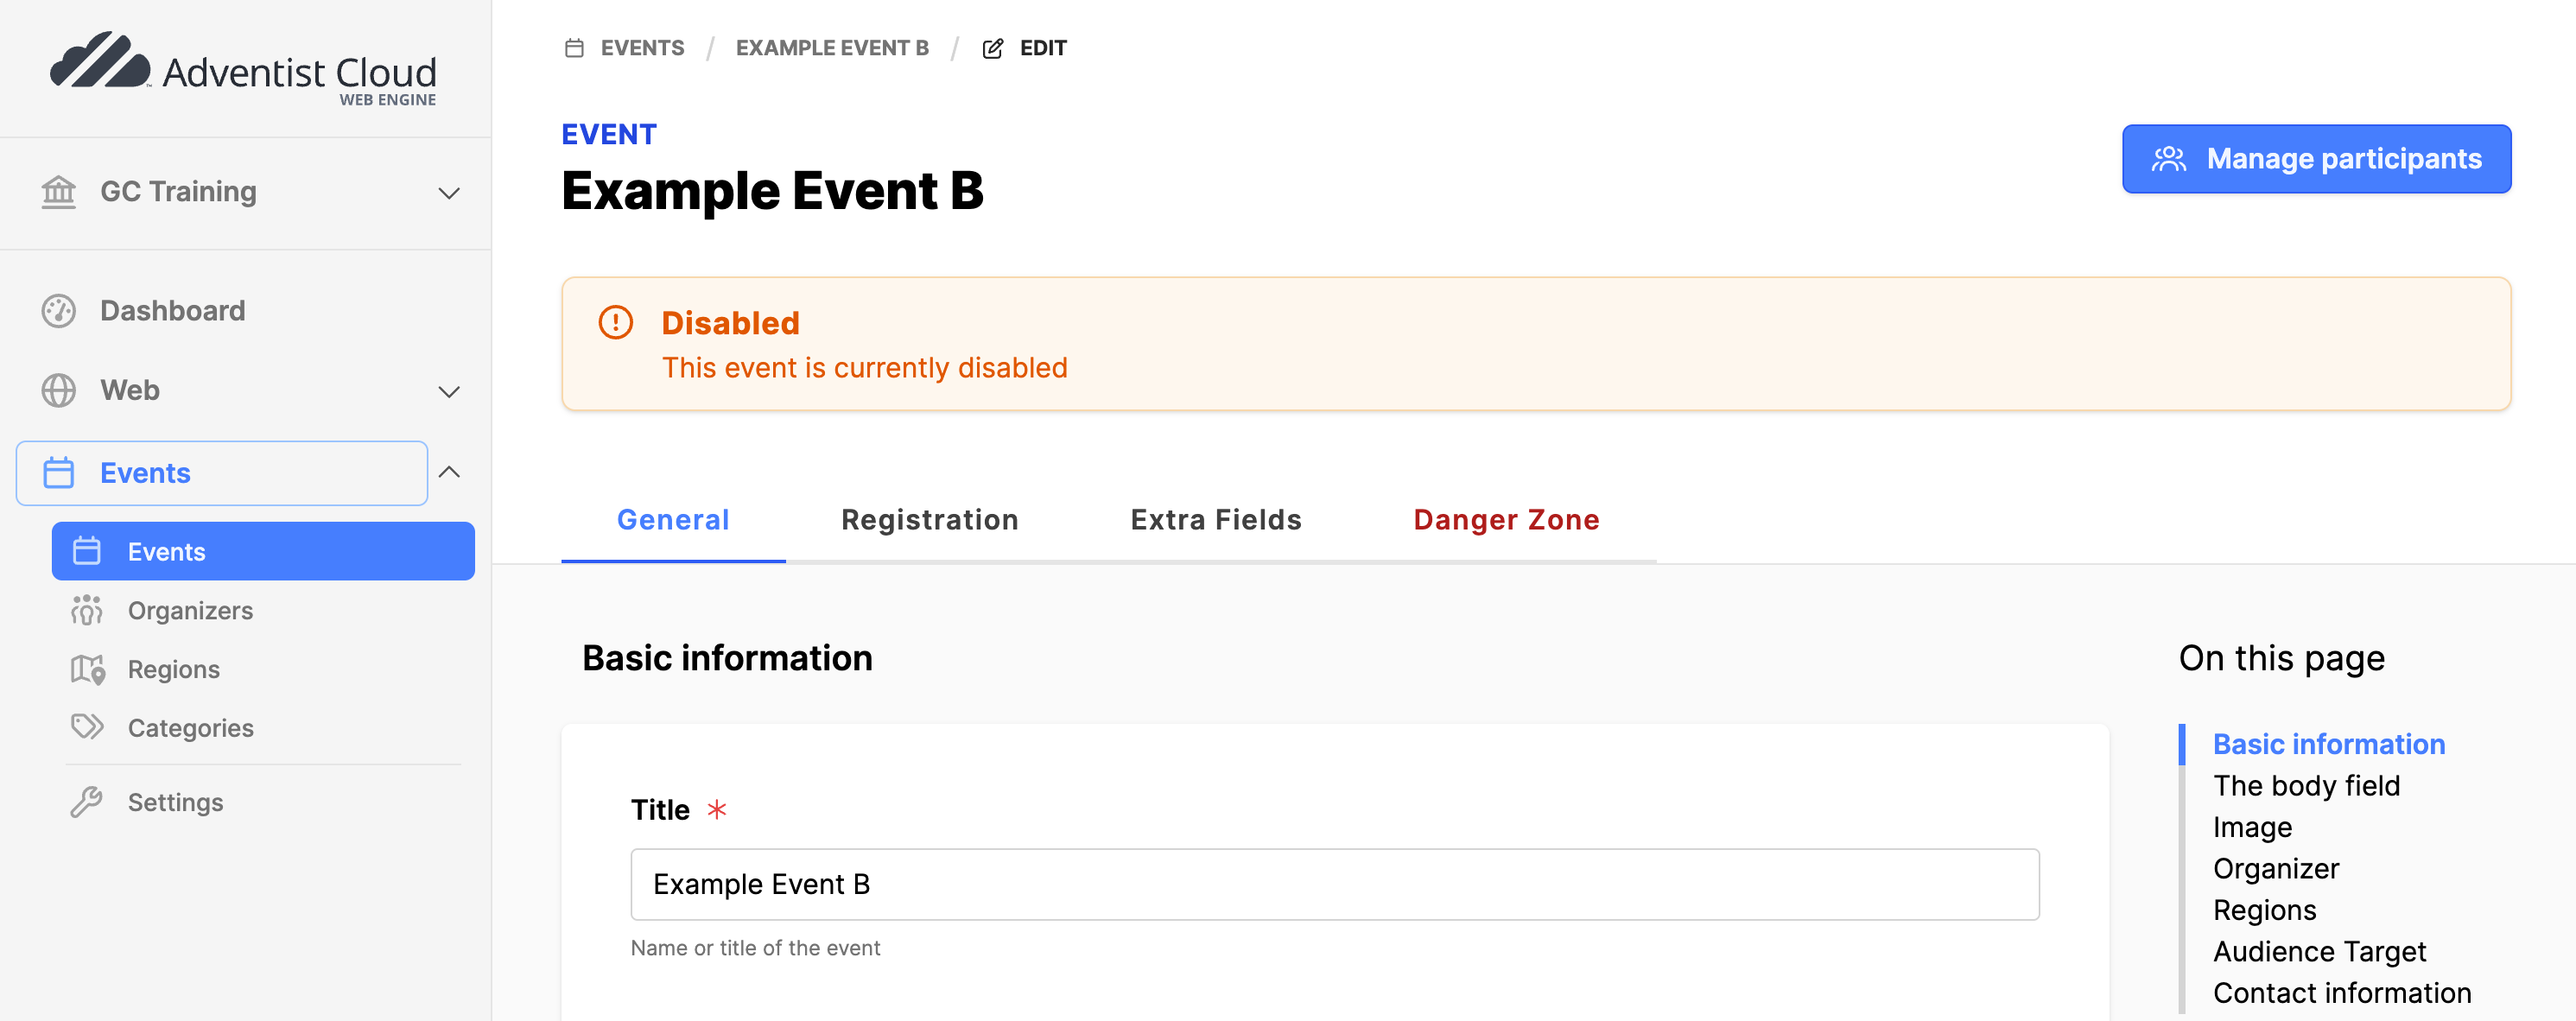
- General tab: This tab contains all of the information just added above.
- Organizer: If you want to overwrite the default organizer information, add the information in Organizer section. (This is only for this event, not a permanent change to the organizer information!)
- Regions: Add additional regions if required.
- Click on the Update button if changes are made.
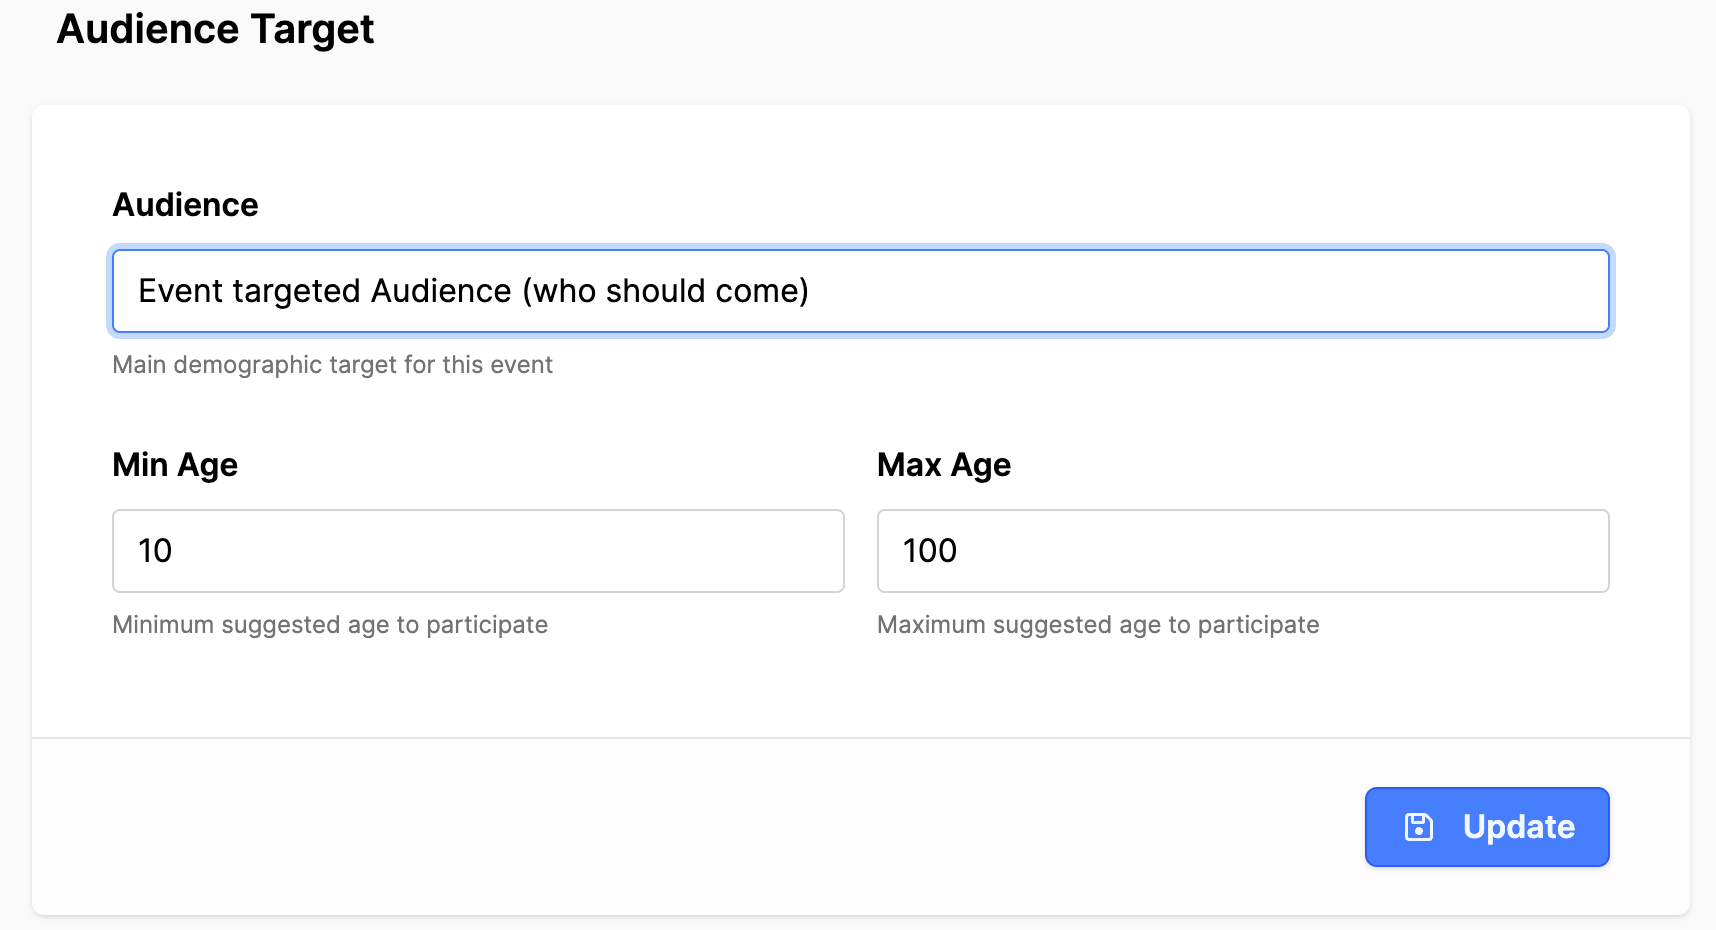
- Scroll down to the Audience Target section.
- Audience: Add a note for who should attend the event.
- Min Age: What is the minimum suggested age to participate?
- Max Age: What is the maximum suggested age to participate?
- Click on the Update button to save information.
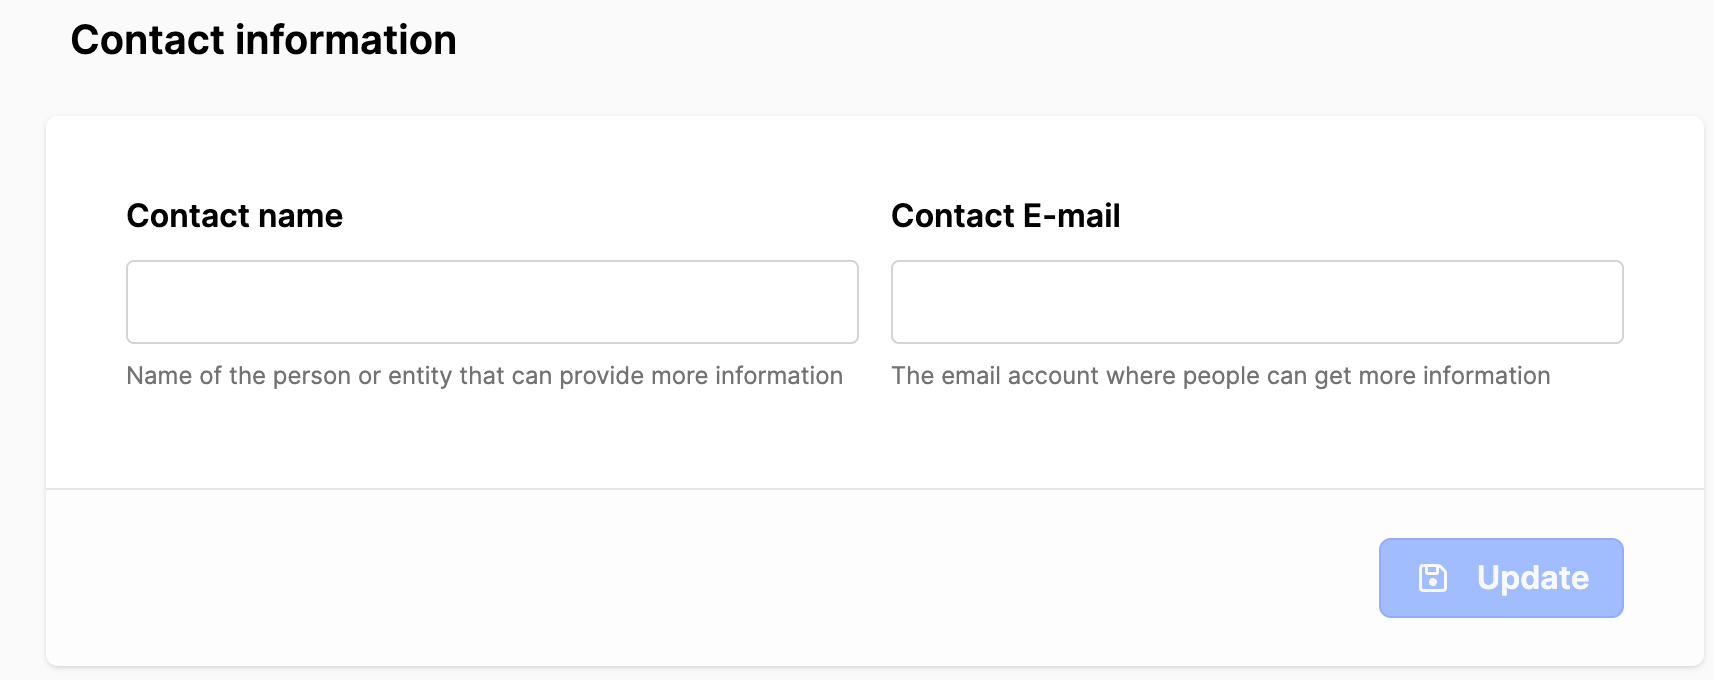
- Scroll down to Contact information.
- ONLY use this if you want to overwrite the Organizer information for this event.
- Click on the Update button to save information.
Publish event
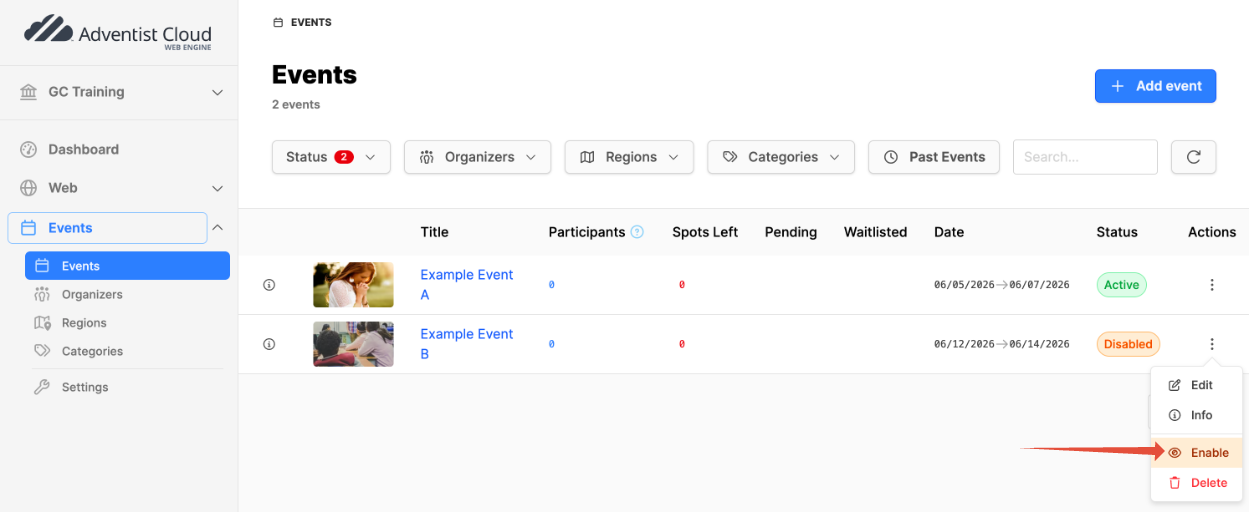
- Click on the Events module.
- From the events list, click on the three vertical dots to the right of the event in the list.
- Click Enable in the menu.
- Click on the Enable button in the modal box.
- The event should have a status of Active.
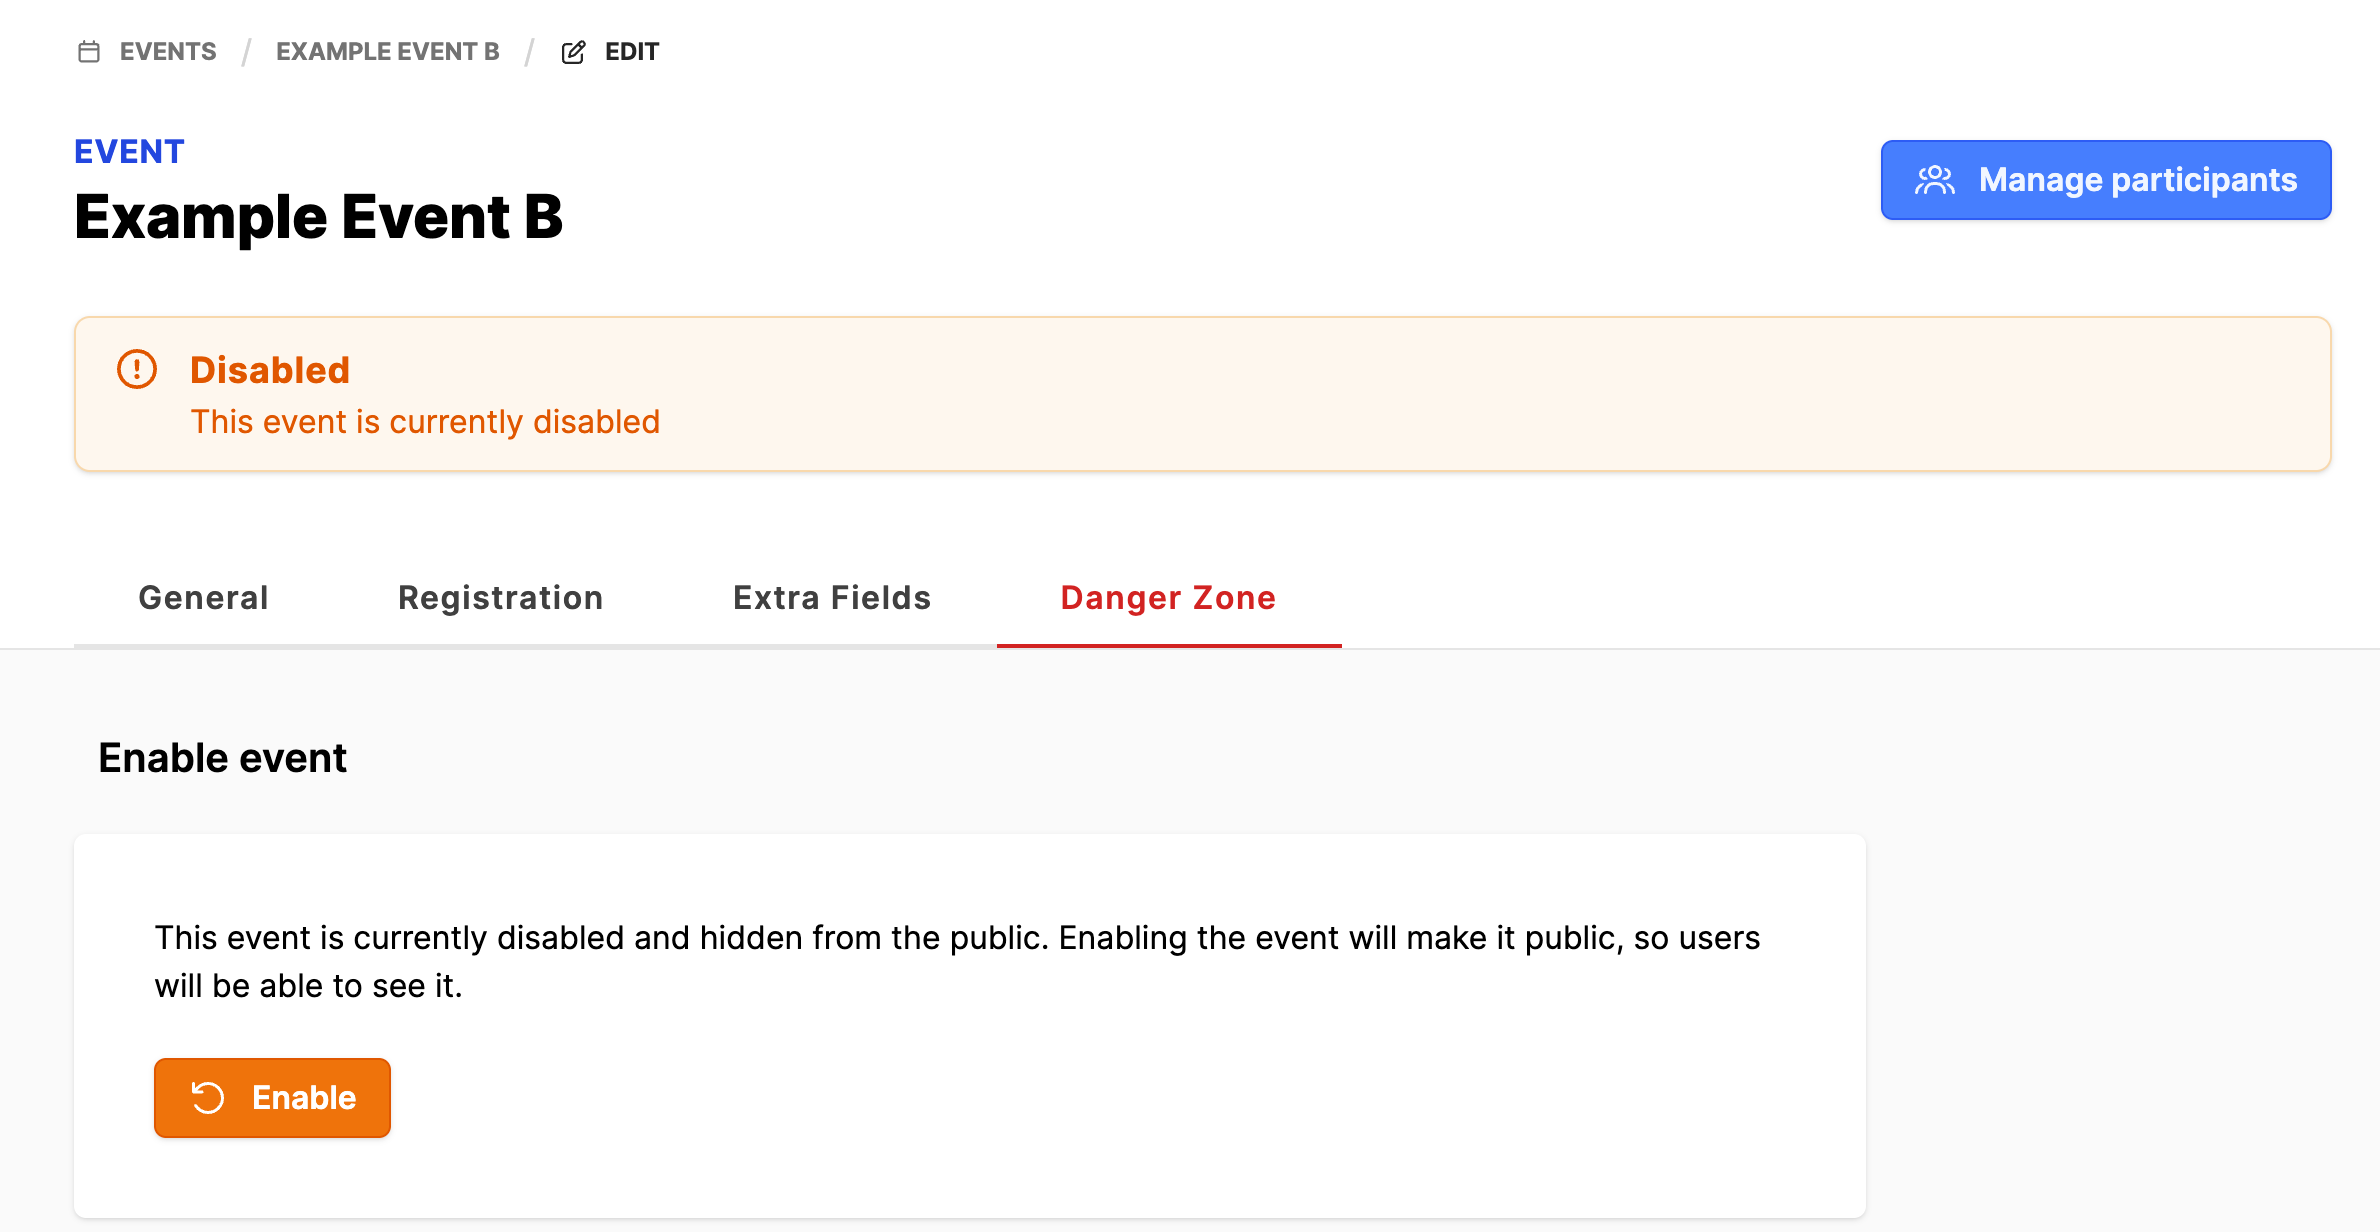
- Or, from the events list, click on the three vertical dots to the right of the event in the list.
- Click Edit in the menu.
- Click on the Danger Zone tab.
- Click on the Enable button.
- The event should have a status of Active. If the button does not update, refresh the browser.
The event should now be available for display in the frontend on the websites for the entity.
Additional information
- Events module setup
- Adding an event organizer
- Add an event region
- Add event categories
- Clone an existing Event
- Add Events pages (ALPS)