
Overview
Once the events have been created in the backend (see article Events module setup in backend), the pages and blocks can be added to the website for displaying the events in the frontend of the website.
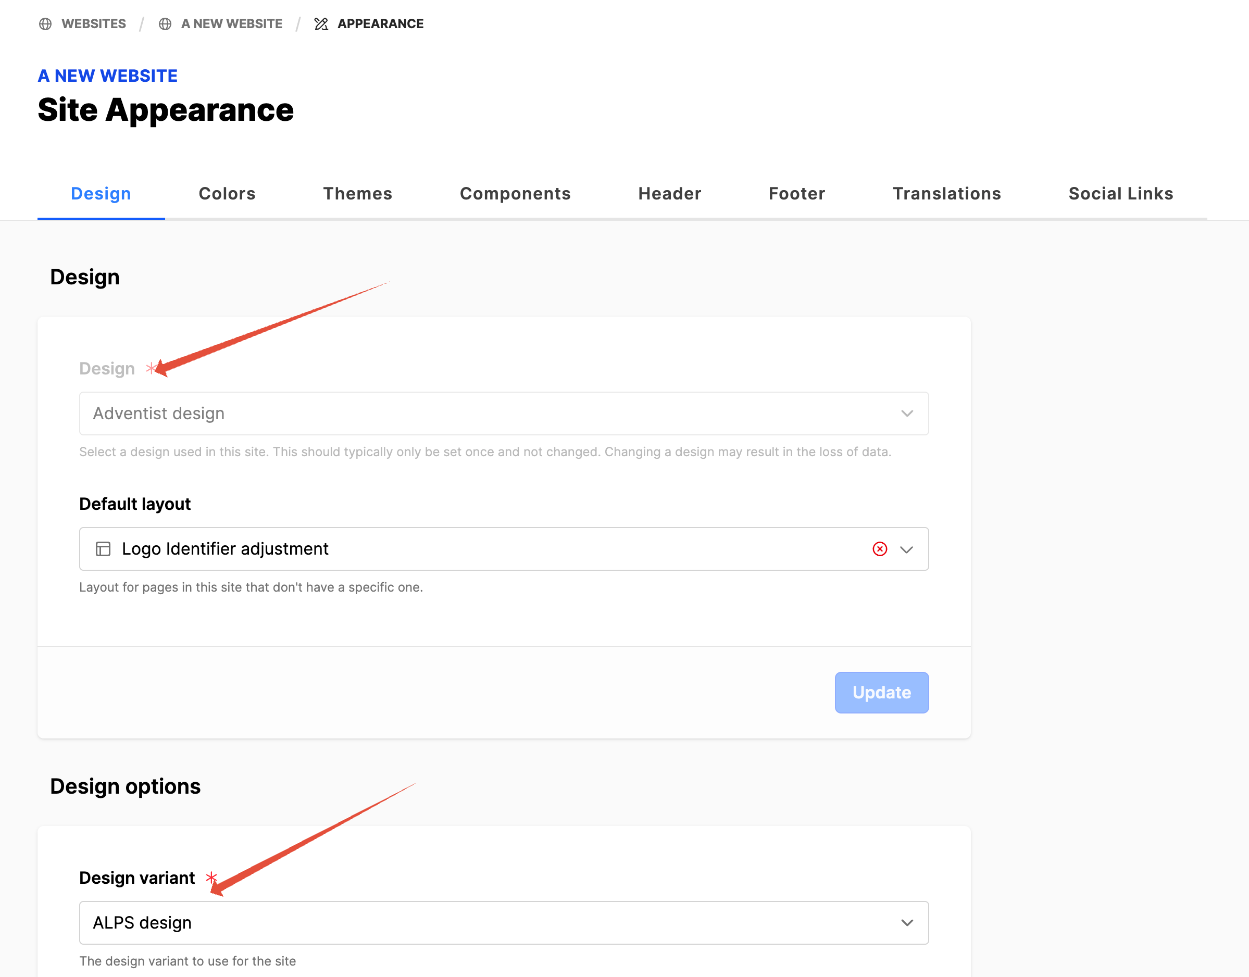
These notes apply to the website design Adventist design with the ALPS variant. Please review the following note concerning how to verify which design you are using.
Important: Please check the website design to verify the website design matches these notes.
- Expand the Web module.
- Expand the website.
- Click on the Appearance submodule.
- Under Design, look at the Design field: Adventist design.
- Scroll down to Design options. Look at the Design variant field: ALPS design.
How To
Add Event pages to the website
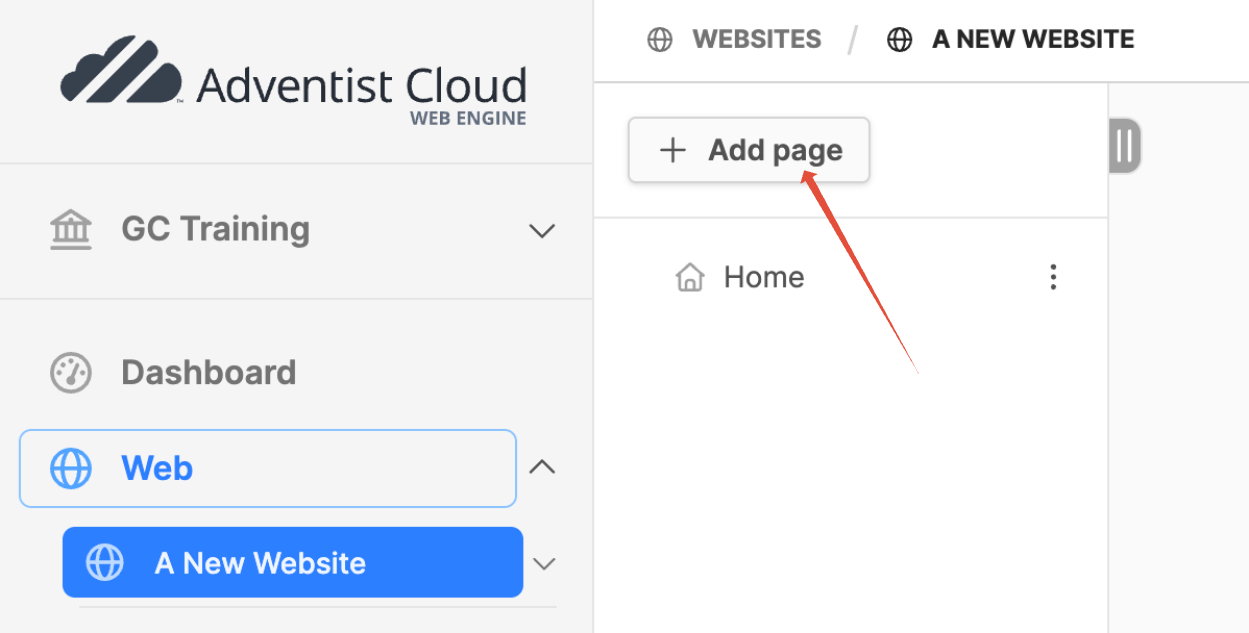
- Expand the Web module.
- Click on the name of the website. (The website page tree will open on the right.)
- Click on the Add page button at the top of the page tree.
- The Add page modal box will appear.
- Title: Events
- Click on Create button.
- The new page (Events) will appear in the page tree.
First add the Events List page:

- Scroll down on the Select a preset to Events. click on the Events List page preset. (The page preset will be applied to the page.
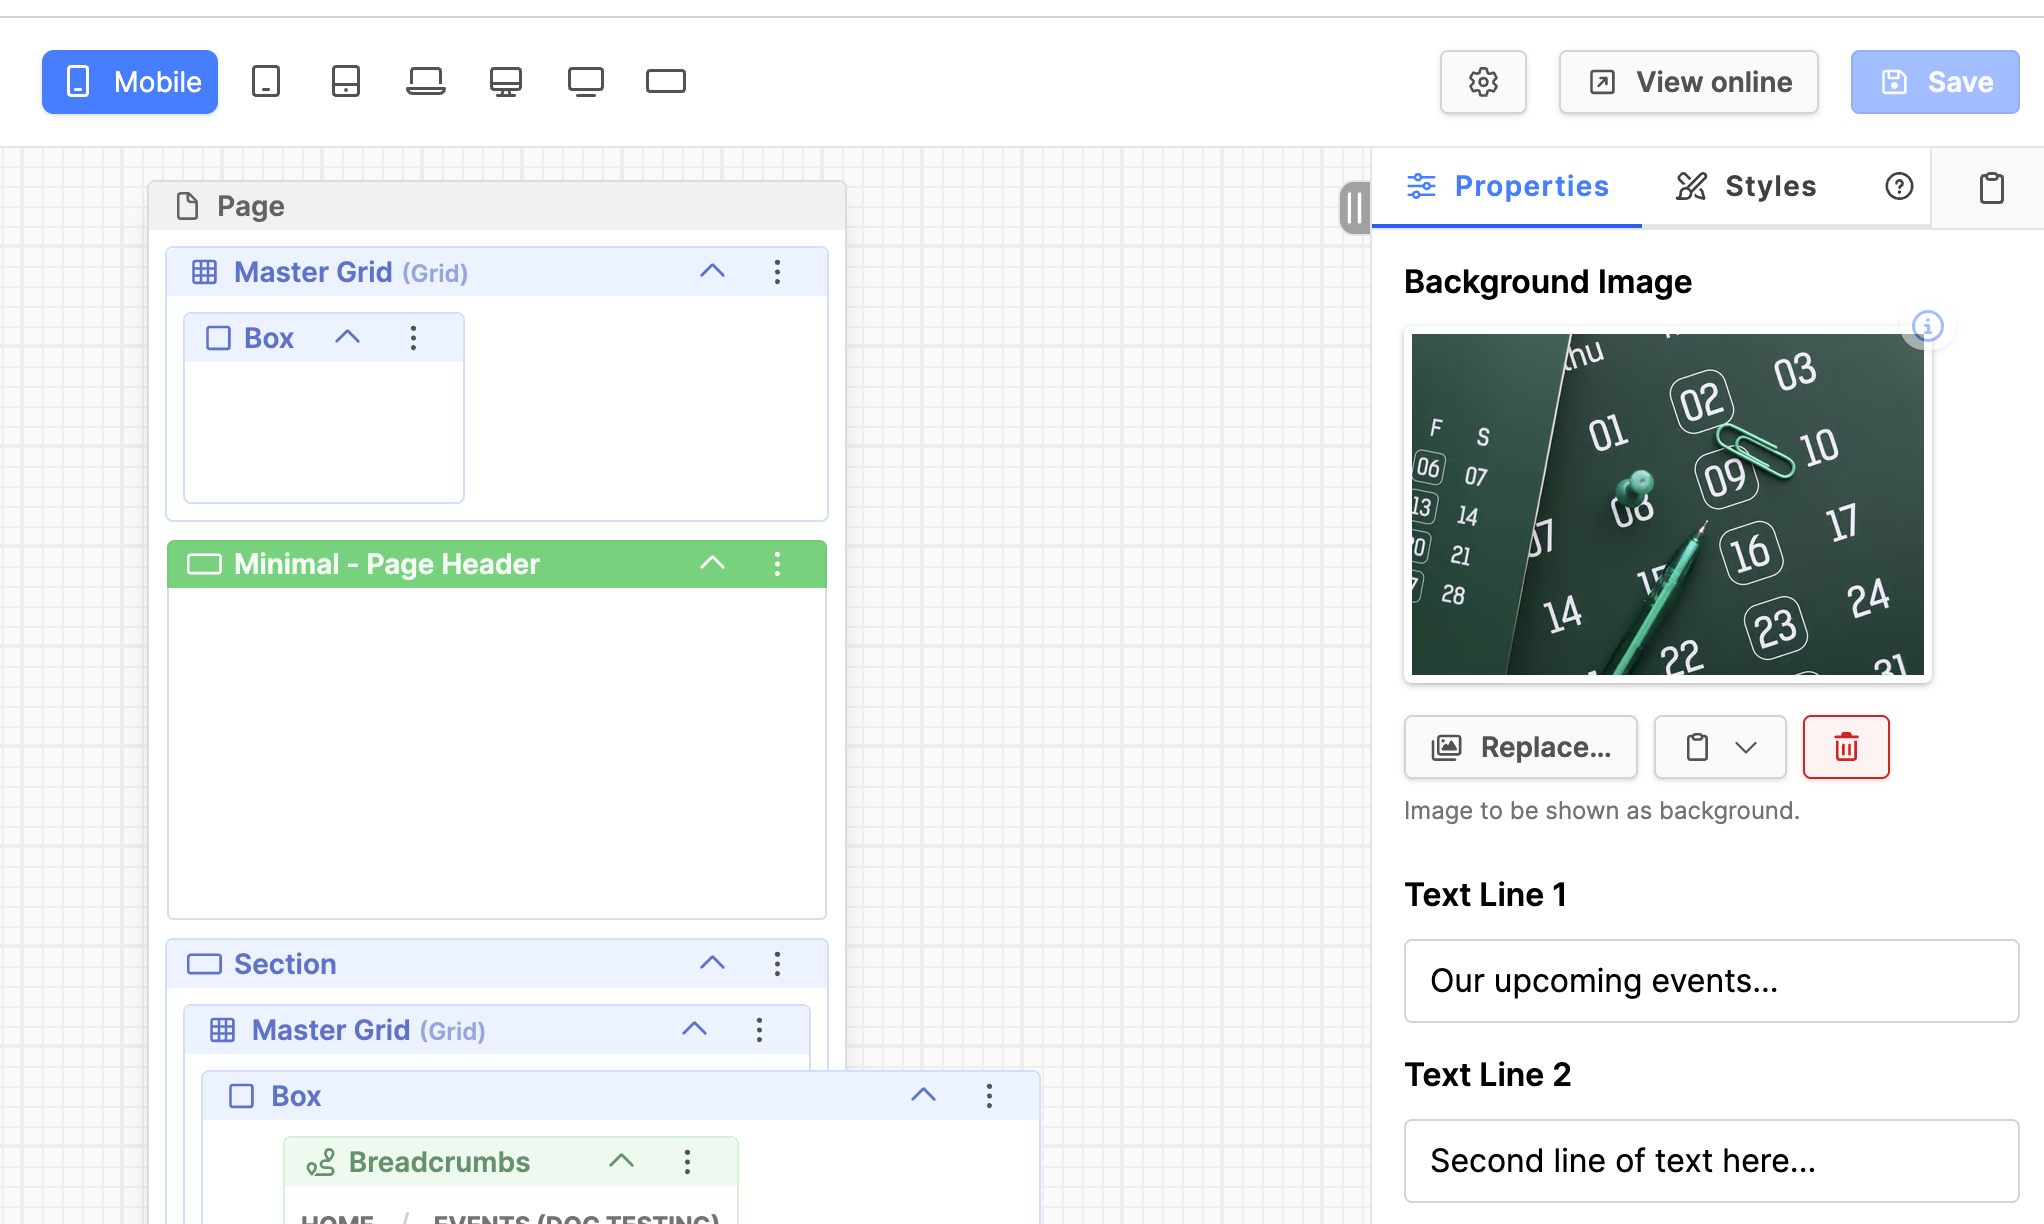
- Click on the Minimal - Page Header block heading to select it.
- Look under the Properties tab to the right at the Background Image. Update the image if you would like to.
- Text Line 1: Update as needed.
- Text Line 2: Update as needed.
- Click on the Save button at the top to save the changes.
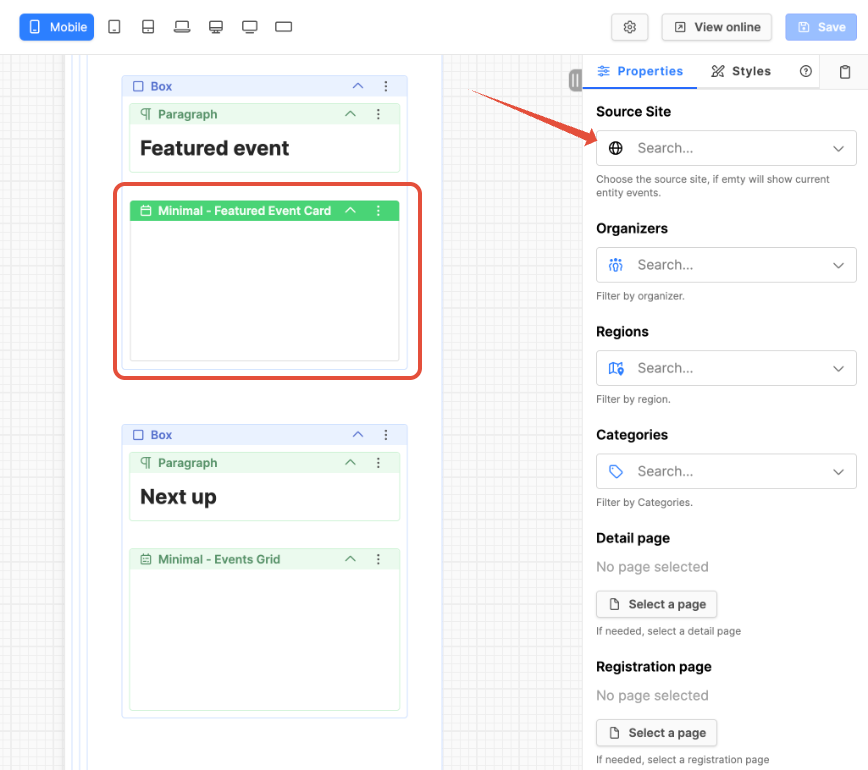
- Scroll down in the blocks to the Minimal - Featured Event Card.
- Click on the block heading to select it.
- Under the Properties tab on the right: If you are using events from another entity, search for them in the Source Site field. Otherwise leave the field blank if you are using the events from the current entity.
- Organizers, Regions and Categories: To show all events, leave these fields blank. (Otherwise use the fields to filter out events. Use only if you need to reduce the listed events to show those of the criteria selected.)
- Detail page: Come back and set this once the detail page is created below.
- If changes are made, click the Save button.
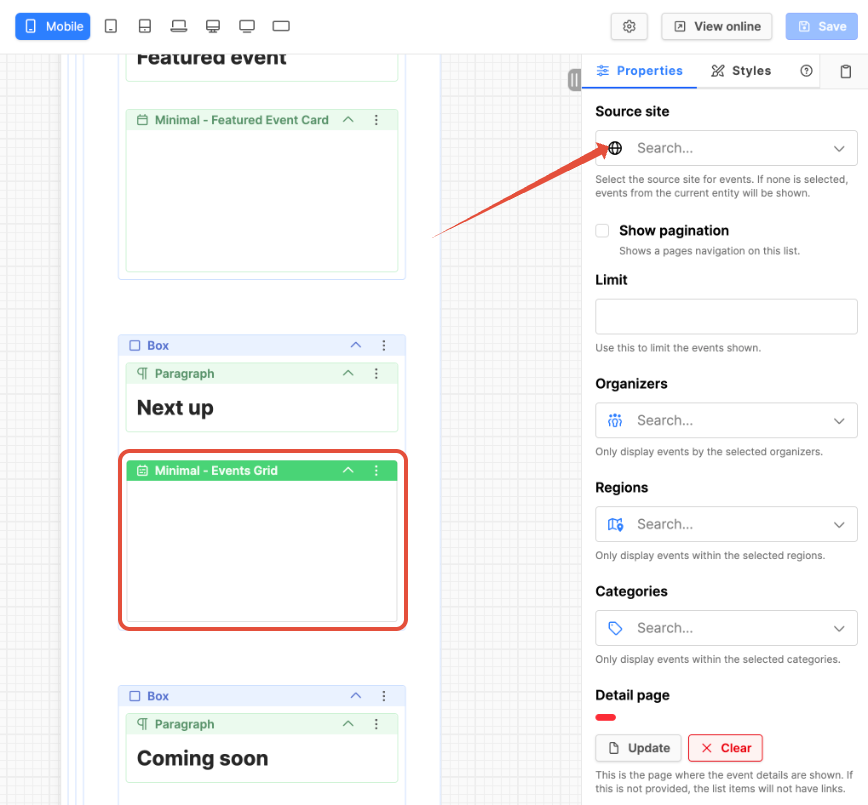
- Scroll down in the blocks to the Minimal - Events Grid.
- Click on the block heading to select it.
- Under the Properties tab on the right: Source Site: If you are using events from another entity, search for them in the Source Site field. Otherwise leave the field blank if you are using the events from the current entity.
- Organizers, Regions and Categories: To show all events, leave these fields blank. (Otherwise use the fields to filter out events. Use only if you need to reduce the listed events to show those of the criteria selected.)
- Detail page: Come back and set this once the detail page is created below.
- If changes are made, click the Save button.
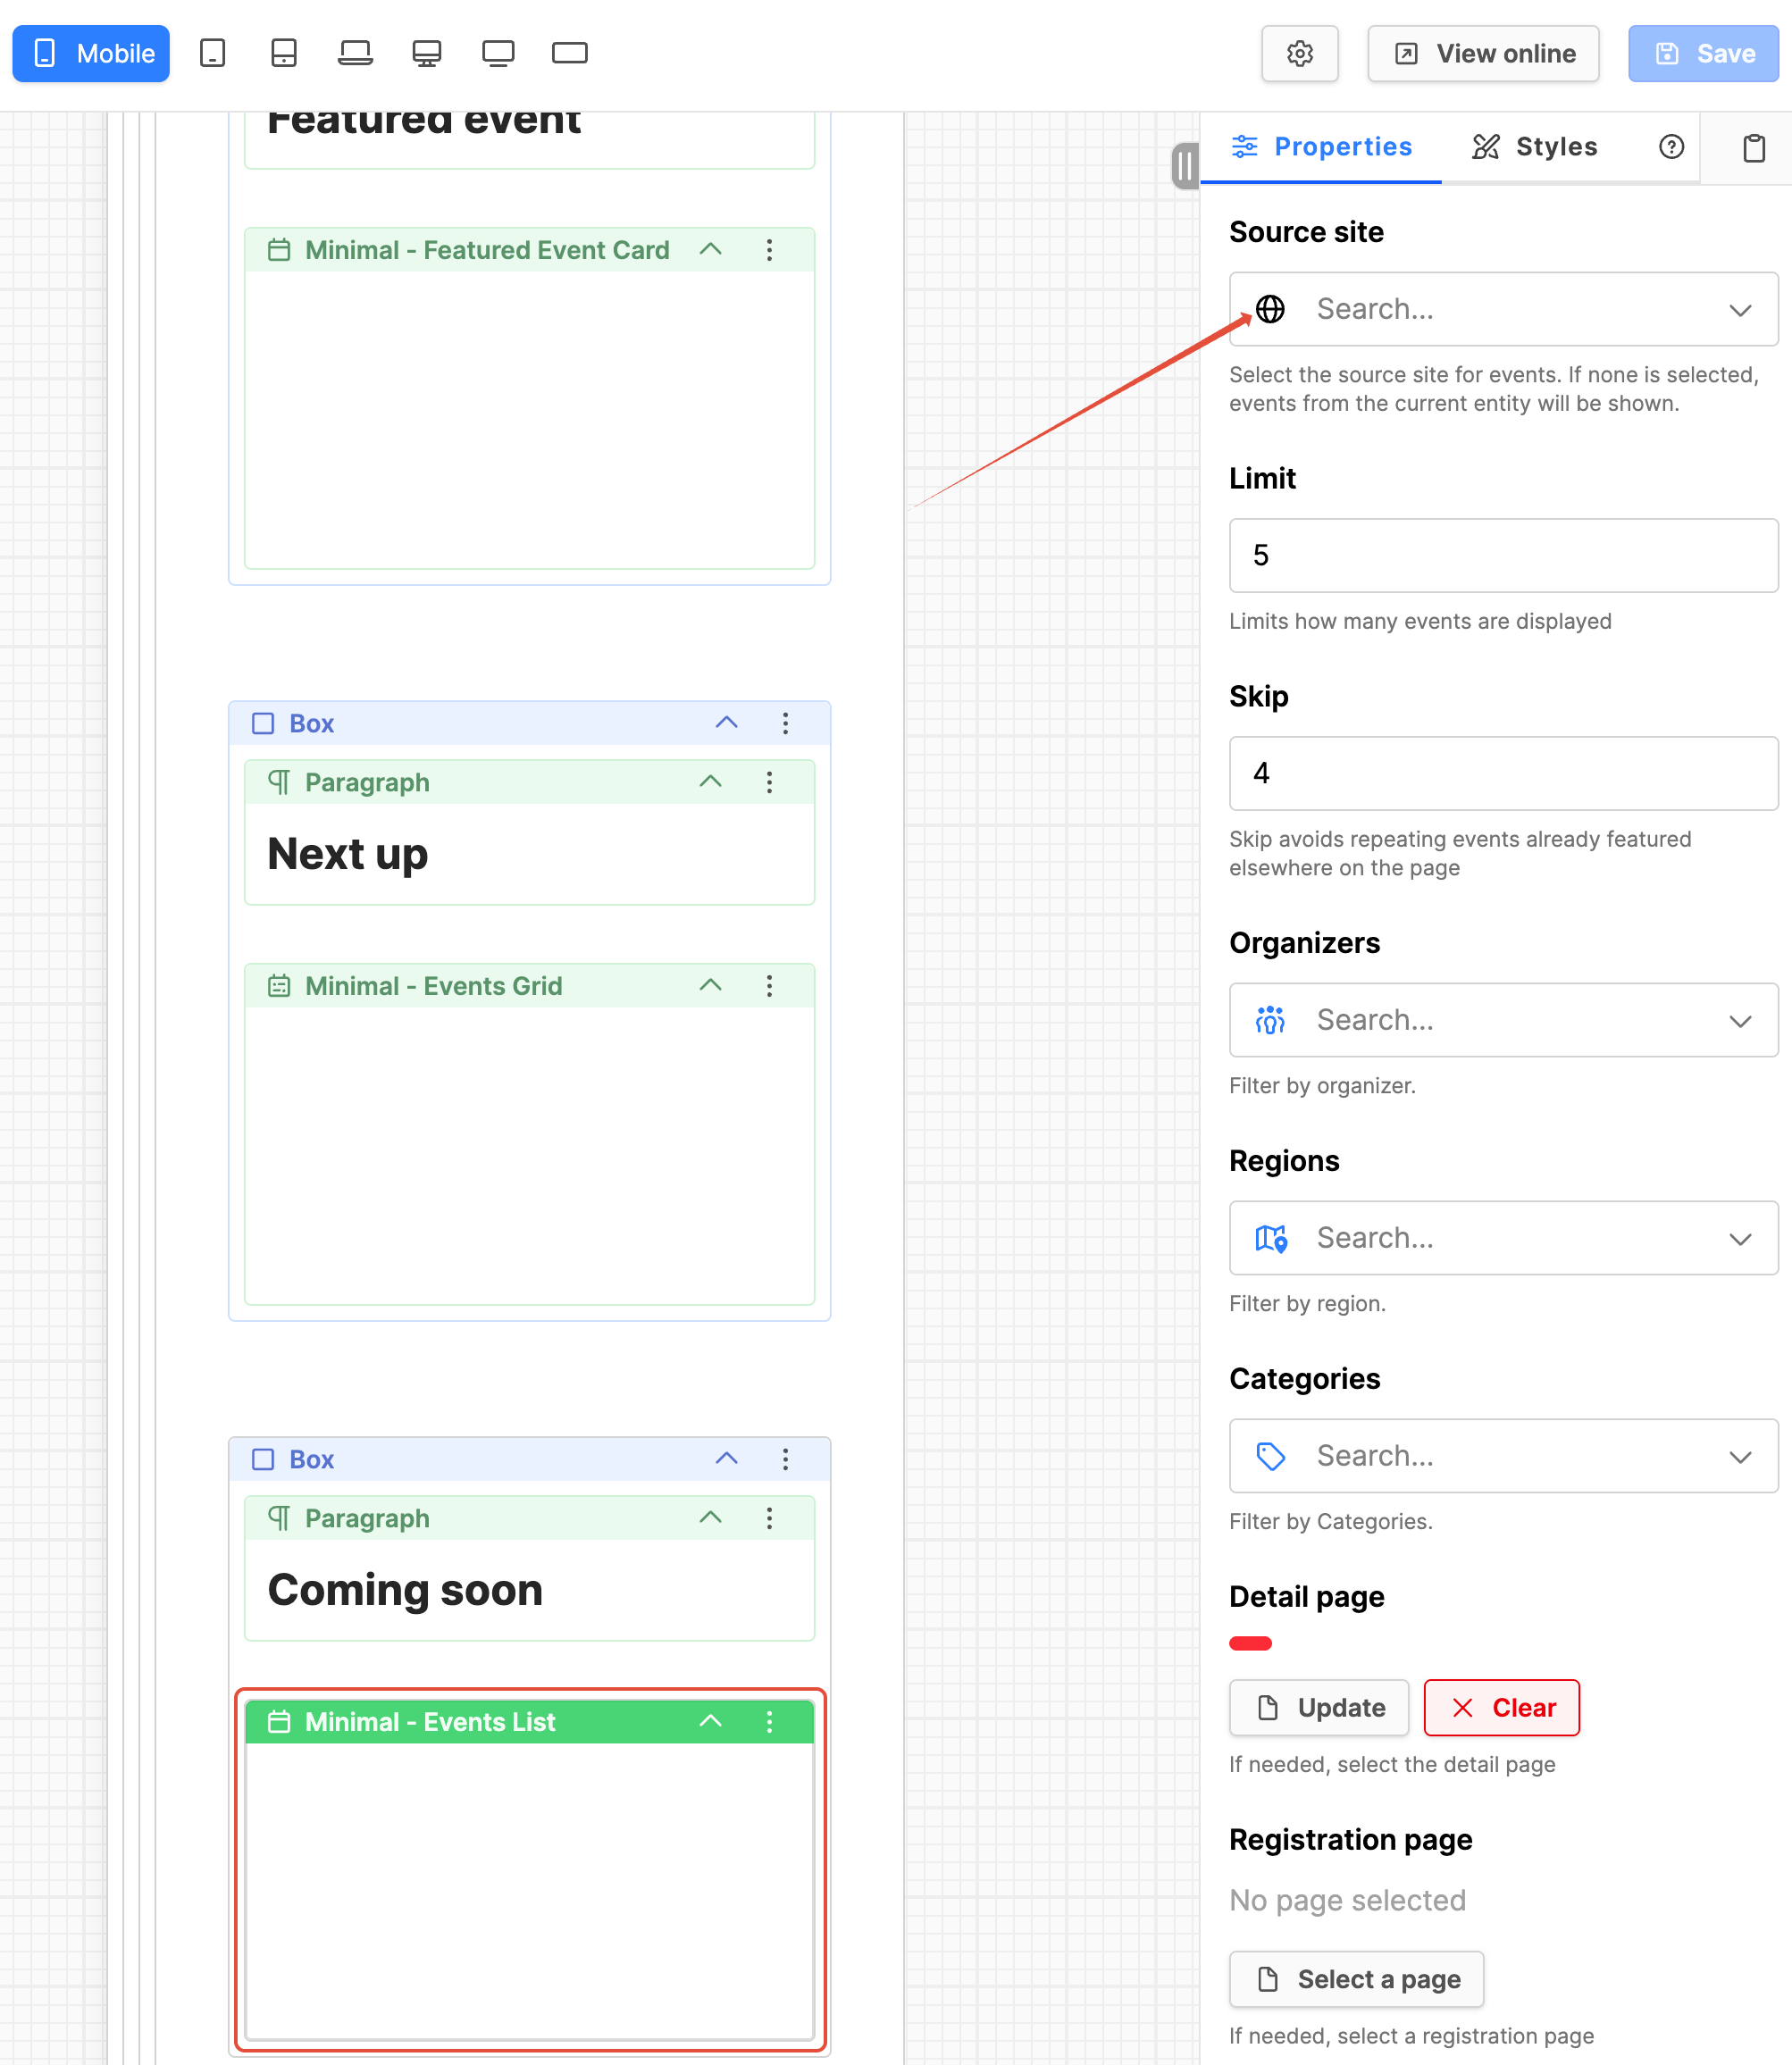
- Scroll down in the blocks to the Minimal - Events List.
- Click on the block heading to select it.
- Under the Properties tab on the right: Source Site: If you are using events from another entity, search for them in the Source Site field. Otherwise leave the field blank if you are using the events from the current entity.
- Organizers, Regions and Categories: To show all events, leave these fields blank. (Otherwise use the fields to filter out events. Use only if you need to reduce the listed events to show those of the criteria selected.)
- Detail page: Come back and set this once the detail page is created in the next step.
Add the Events Detail page:
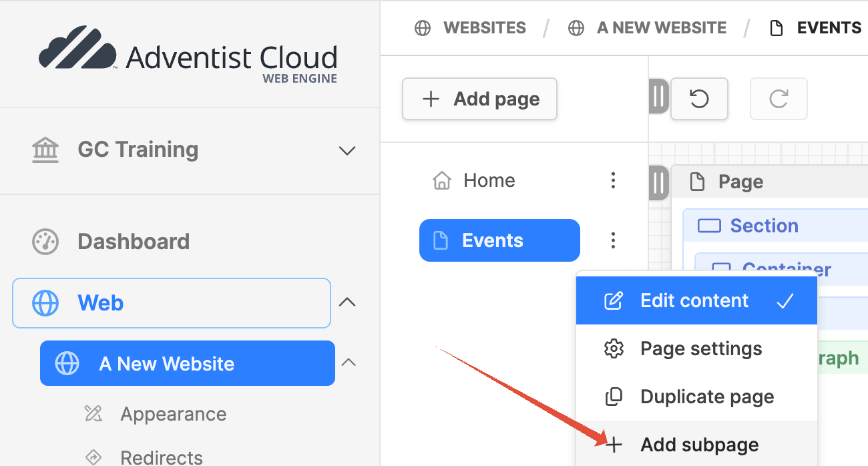
- Scroll up and in the page tree, click on the three vertical dots next to the Events page.
- Click on the Add subpage option.
- In the modal box Add subpage:
- Title: Type Event details in the field.
- Click on the Create button.
- The Events detail page should display as a subpage below the Events page in the page tree.

- Scroll down the Select a preset list and look for the Events section.
- Click on the Event details page preset.
- The preset will be applied to the page.
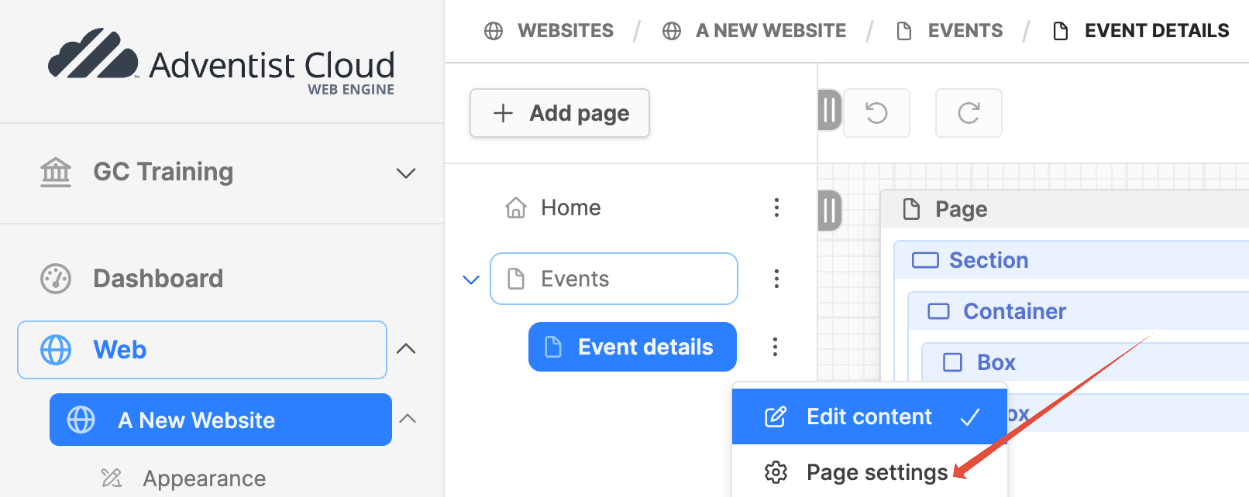
- Next to the Event detail page in the page tree, click on the three vertical dots, then click on Page settings.
- In the Editing Metadata screen. click on the Advanced tab.
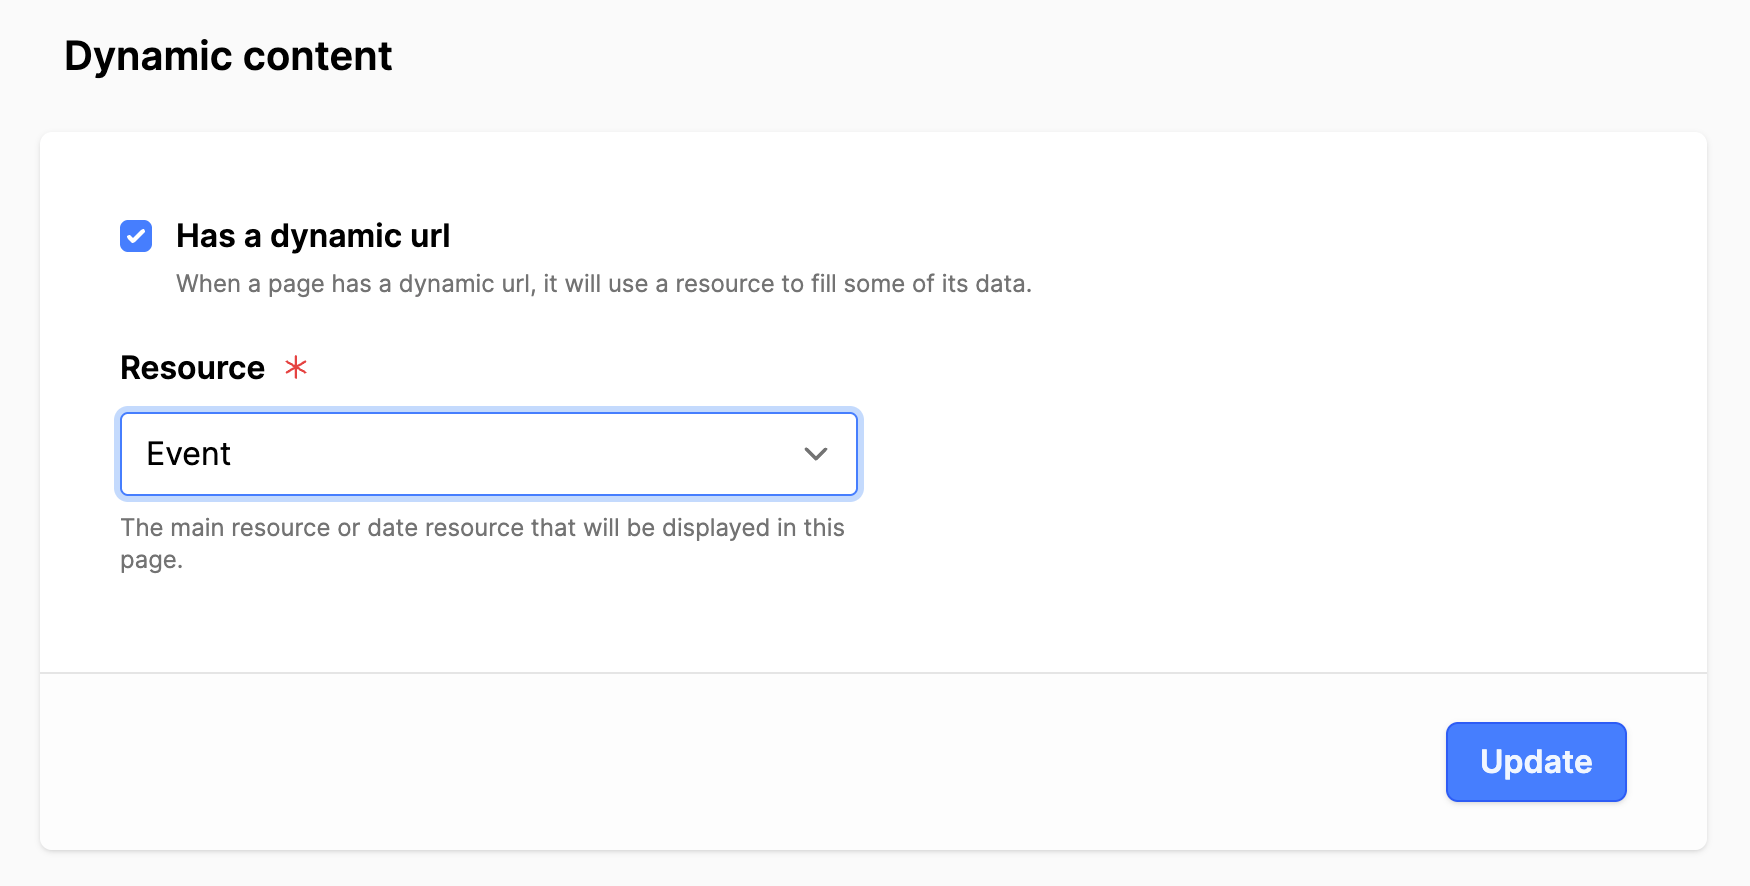
- On the Advanced tab, scroll down to the Dynamic content section.
- Has a dynamic URL: Set a checkmark.
- Resource: Expand and select Event.
- Click the Update button.
- Scroll up and click on the General tab.
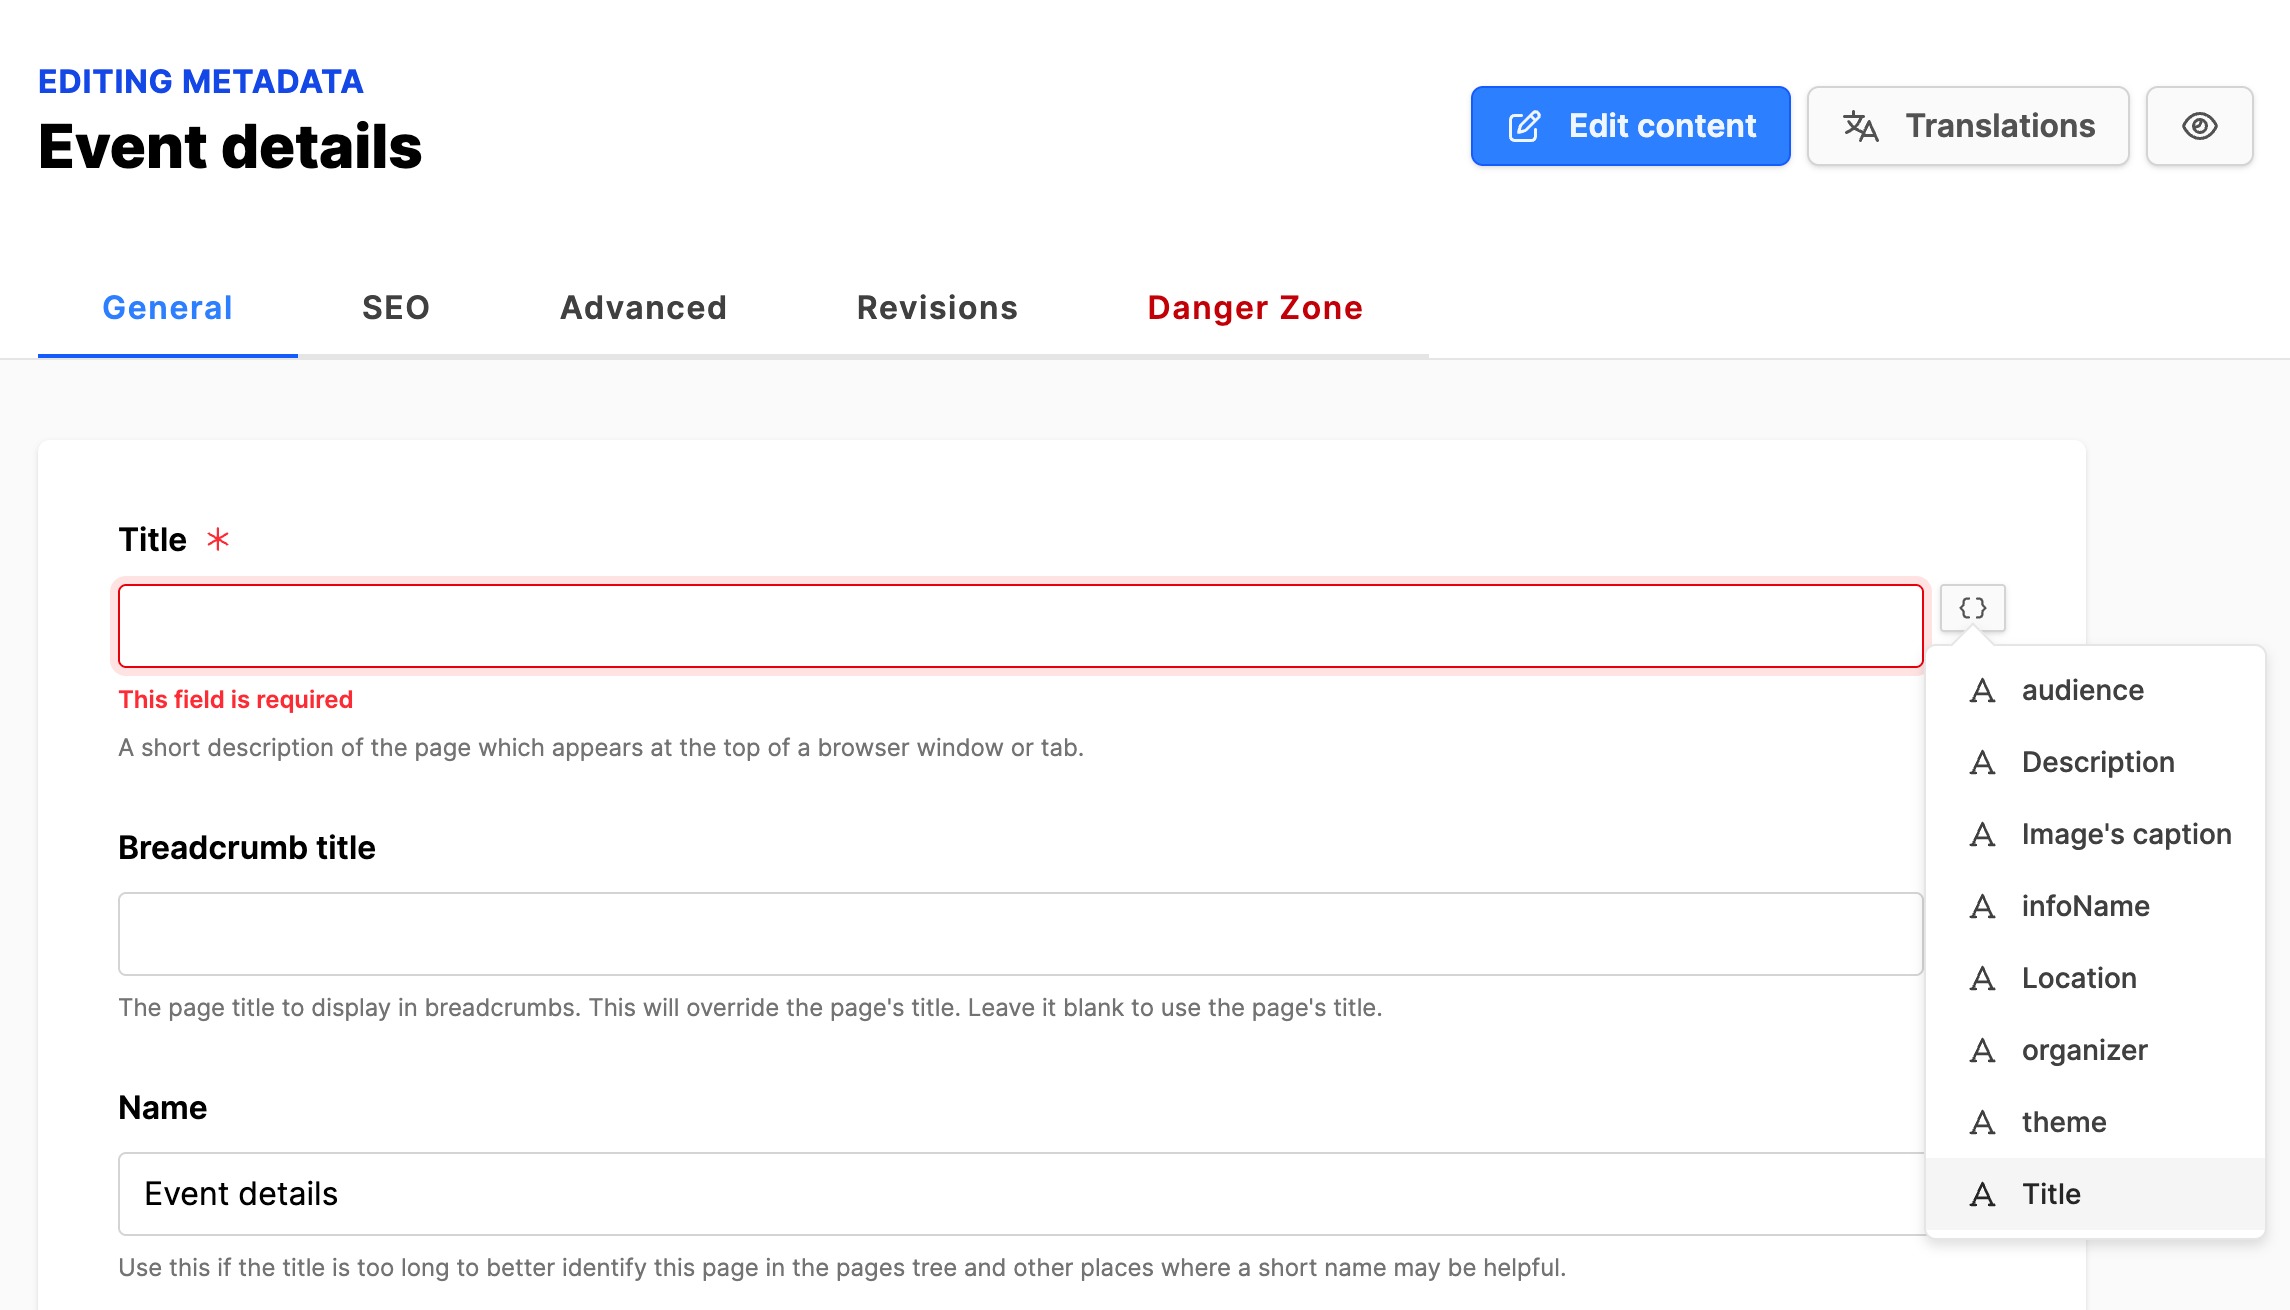
- Title field: Cut Event details and paste into Name field.
- Title field: Now click on the icon to the right and select Title.
- Description field: Click the icon and select Description.
- Hide in menus: Set a checkmark in the box.
- Click on the Update button to save the changes to the page.
- Scroll up and click on the SEO tab.
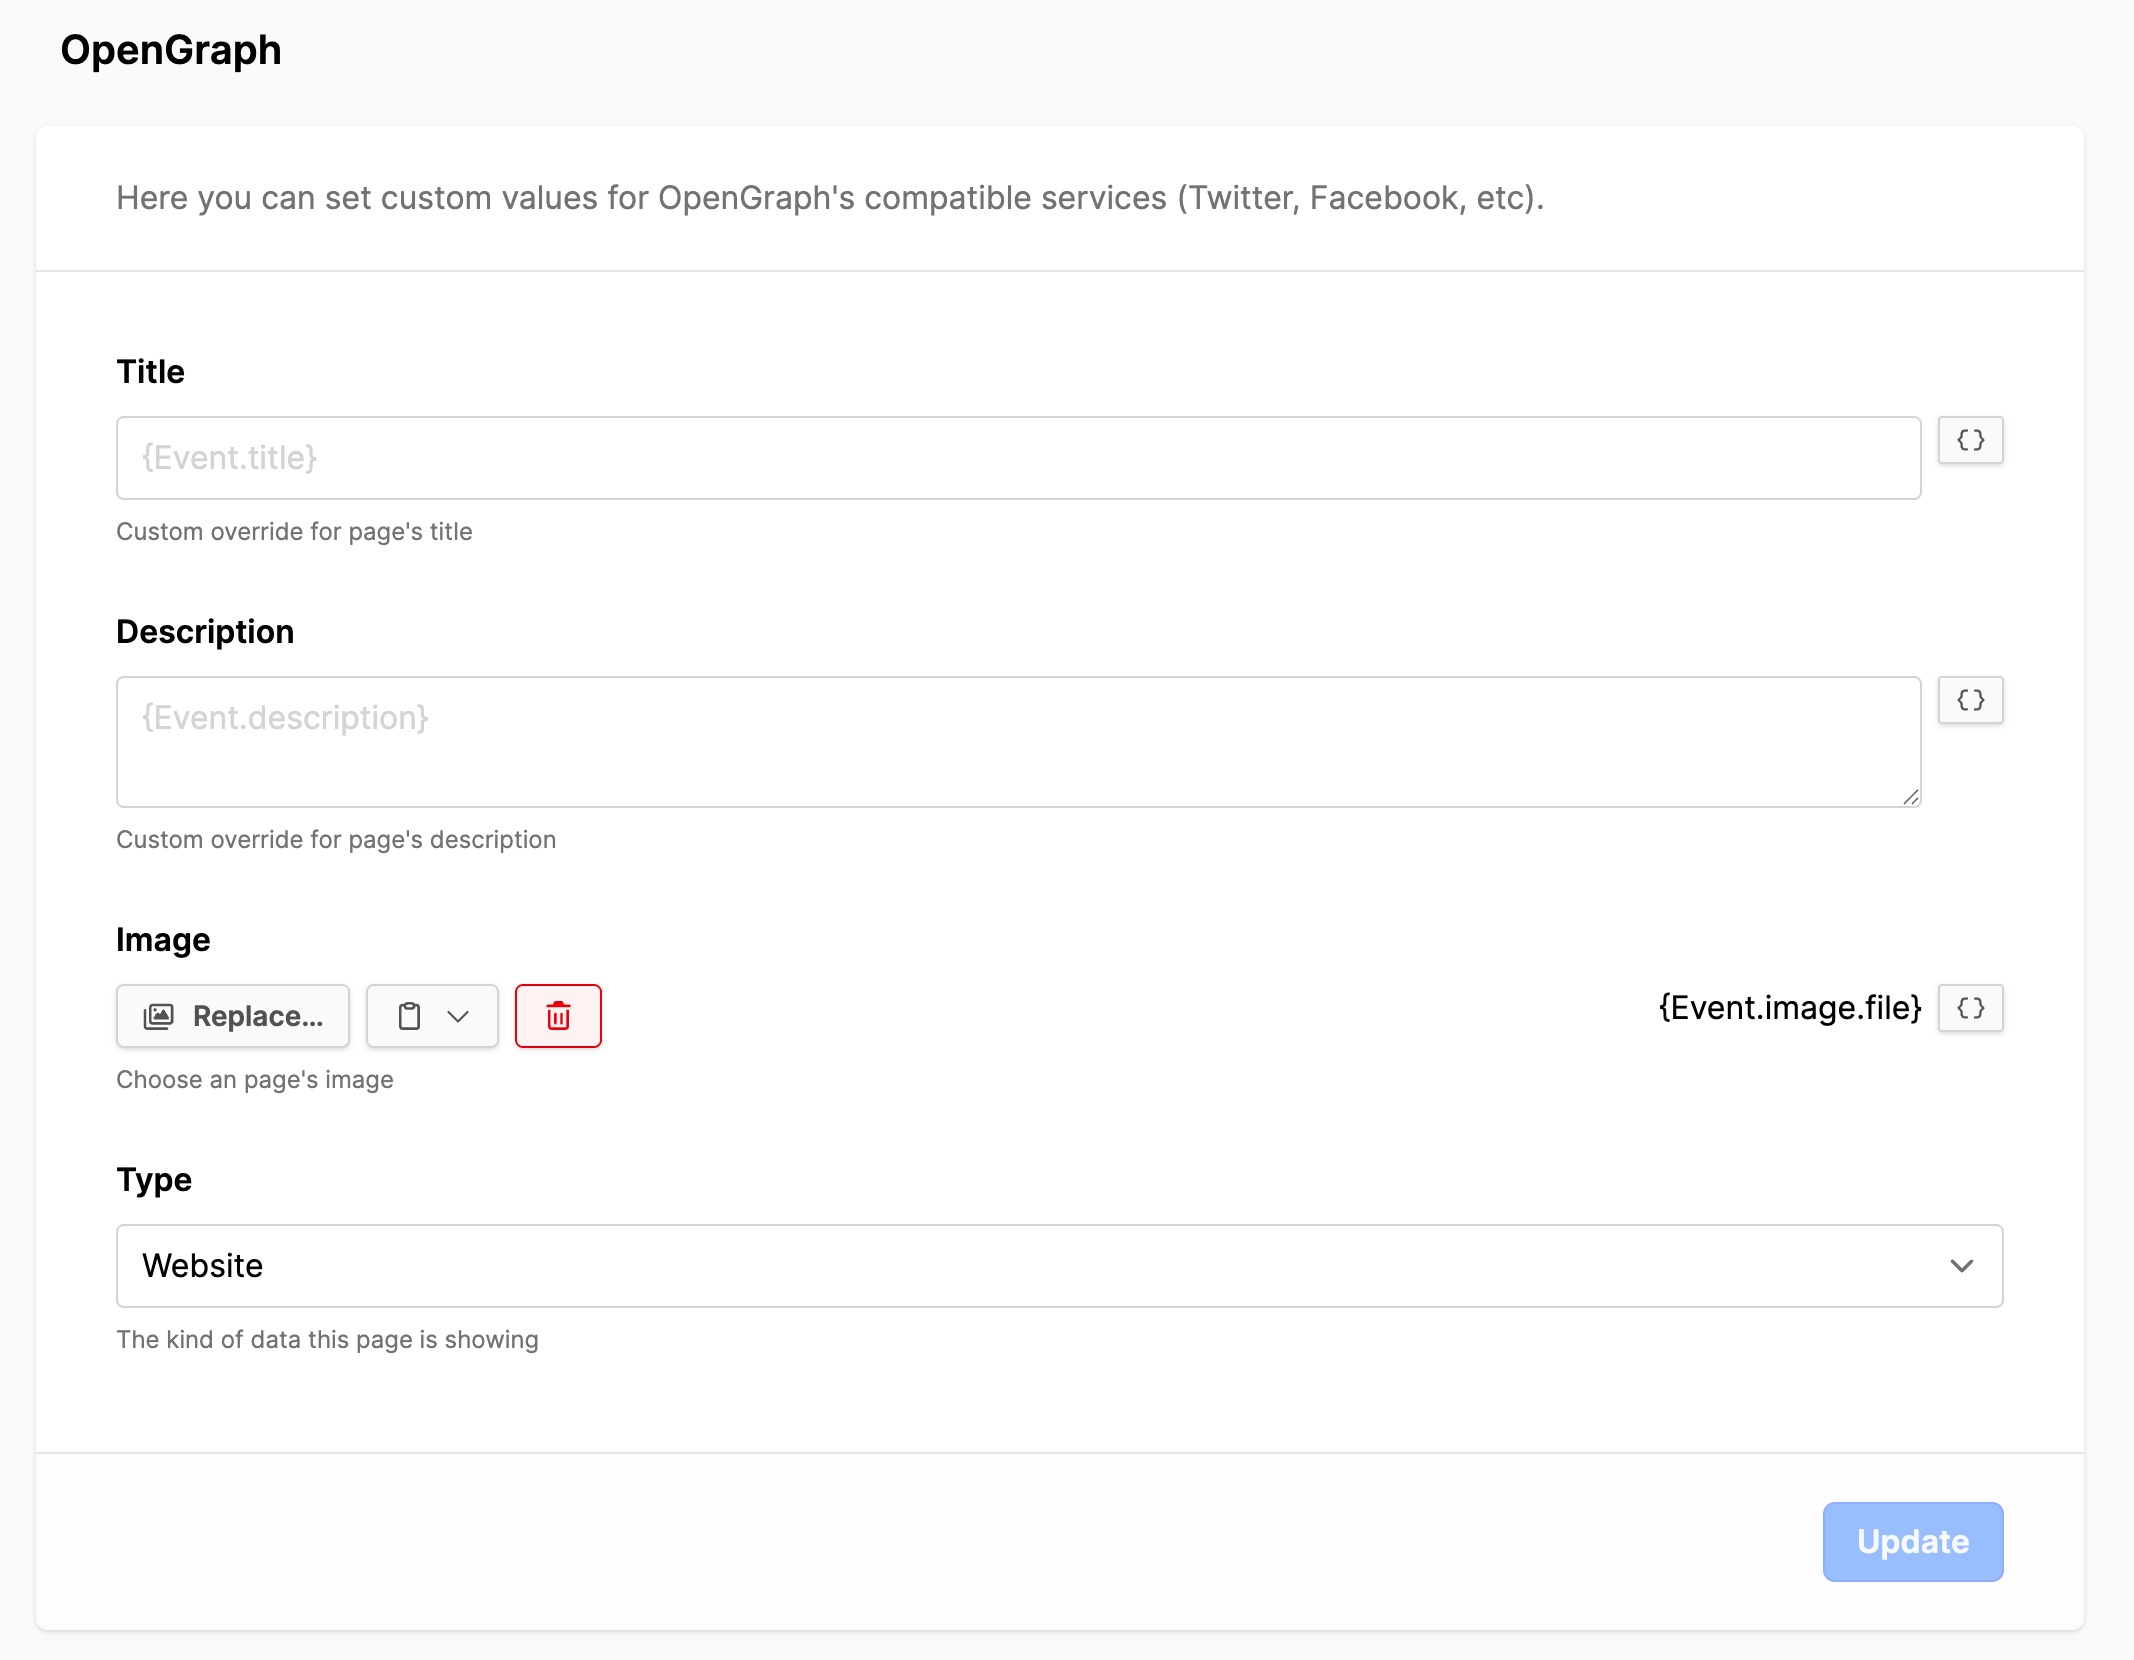
- Scroll down to OpenGraph.
- Title: It should come through from the General tab.
- Description: It should come through from the General tab.
- Image: Click on the icon to the right and click on the Image option.
- Type: Expand and select Website.
- Click on the Update button.
- Scroll up and click on the Events page in the page tree to update it.
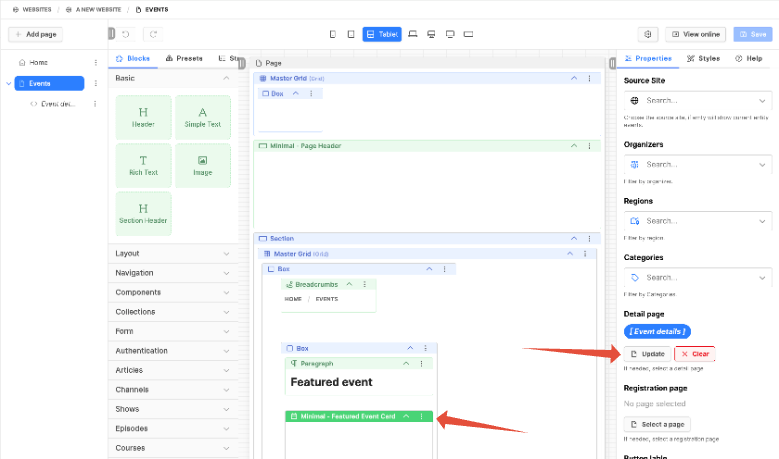
- Now scroll down through the Event blocks and update them (3) with the detail page.
- Minimal - Featured Event Card
- Minimal - Events Grid
- Minimal - Events List
- Under the Properties tab, Detail page: Click on the Select a page (or Update) button.
- In the modal box, expand Events and select the radio button to the right of Details.
- Click on Select and the modal box will close.
- Click on the page Save button on the upper right to save the changes.
- Update all three blocks the same way.
Review pages in the frontend of the website
- On the Events page, click on the View online button at the top right.
- Verify the expected events are displayed on the list page.
- Click on the CTA for an event (Know more) to verify the button functions.
- If everything is working, then you are done!
- (If the CTA buttons are not working, verify that the details page has been configured for the block where the button is not working.)
Additional information
- Events module setup
- Adding an Event Organizer
- Add an Event Region
- Add Event Categories
- Creating Events
- Clone an existing Event