
Overview
The Channel is the container for all of the Shows, Episodes, Hosts & Guests elements of a Media Library.
- There needs to be at least one channel.
- There is only one language per channel at this time.
- It is possible to create more than one channel, but this should only be in rare cases, such as two different target audiences (for example, content that is for the public and content that is for internal purposes only).
How to
Add a Channel
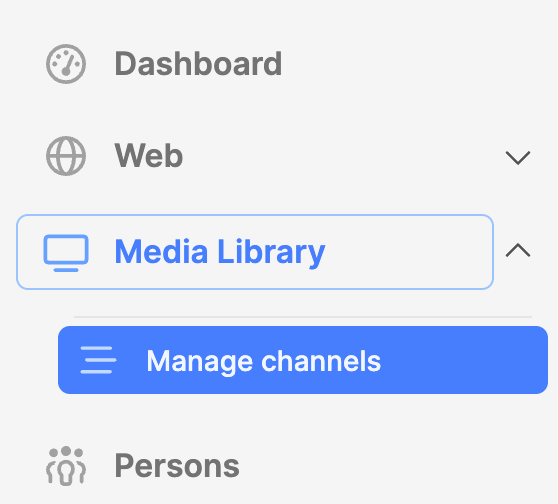
- Navigate to the Media Library module and click to expand it.
- Click on the Manage channels submodule.
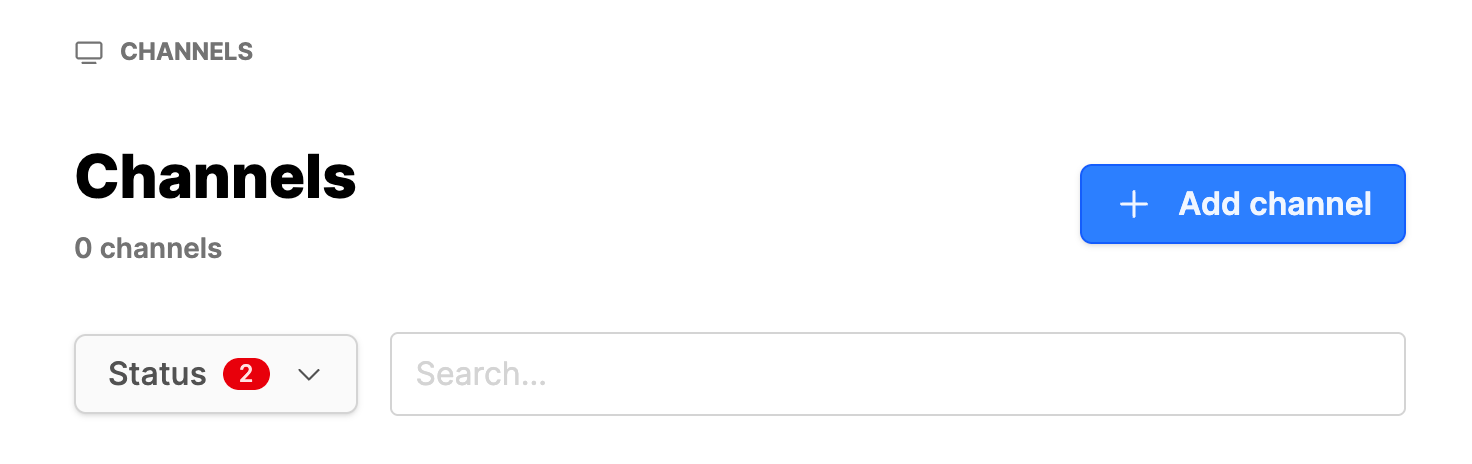
- Click on the Add channel button in the upper right corner.
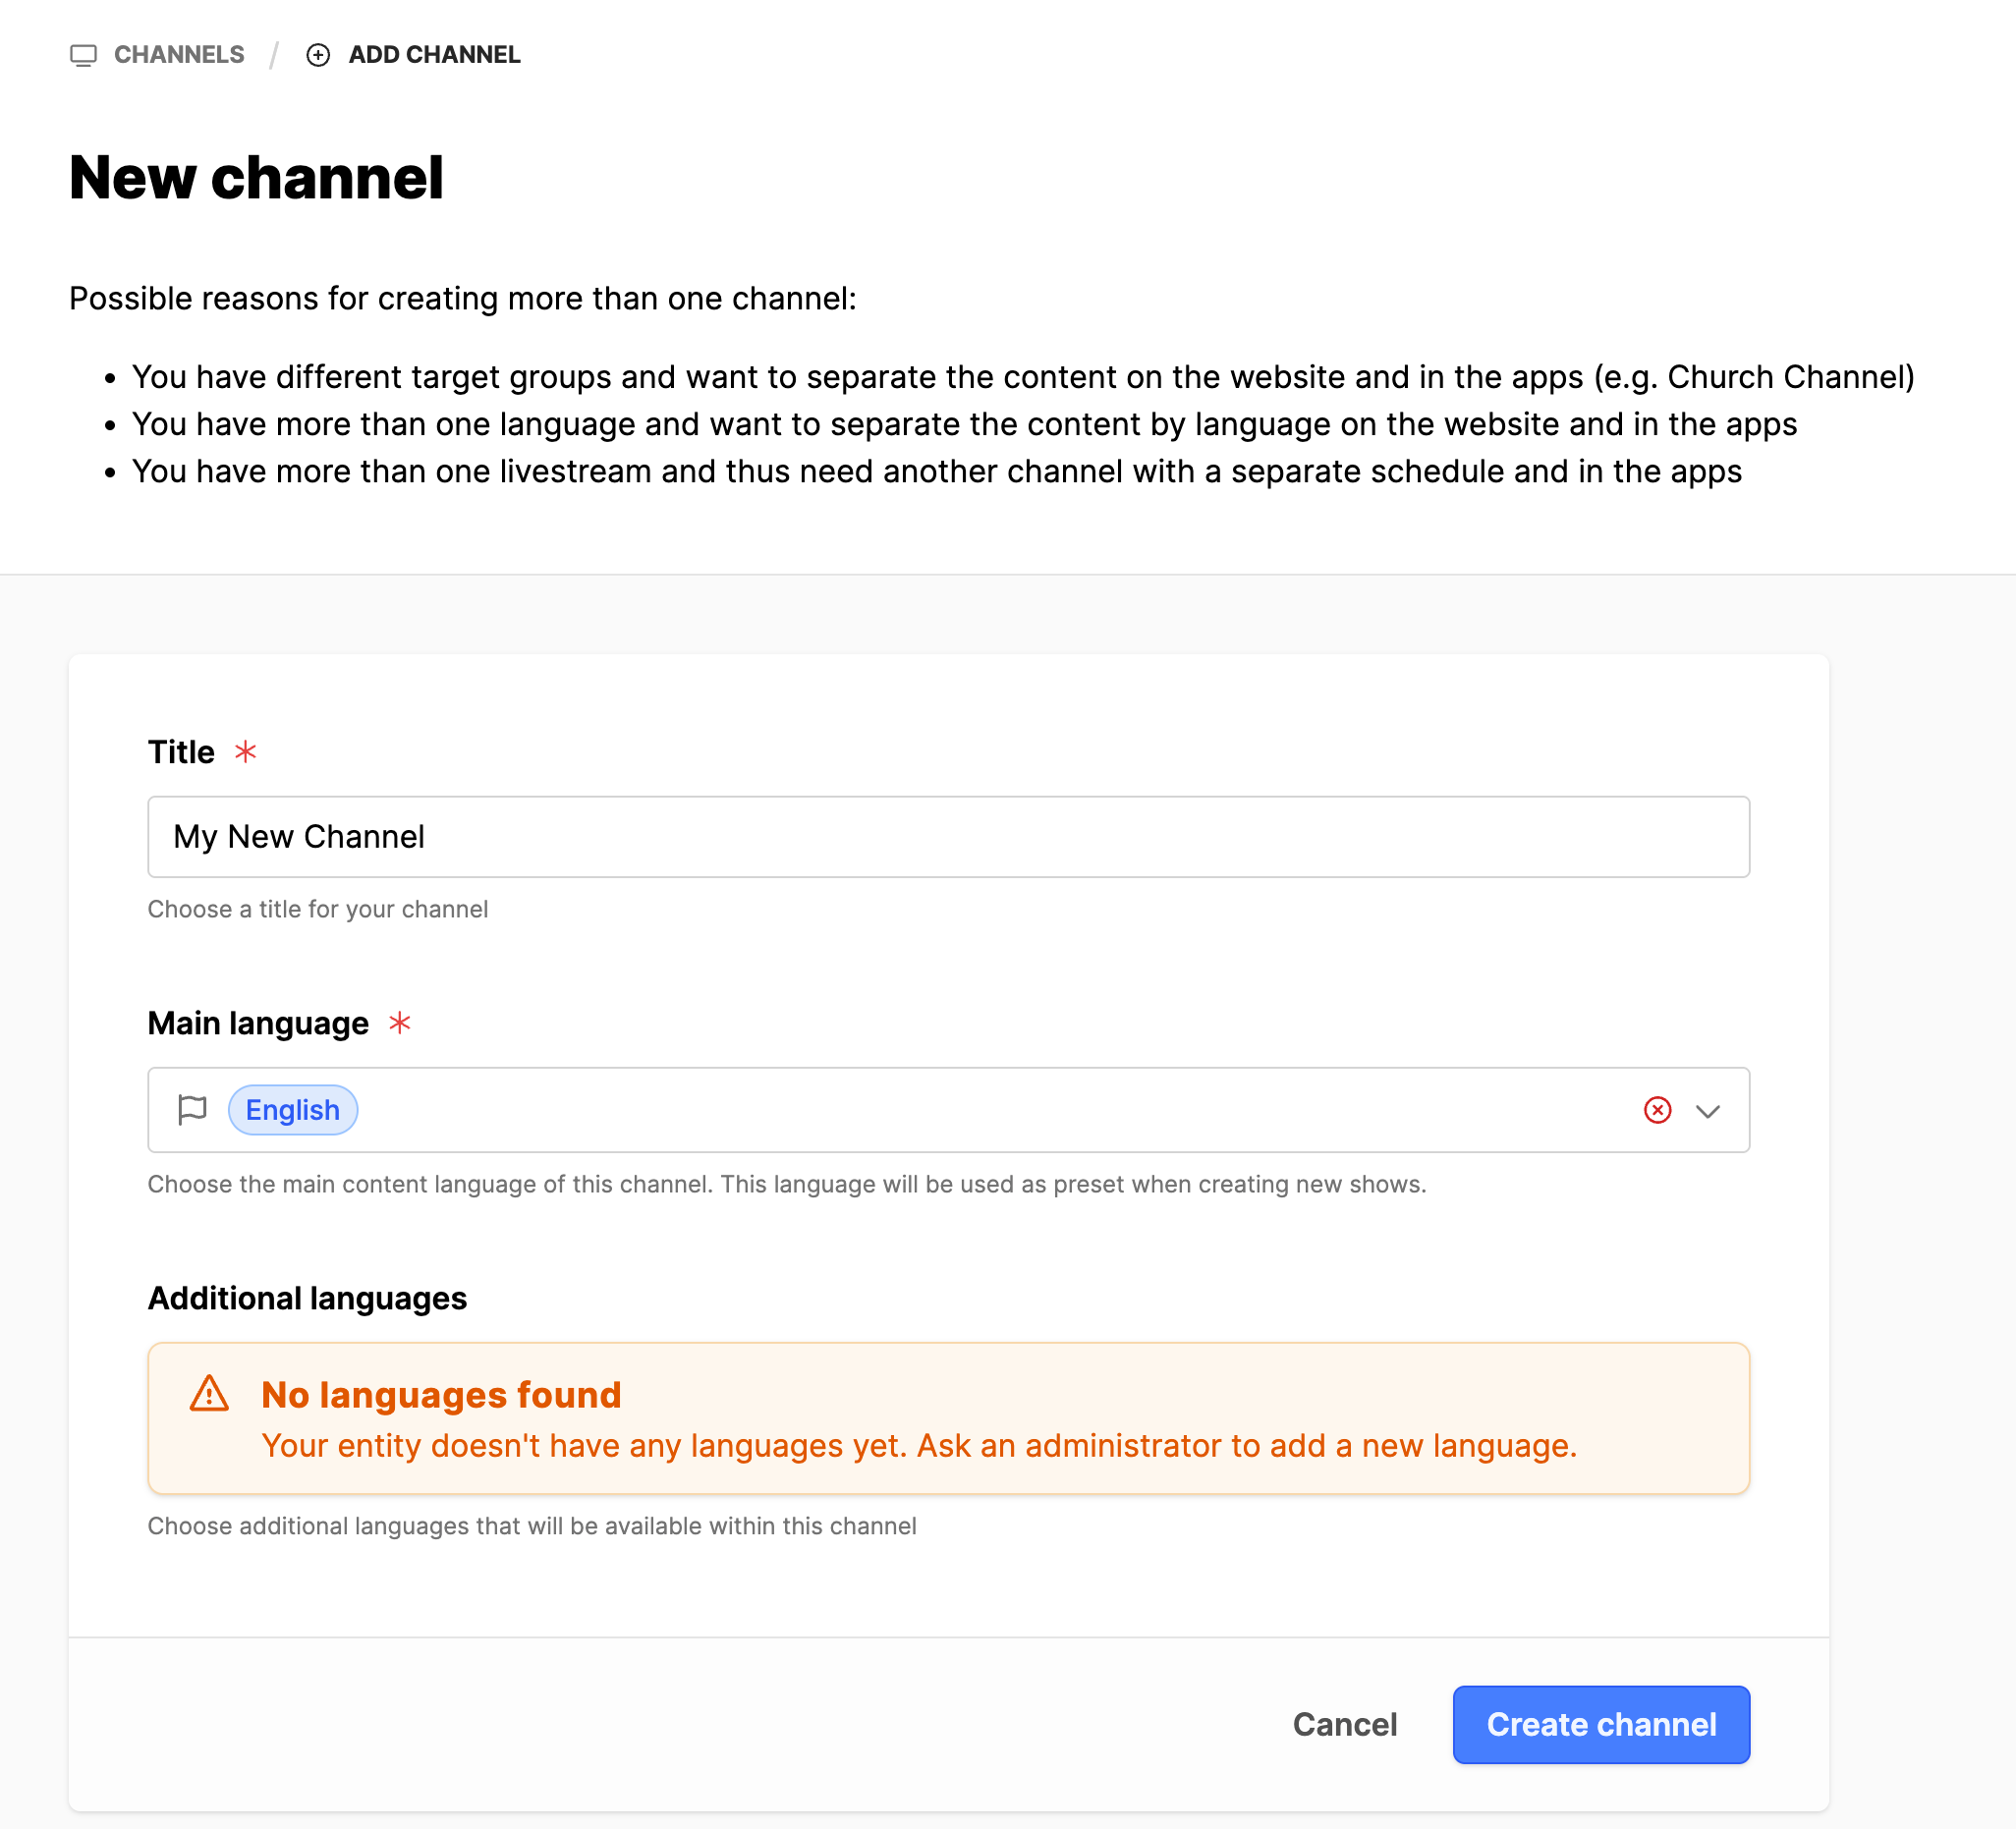
- Title: Provide the title for the channel.
- Main language: Select the language of the channel.
- Additional languages: (optional) Channels are a single language at this time.
- Click on the Create channel button.
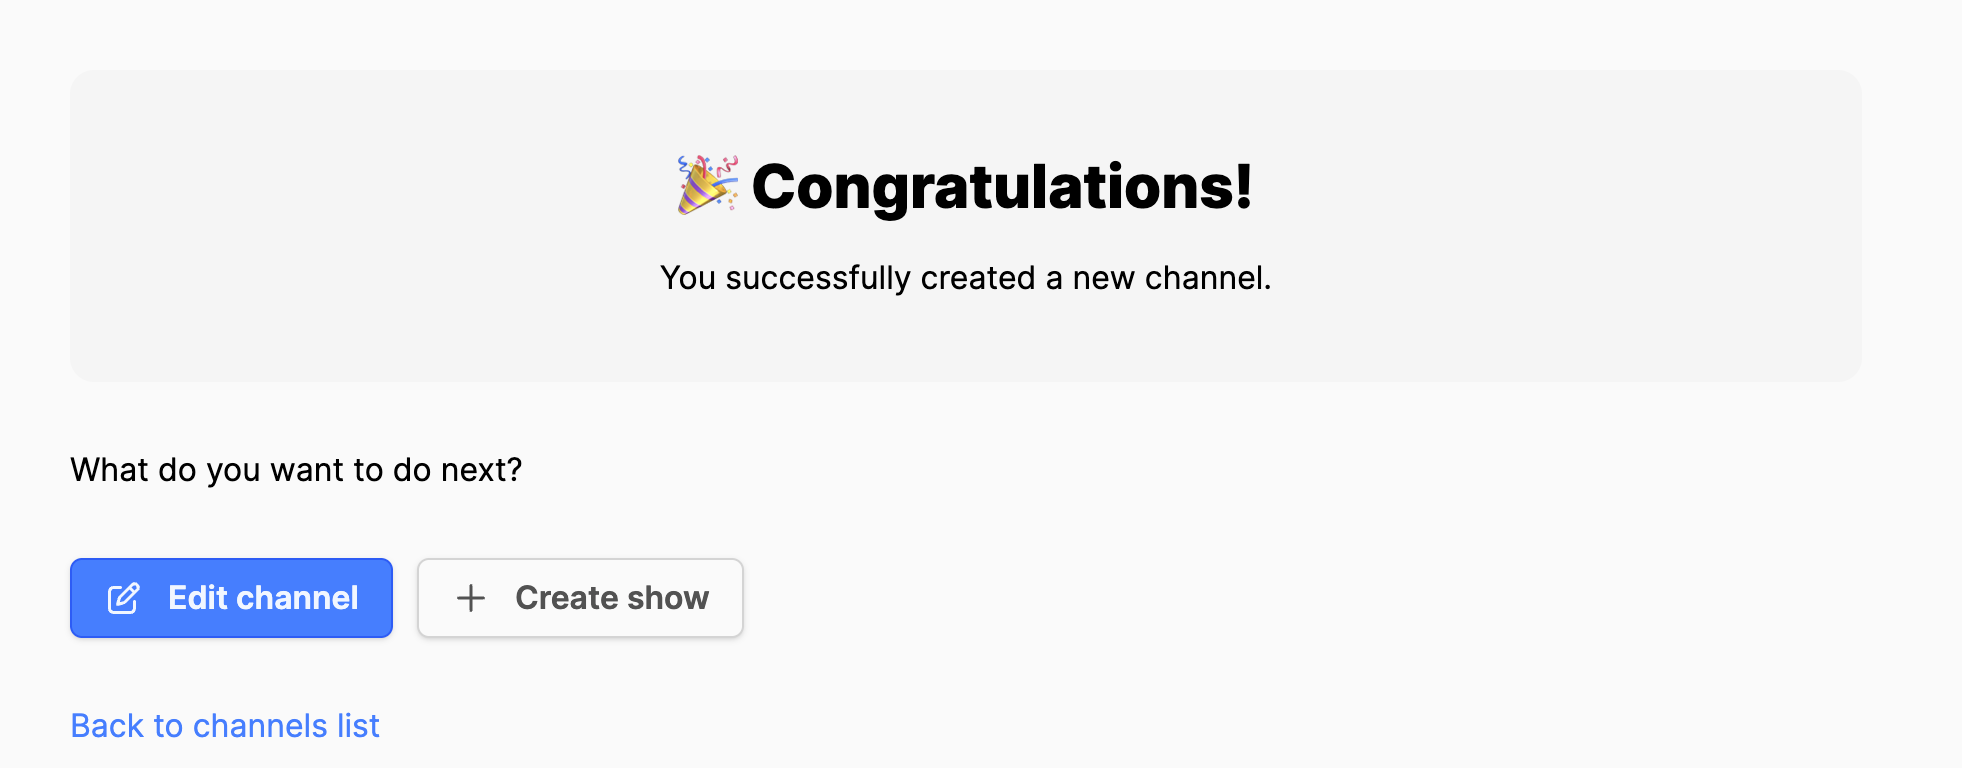
- The next screen appears with the following options:
- Edit the new channel just created
- Create a show for the new channel
- Return to the channels list
- Click on Edit channel button
Channel settings and configuration
As needed the Channel can be configured with the additional metadata and settings. Expand the Channel to see these submodules.
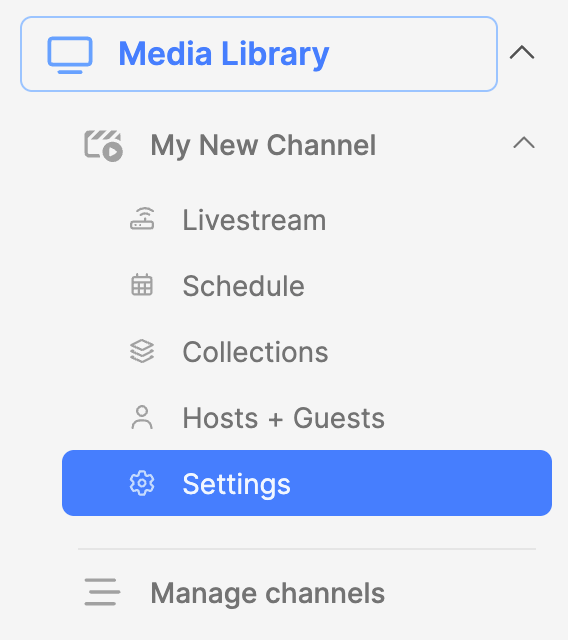
Channel Livestream
See link below on Adding a Livestream to the Channel.
Channel Schedule
See link below on Adding a Livestream Schedule.
Channel Collections
See link below on how to Create a Media Library Collection.
Channel Hosts & Guests
See link below on Adding Hosts & Guests to the Media Library.
Channel Settings
The Channel Settings provide additional information about the channel. Access by clicking on the Settings submodule beneath the channel.
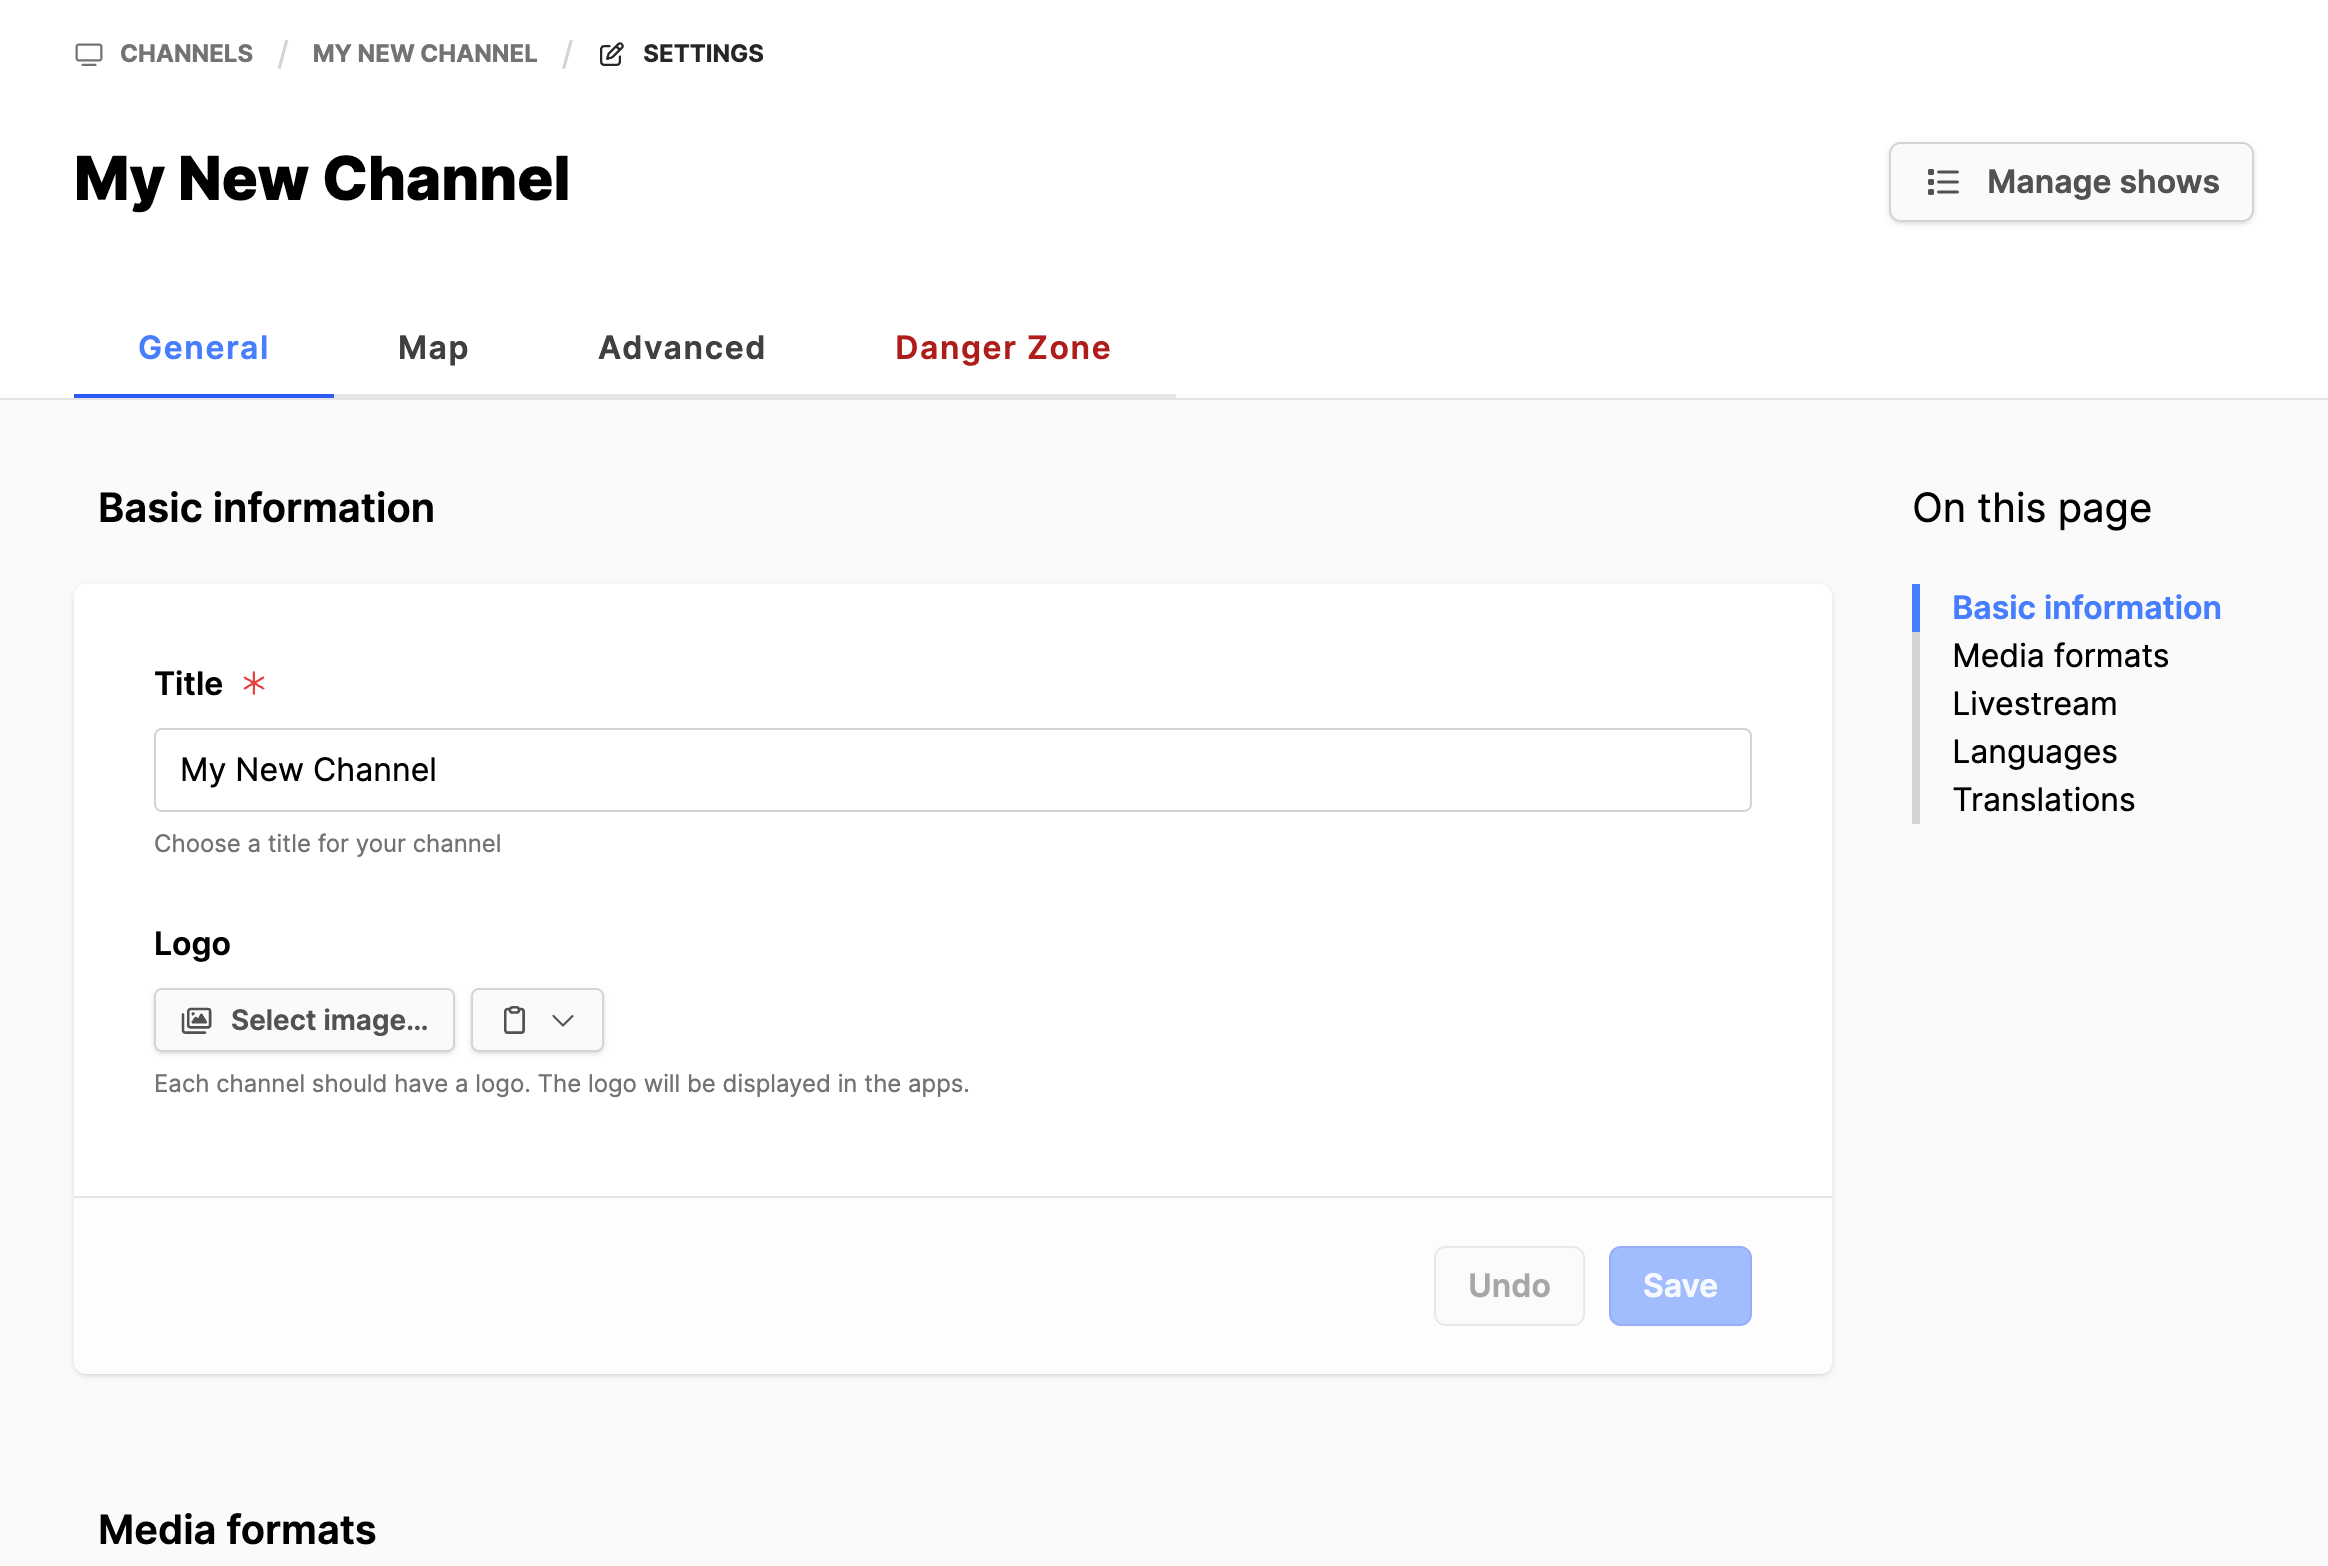
- General tab:
- Basic information: Choose a Title and Logo.
- Media formats: Choose the media formats used.
- Livestream: This is the same as Livestream submodule.
- Languages: Set the language of the channel.
- Translations: Enable translations if desired.
- Click the Save button in each area where changes are made.
- Map tab:
- Add the channel to the global partner map by filling in the fields.
- Hide in Map: Note! Check the box to hide a channel serving a restricted country so it will not appear on the map.
- Override titles: If you want to rename the titles of channels on the map on your website, you can do so here.
- Click the Save button in each area where changes are made.
- Advanced tab:
- RSS Feed / Podcasts: Set default values for this channel's RSS feed.
- Vimeo Settings: Add channel Vimeo Pro settings, if available.
- Jetstream Settings: Add synching specific information from Jetstream.
- Media Settings: These are some additional episode/podcast settings.
- Click the Save button in each area where changes are made.
Additional information
- Adding a Livestream to the Channel
- Adding a Livestream Schedule
- Creating a Media Library Show
- Adding an Episode to a show
- Create a Media Library Collection
- Adding Hosts & Guests to the Media Library