
Overview
A Show is the parent element that contains all of the episodes for a series. Creating a bare minimal show is very quick. However, don't forget to add the metadata for the show so the show has the information to display in the frontend.
For partners who are using the Jetstream platform, please note that it is possible to setup the connection between Jetstream and Web Engine, so the publishing done in Jetstream is pushed to Web Engine as well. Please ask the support team for more information if this is your workflow.
Note: A Show for the Web Engine Media Library is a Brand in Jetstream terminology.
How to
Add a show
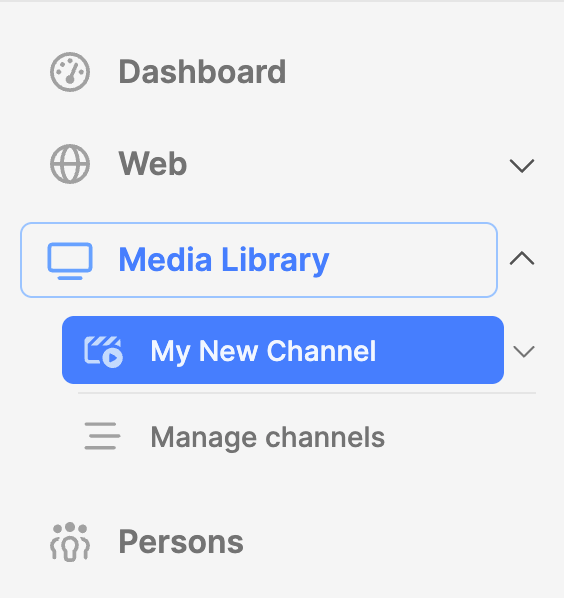
- Navigate to the Media Library module and expand it.
- Click on the Channel name.
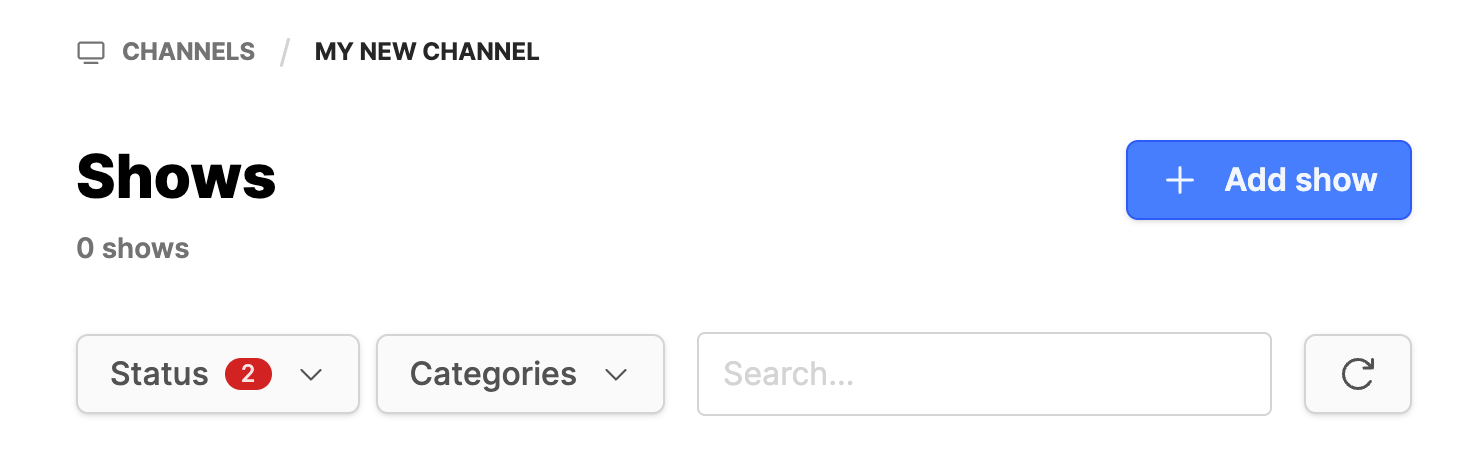
- The Shows index page will appear on the right.
- Use the Shows list to find a show for editing, disabling, etc.
- Click on the button Add show to add a new show.
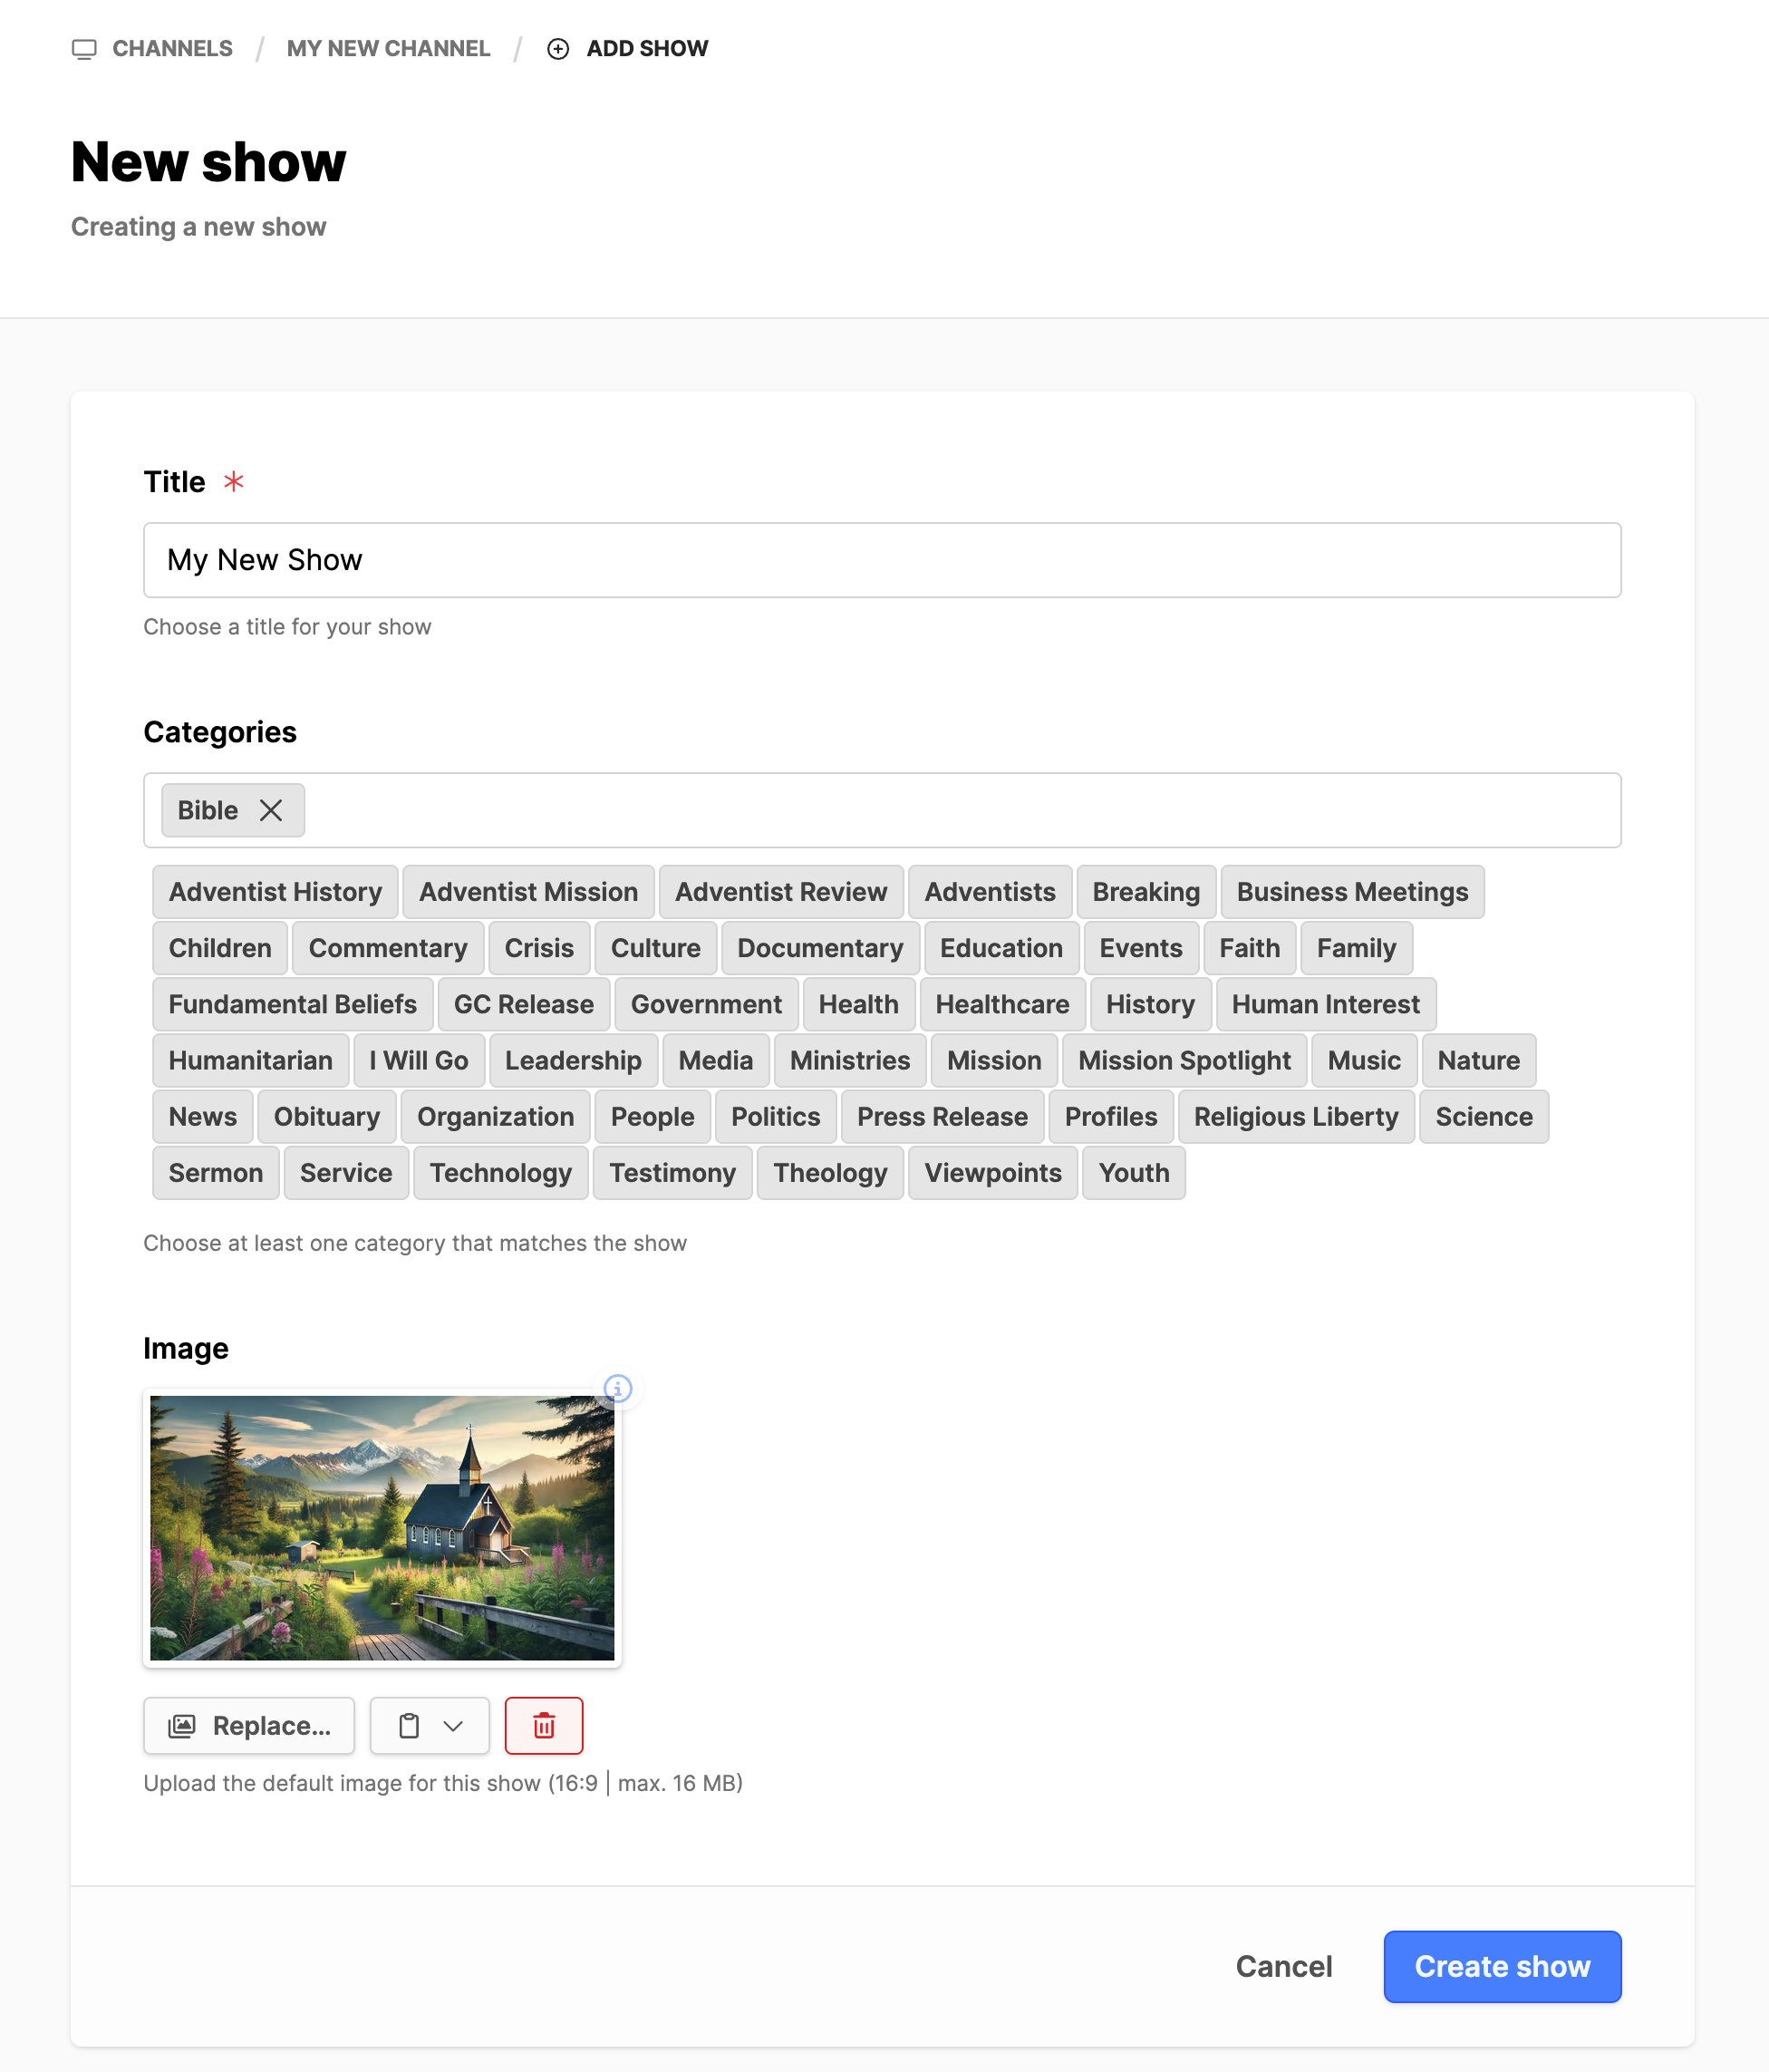
- Title: Add the title for the show.
- Categories: Pick a category from the list displayed.
- Note: Use one, maybe two categories. Using too many categories will cause the show to list in multiple collections. This can have an adverse effect on layout and make it appear that you do not have much content.
- Image: Add a 16x9 image. 2K image recommended.
- Scroll down and click on the Create show button. A new show has been created.
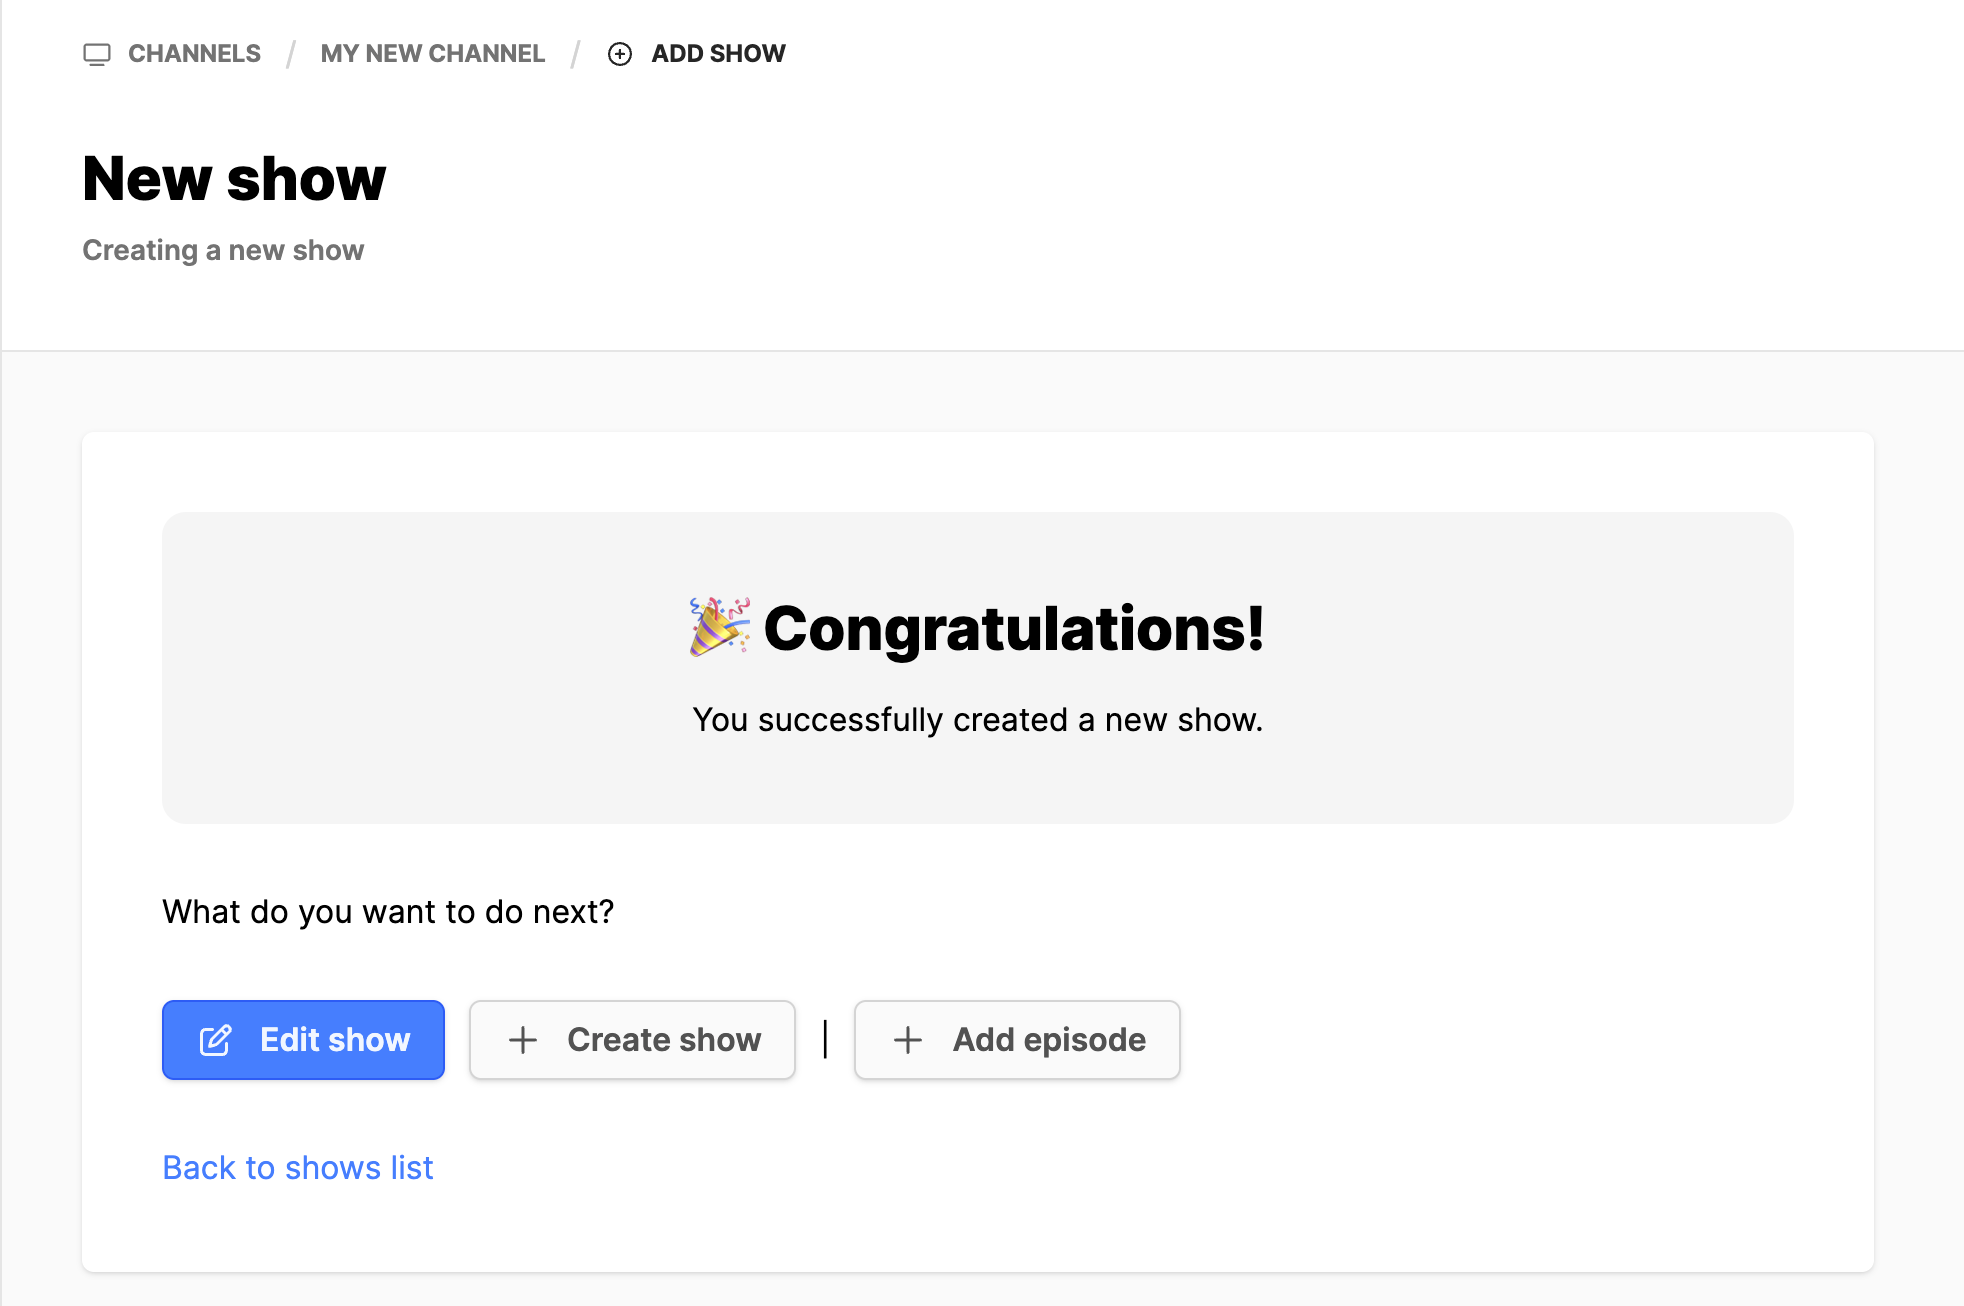
- From the success screen you can:
- Edit the show just created.
- Create another show.
- Add episodes to the show just created.
- It is a good idea to edit the show to add in the additional information to display in the frontend.
- Click on the Edit show button to add or update the show metadata.
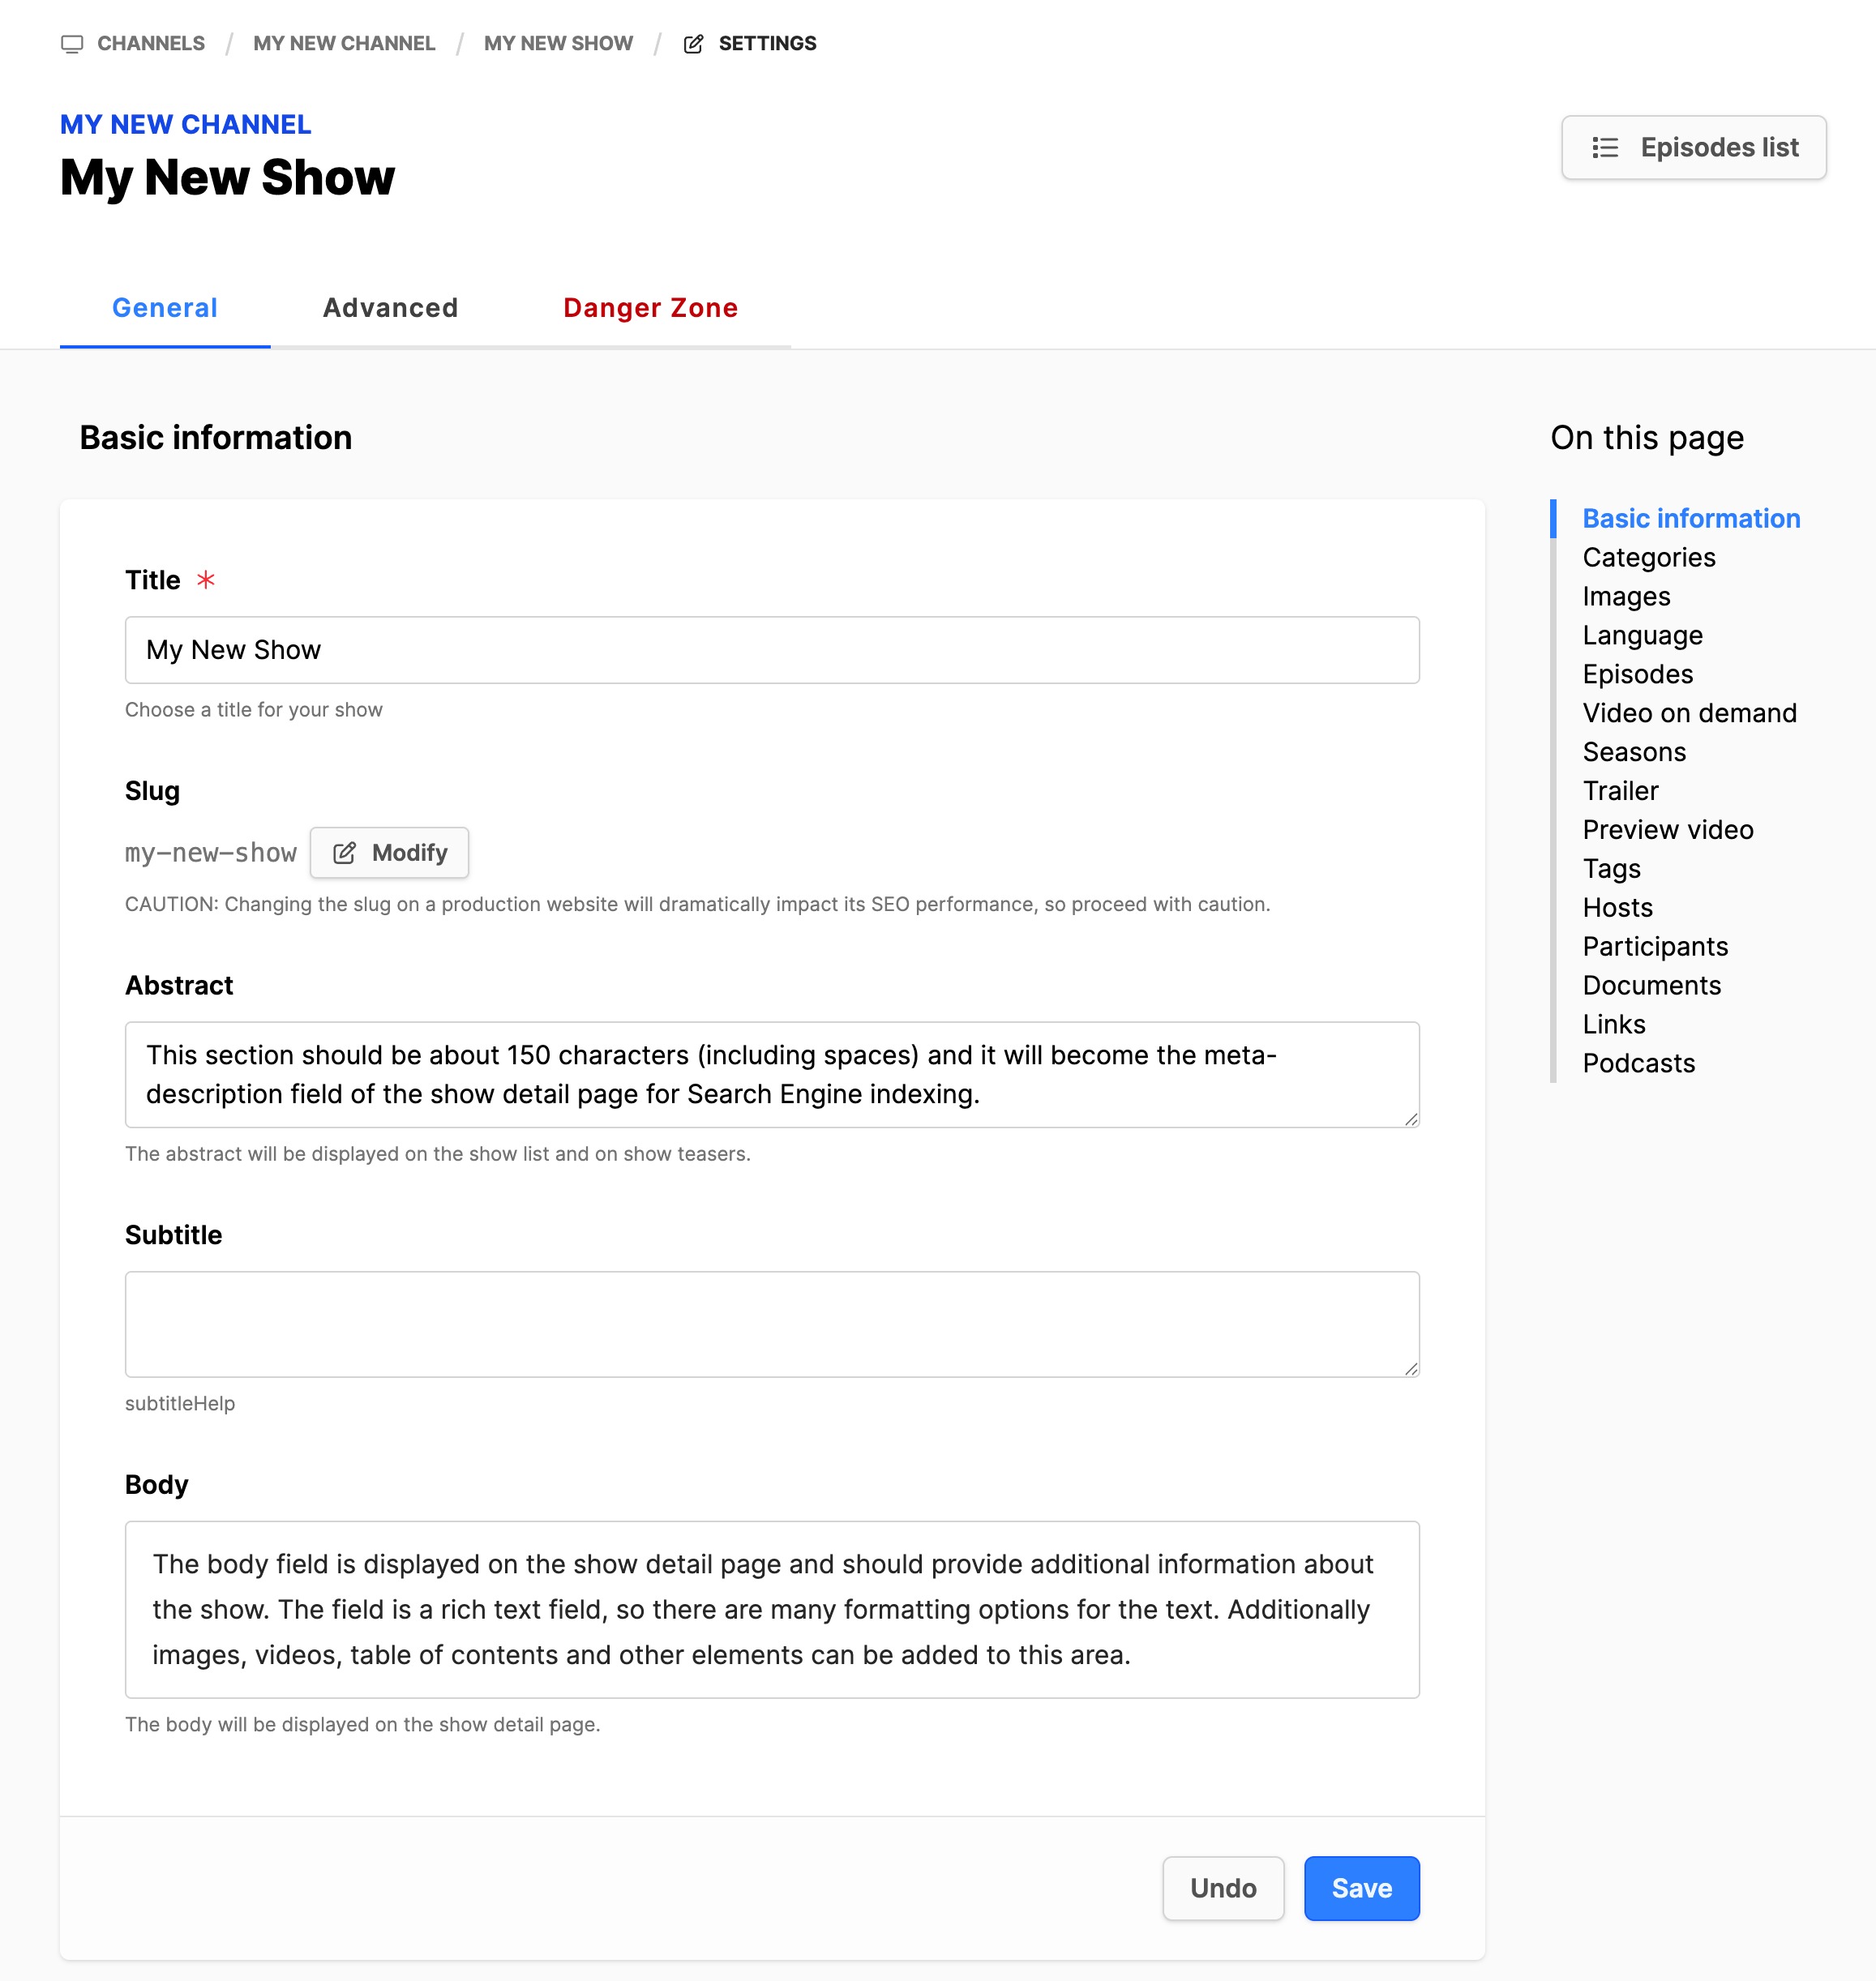
It is a good idea to add at least the information in the Basic information section of the General tab. This will provide viewers with the basic information about why they might want to watch this show.
- Title: Adjust the title if necessary.
- Abstract: Add an abstract text. The abstract text will be displayed on the show list and on show teasers.
- Body: Add a descriptive body text. This appears on the landing page, if enabled.
- Click on the Save button.
Add Seasons to a show
Some partners may work with Seasons for their shows that will be or have been running over multiple years. The Media Library module allows for the creation of Seasons for the show. Follow the steps below to create Seasons for the show:
If the show is not already open for editing:
- Navigate to the Media Library module and expand it.
- Click on Channel name.
- Locate the Show from the list in the index page to the right.
- Under the column Actions, click on the 3 dots next to the show, click on Info, then click on the Edit button.
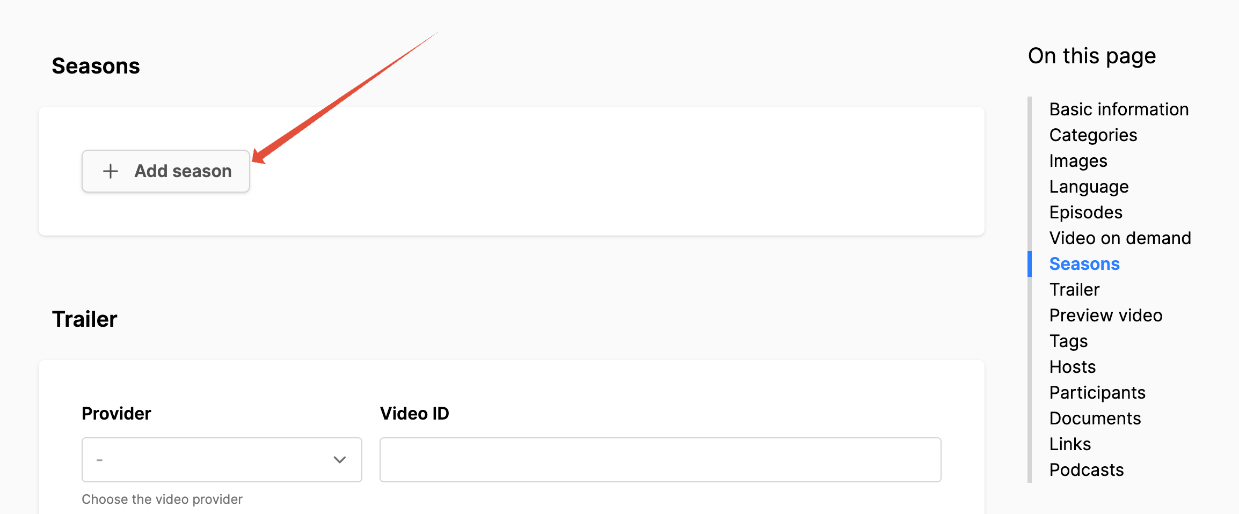
- On the General tab, scroll down to the Seasons section.
- Click on the Add season button.
- When the season appears, expand it with the dropdown arrow to the right.
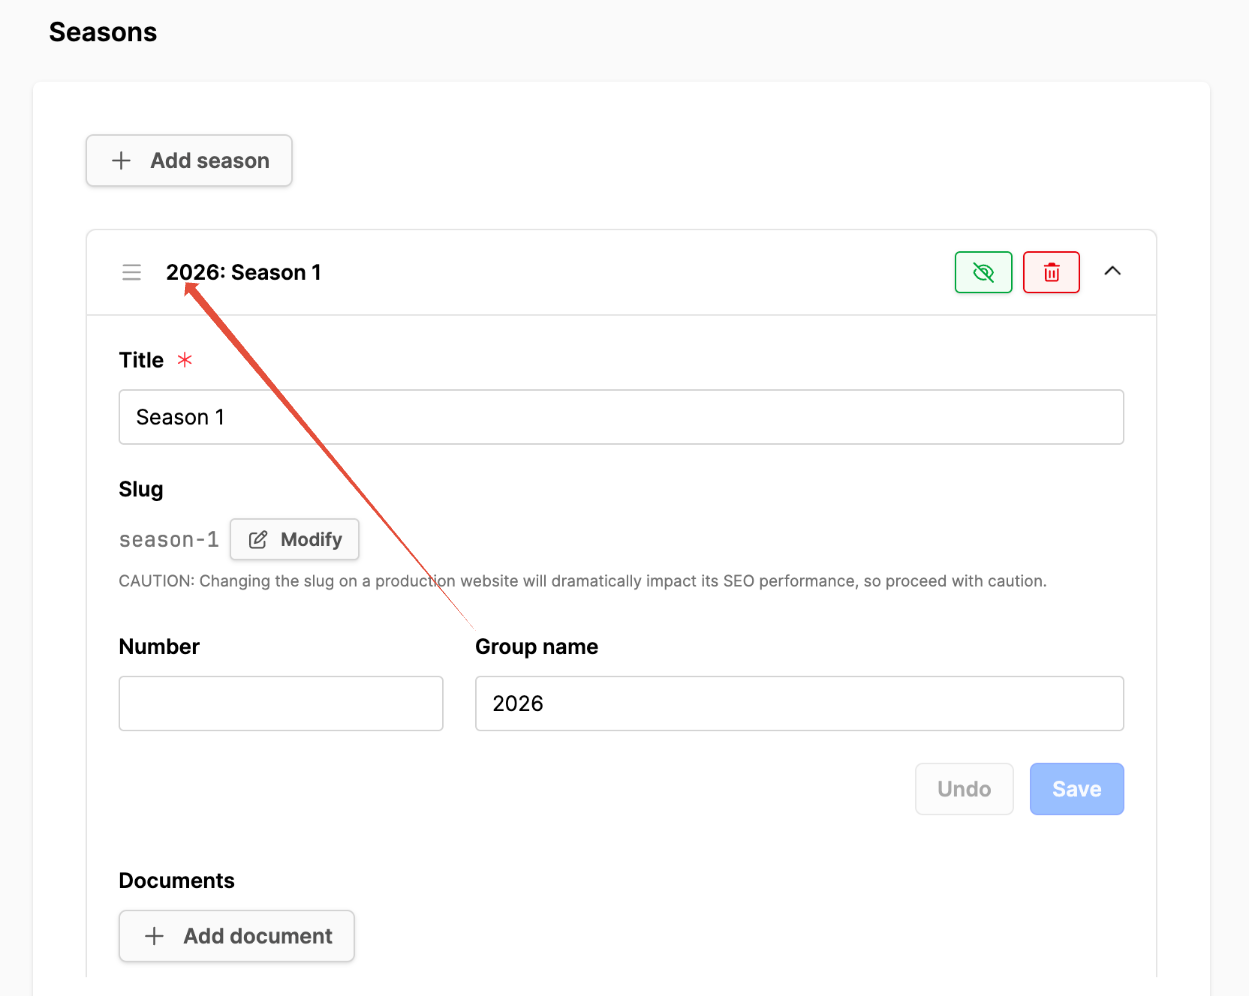
Add the following information:
- Title: Add the season name (used for a new episode or episode filter on the show detail page).
- Number: This is not currently used.
- Group Name: Use it to group seasons (ex. 2026).
- Documents: These can be displayed on the Episode Detail page if desired.
- Click on the Save button if changes were made.
Additional information
- Creating a Media Library Channel
- Adding an Episode to a Show
- Adding Hosts & Guests to the media library
- Adding Media Library pages to a website