
Overview
Every image and document in the Web Engine lives in one central, per-entity File Manager library. All images and documents an entity has uploaded live in one browsable place, that is searchable, with folders and collections.
The File Manager has two submodules: Images and Documents. This helps to organize the types of assets you will use on the website and find things more quickly.
The File Manger can be used with either of two workflows or with both as needed. The website assets can be uploaded first in the File Manager and then accessed as needed when working with the Frontend blocks. The second option is to work on the website and upload assets as needed. They will automatically be stored in the File Manager when added to a Frontend block. Either way should work, it just depends on your preference.
General Concepts
- Wherever you need a file or image for a Frontend Block on the website there's a picker. Either reuse something in the File Manager or upload a new file (which is automatically added into the File Manager).
- Collections: A file can belong to many collections (groupings that can span across multiple folders). Think of a Collection as a "label" applied to a group of files, that can be in multiple folders. A file is not stored in a collection, only referenced by it.
- Usages: Each asset shows its usages (under Details) — every page/block/record it's embedded in. This also prevents accidental deletion: a file that's in use (or in a collection) can't be deleted until it's freed.
- Storage overview: Each organization has storage counters (Images/Documents), so usage is visible.
- For older files uploaded before the library existed, click on the icon to move them into the File Manager.
Notes:
- Everything is per-organization (entity-scoped). One entity never sees another's assets — by design.
- Some upload spots are intentionally not part of the File Manager: avatars, site logo/favicon, fonts, Jetstream links, audio uploads, and publication files. If those look "different" (no picker), that's expected — they route to their own dedicated storage.
How to
Upload a file to the File Manager
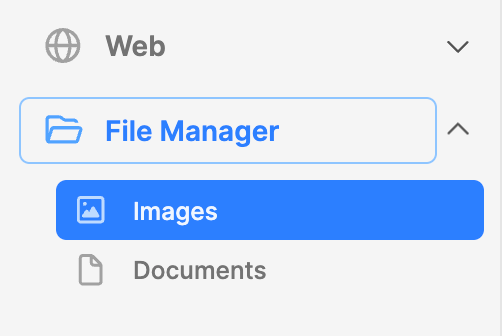
- Click on the File Manager module to expand it.
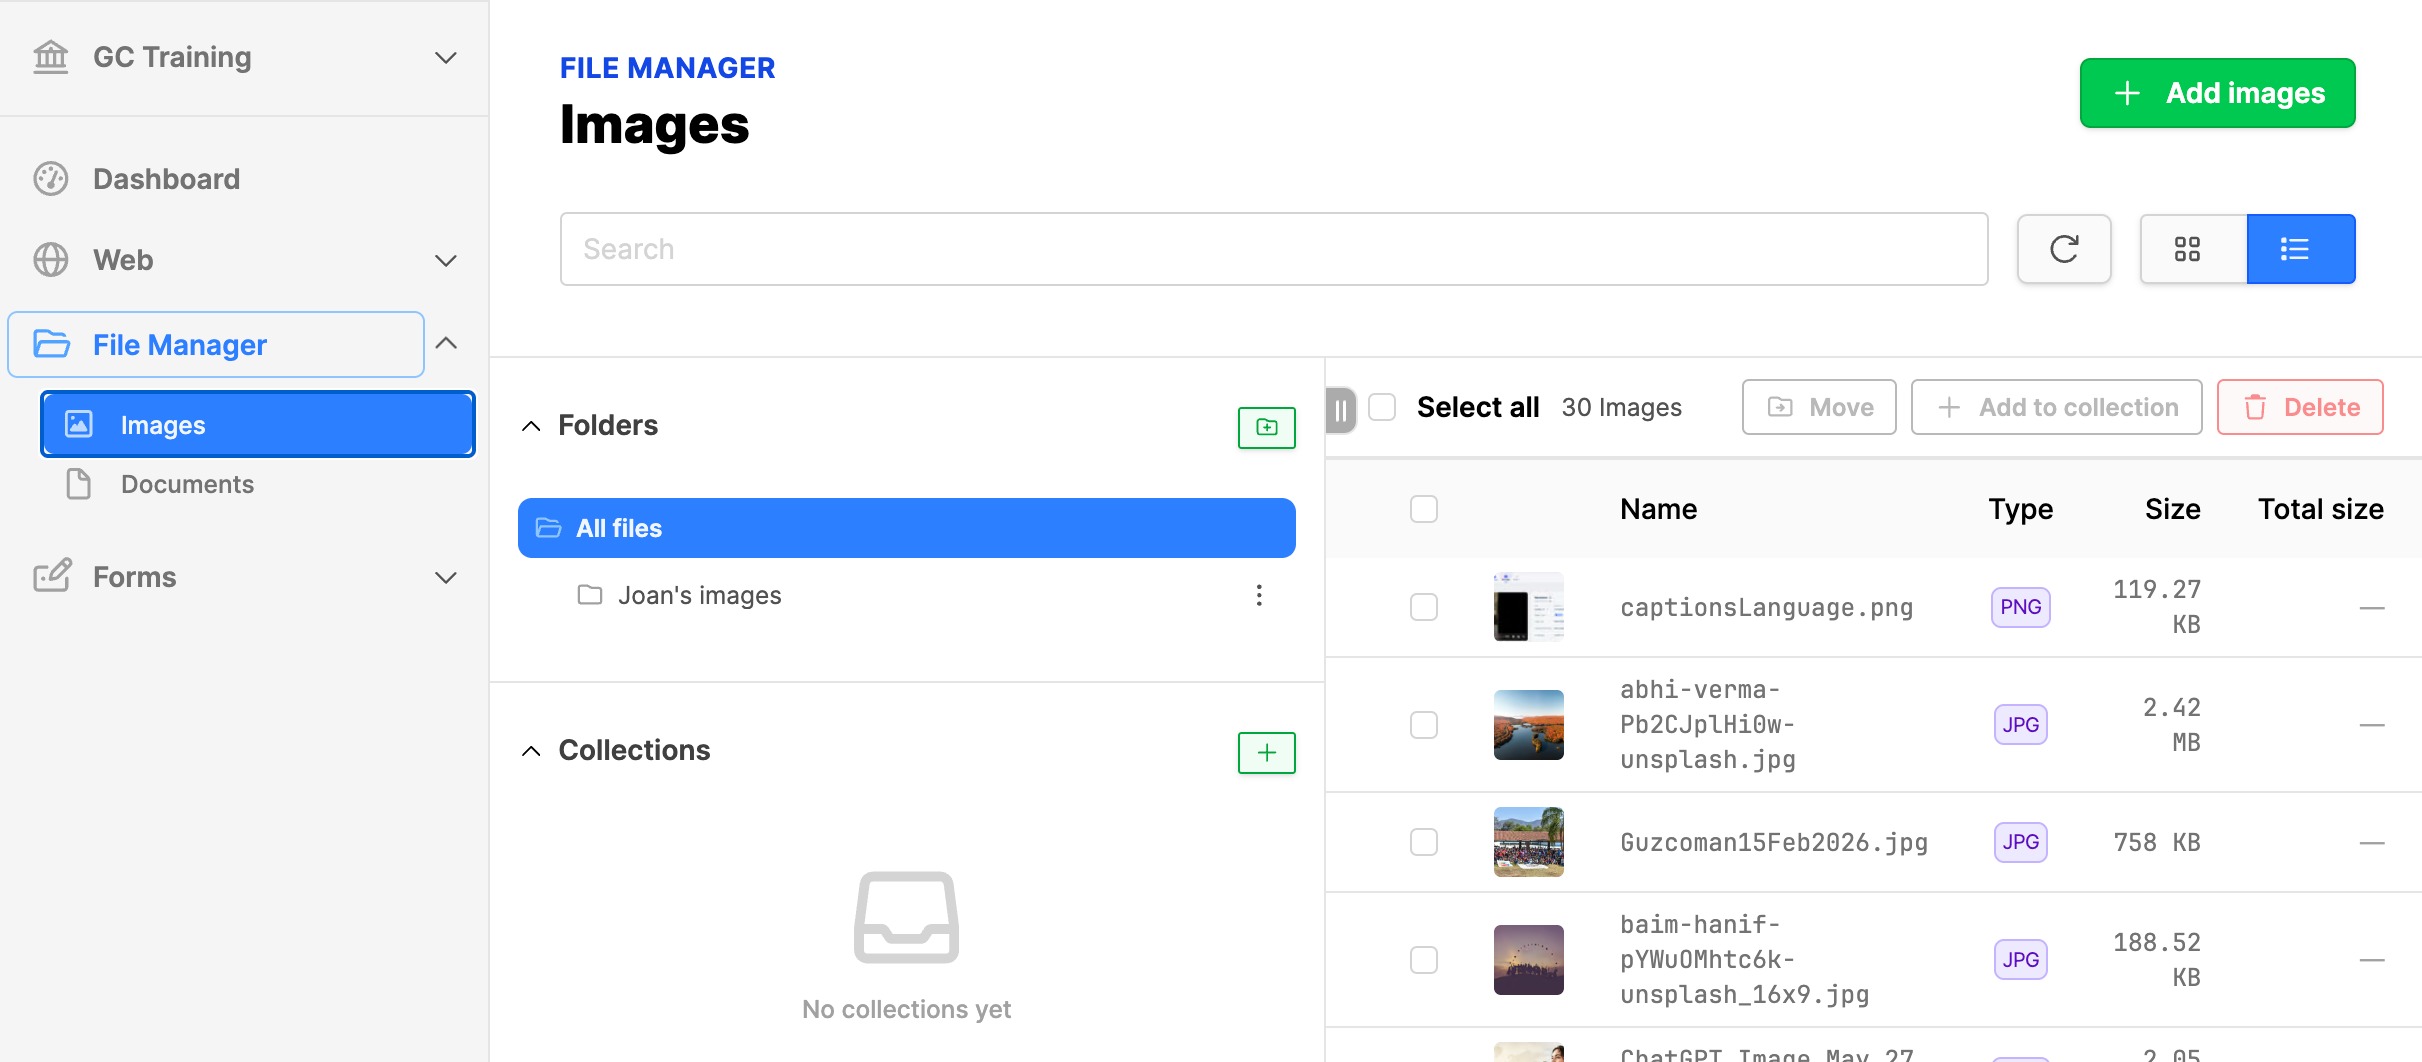
- Select the option for the type of asset to upload: Images or Documents. (We will demo Images.)
- To upload, click on the Add images button on the upper right.
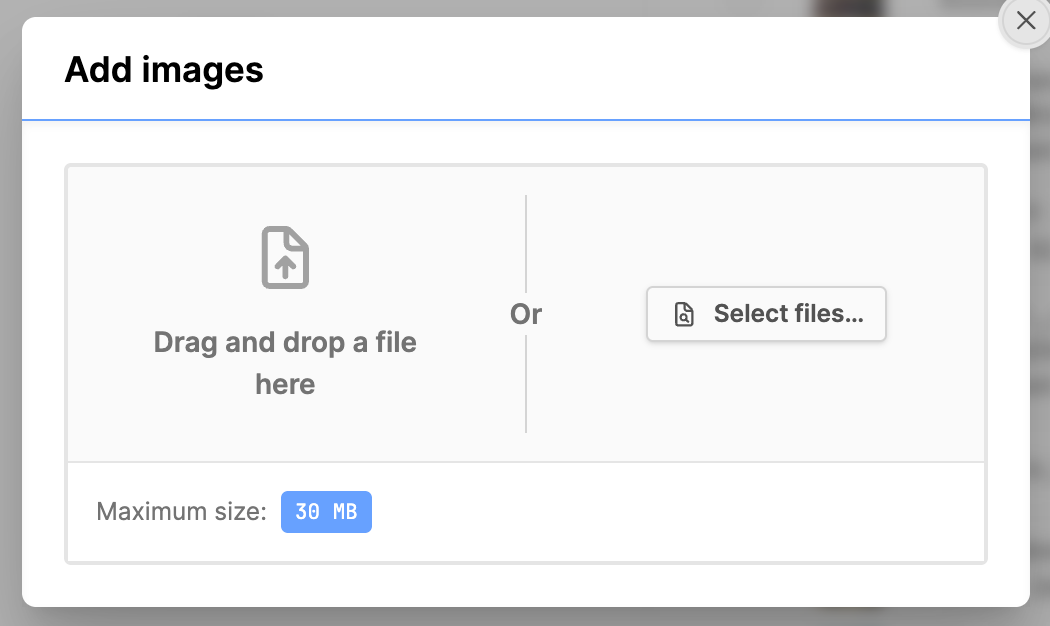
- Either Drag and drop the image into the modal box or click on the Select files button to navigate to your computer directories to find the file you are looking for.
- As soon as the image is added, the modal box should close, and the image should be uploaded.
- You will be able to find the image in the All files folder when it is first uploaded.
- When you add a frontend block and need to use the image, a picker should be available to choose the image.
Create folders under the File Manager
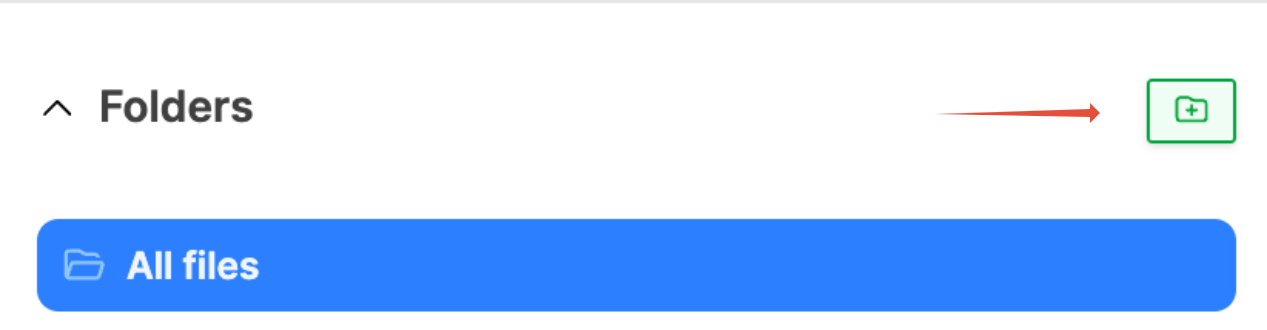
- Click on the green folder icon with a + across to the right of the Folders title.
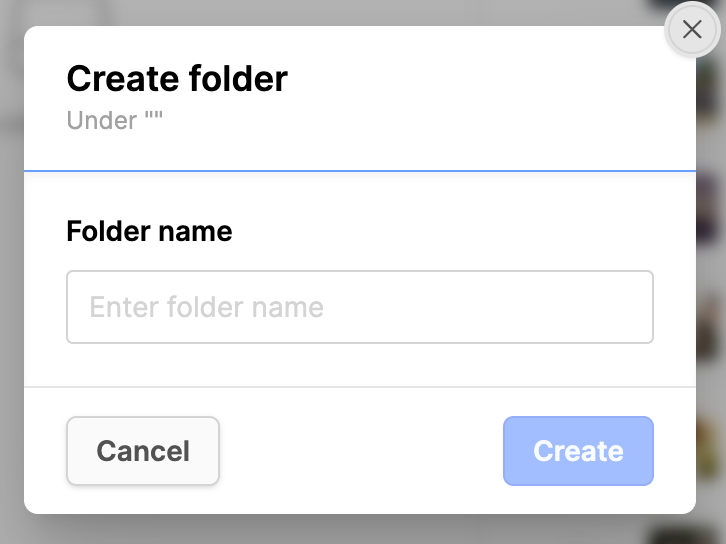
- Folder name: Add the folder name.
- Click on the Create button.
- The new folder will appear in the Folders list.
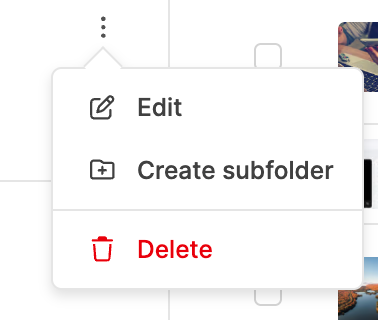
- Click on the three vertical dots next to the folder name.
- Now you can:
- Edit the folder
- Create a subfolder
- Delete the folder
Organize assets into the folders under the File Manager
- To move the file to another folder, set a checkmark in the checkbox for the file.
- The Move button at the top will activate. Click on the Move button.
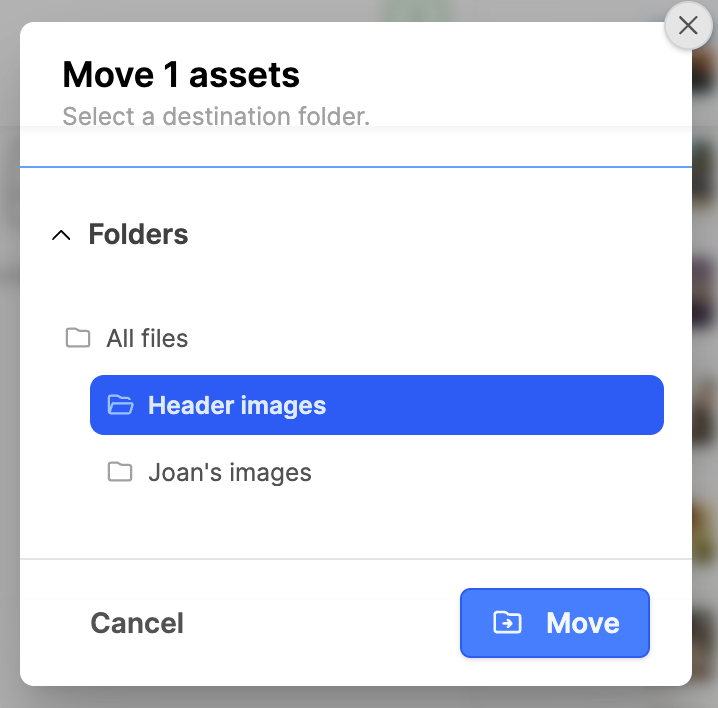
- Click on the destination folder.
- Click on the Move button.
- The modal box will close.
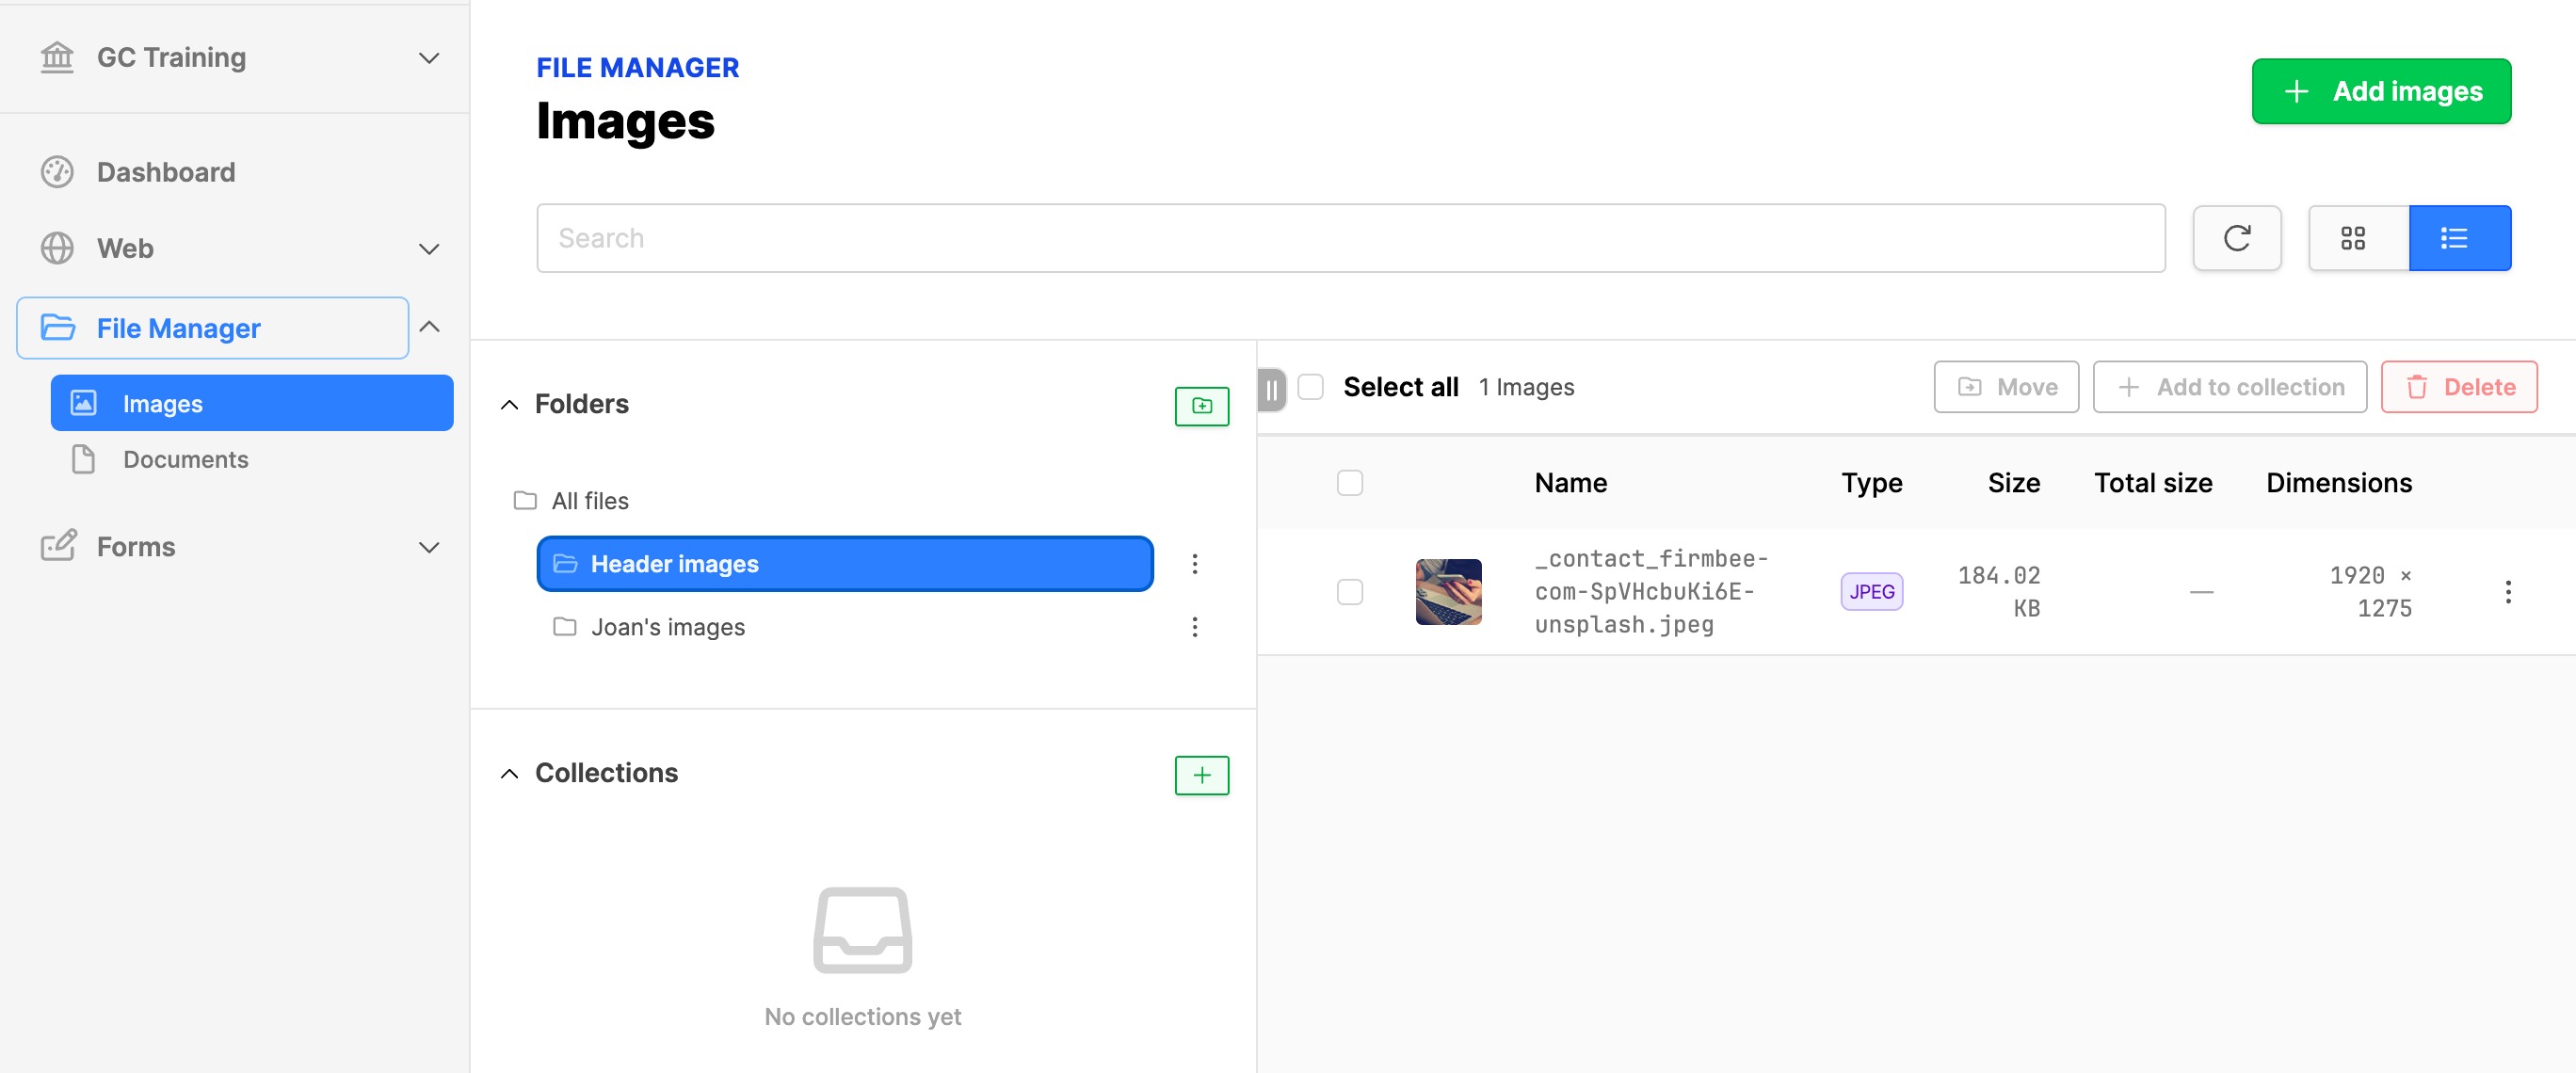
- Click on the destination folder.
- The file should be there now.
- Important to note: The All files folder will always list all of the files, so that you can find something quickly. The file may be in a folder or subfolder, but the All files folder lists everything.
Delete folders under the File Manager
- Click on the three vertical dots next to the name of the folder.
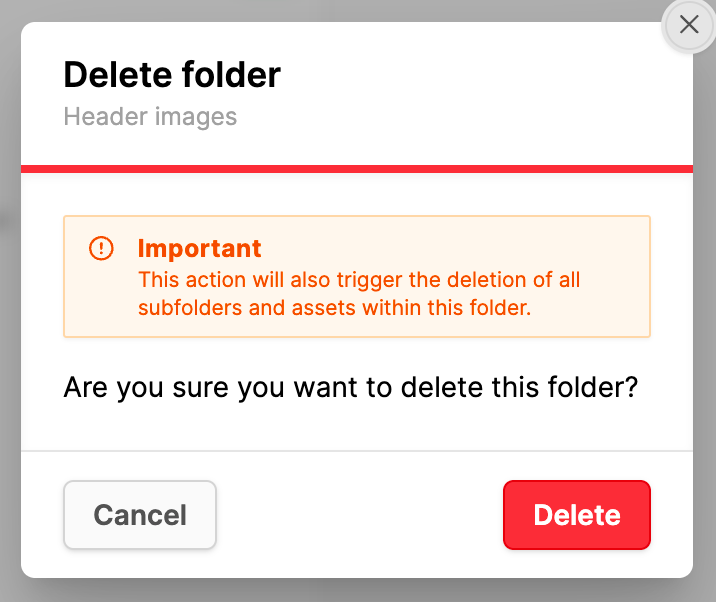
- Click on Delete.
- Important to note: as per the message in the image, deleting a folder removes the assets as well.
Delete Files and Folders
- If attempting to delete a file that is used, it is currently possible to do that. This may change in the future.
- Deleting folders containing files is protected. Folders must be empty before they can be deleted.
Create a Collection or add Files to a collection
A collection is a reference to a file or files in the File Manager. Files are stored in folders, not in the collections. Think of a Collection as a label to create a group of files, by reference to them.
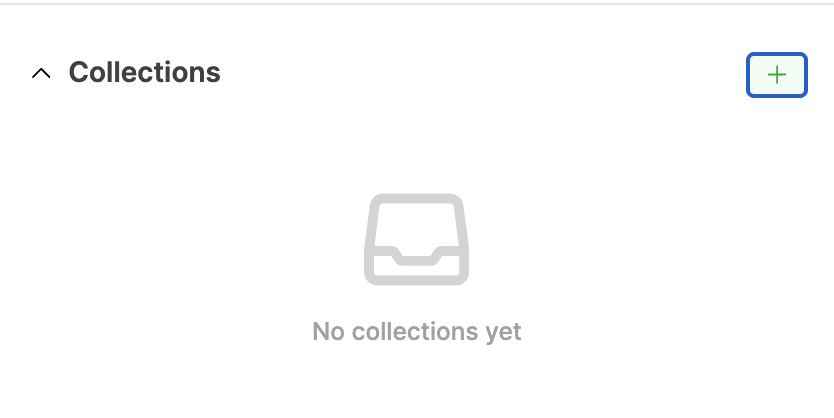
- Click on the "+" icon to the right of the Collections title.
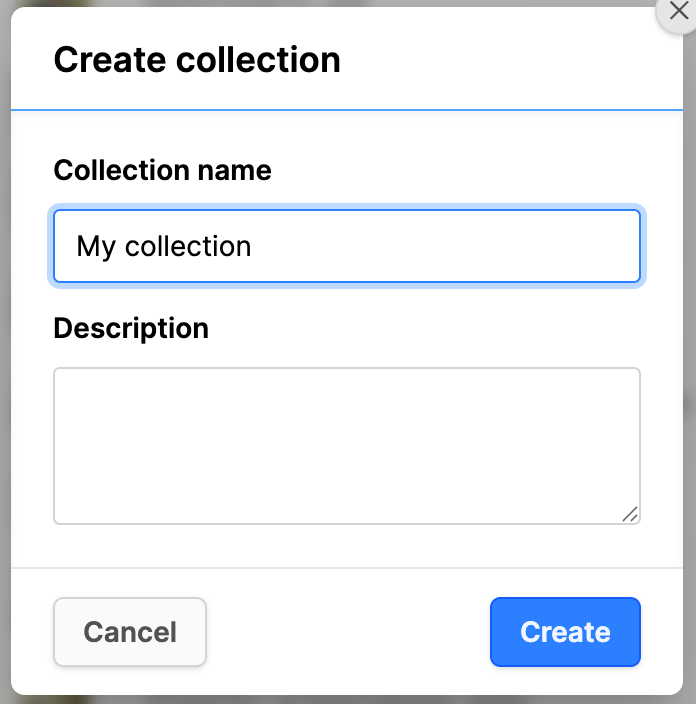
- In the modal box, provide a Collection name and Description.
- (BUG: do not add a description at this time)
- Click on the Create button.
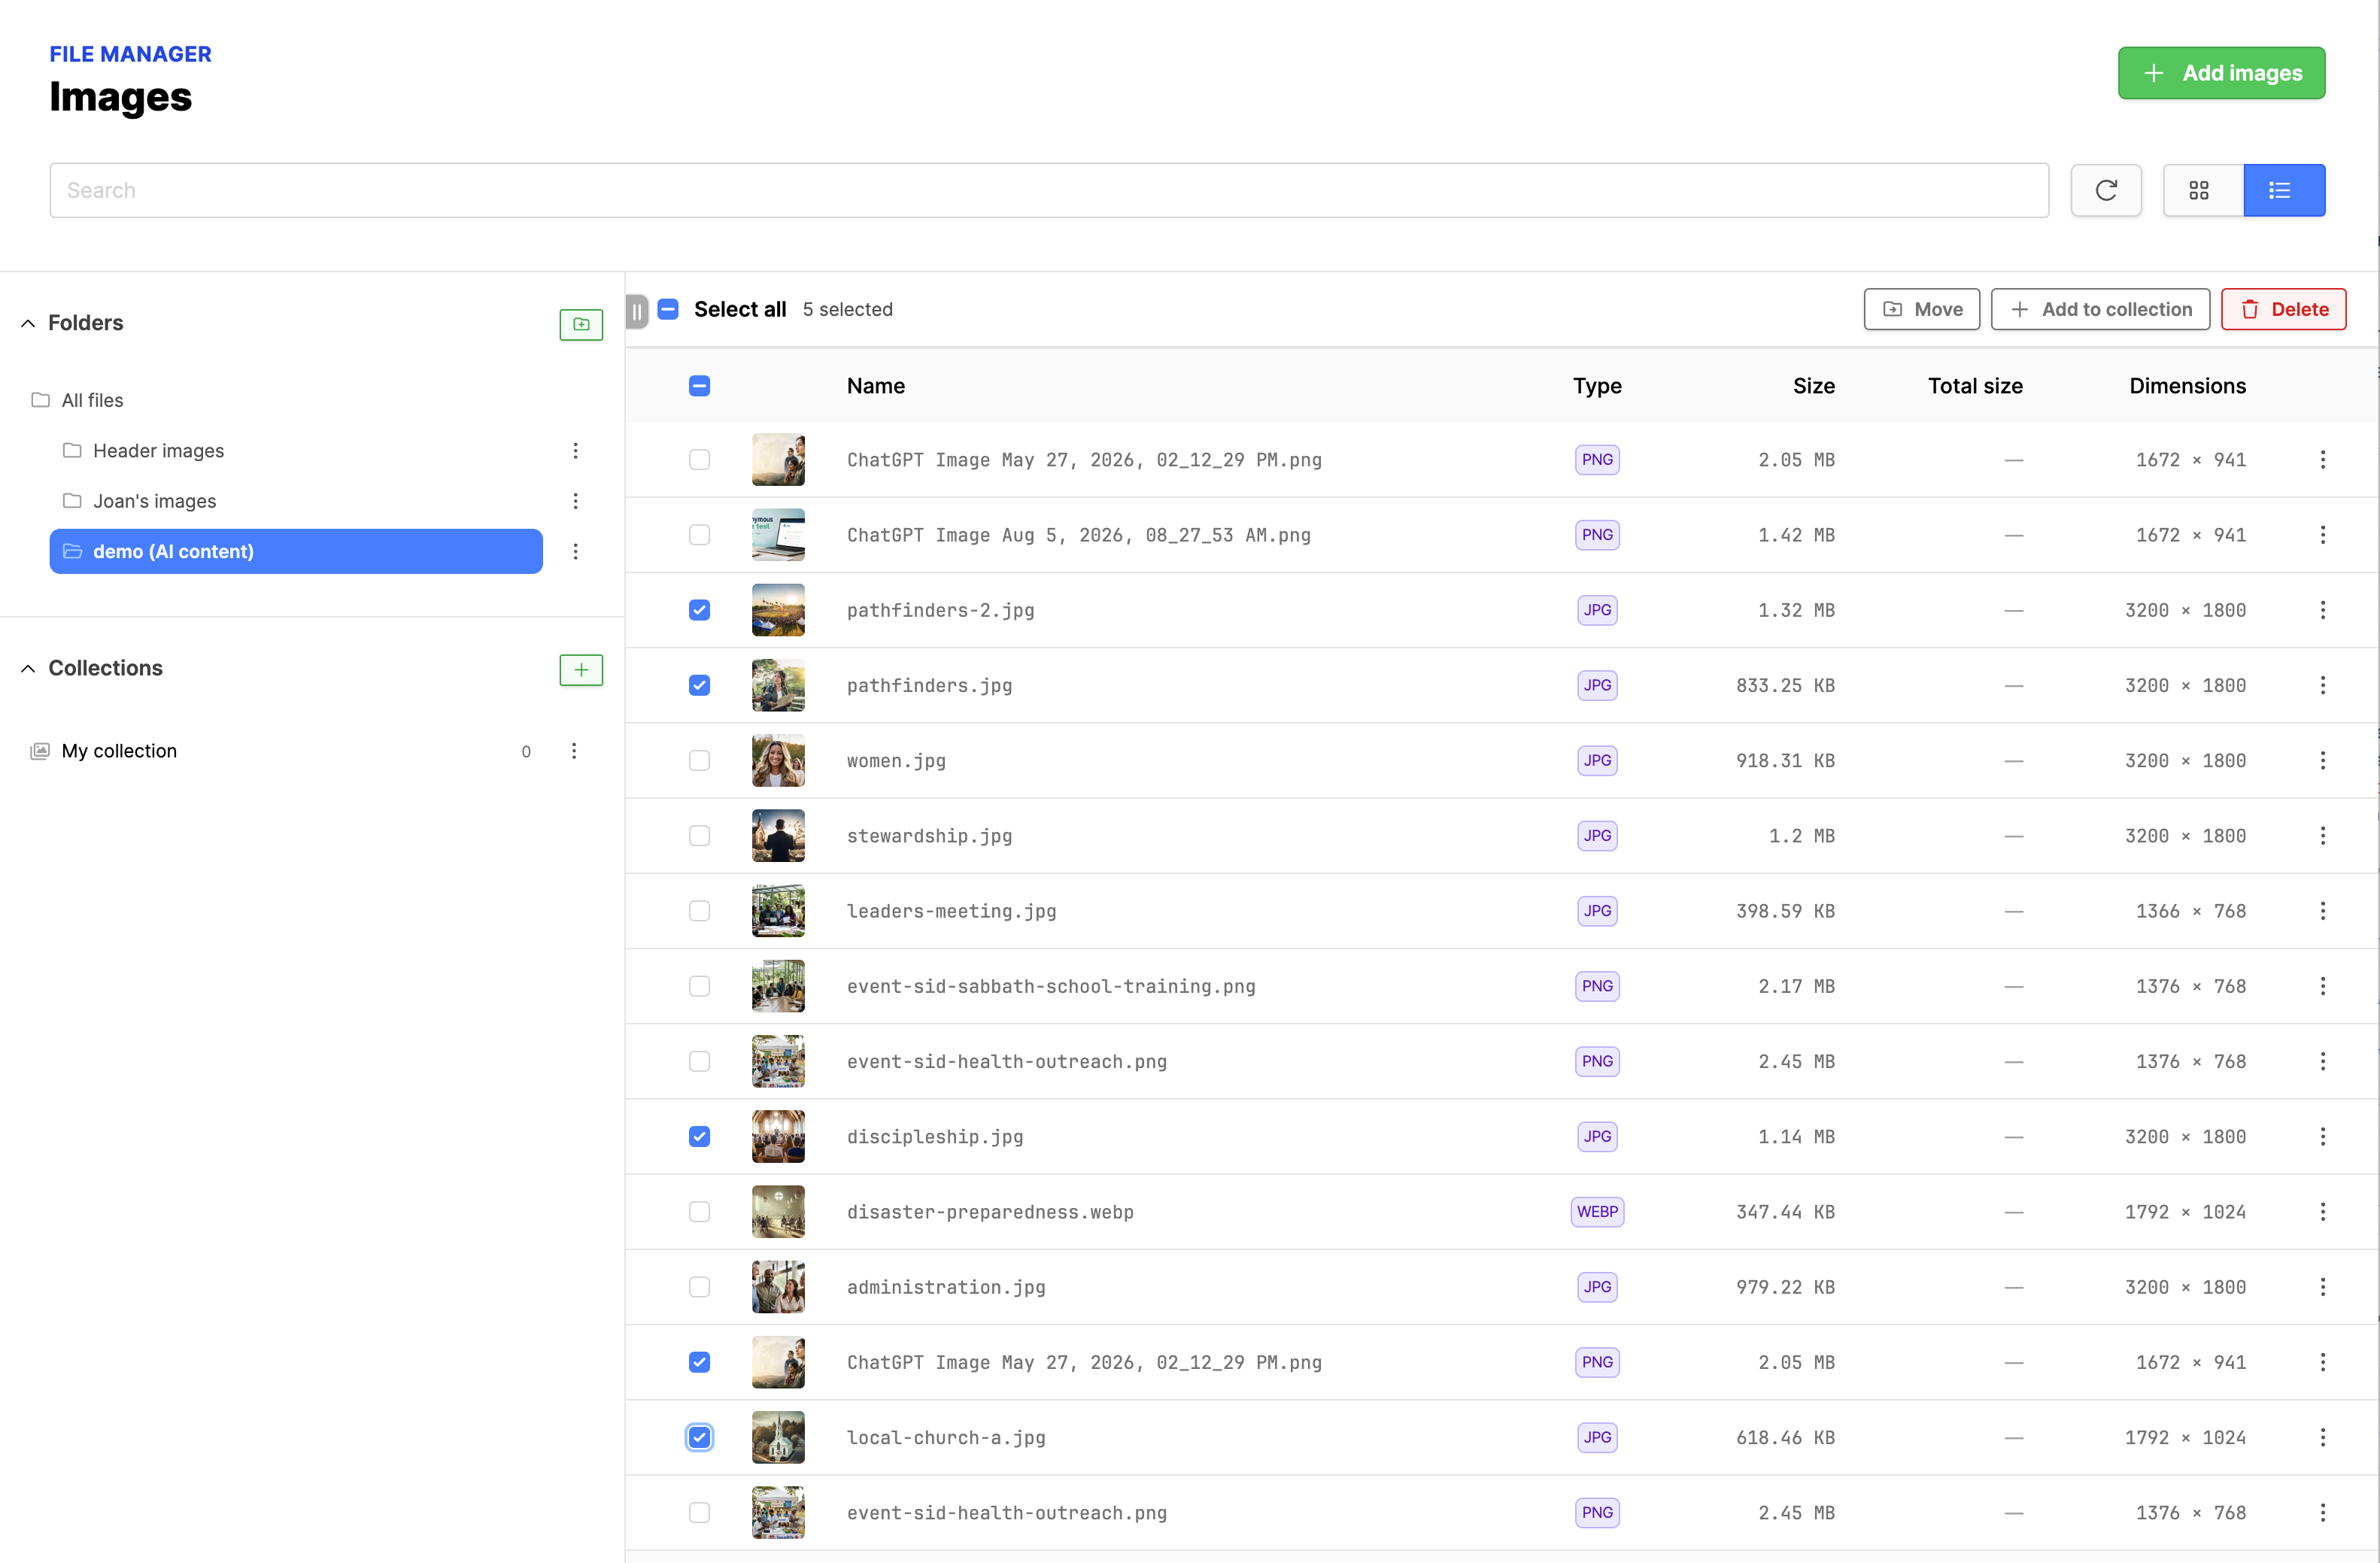
- Select the files to add to the collection, by setting a checkmark in the box in front of the file name.
- Click on the button Add to collection.
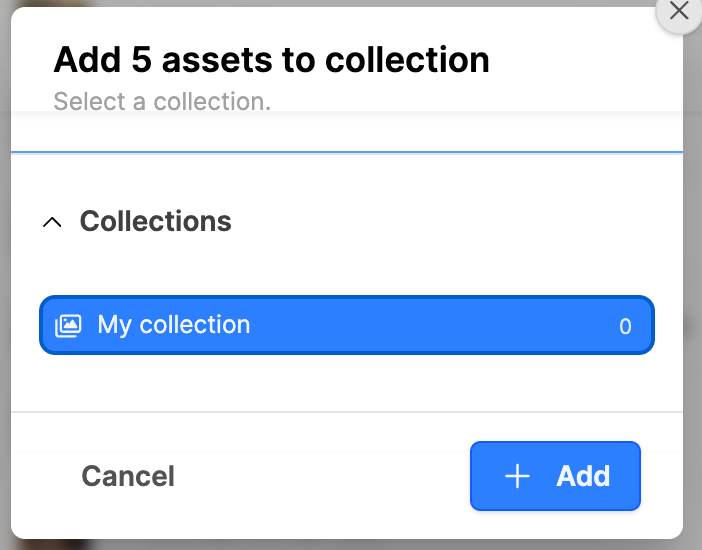
- When the modal appears, click on the collection the files should be added to.
- Click on the +Add button.
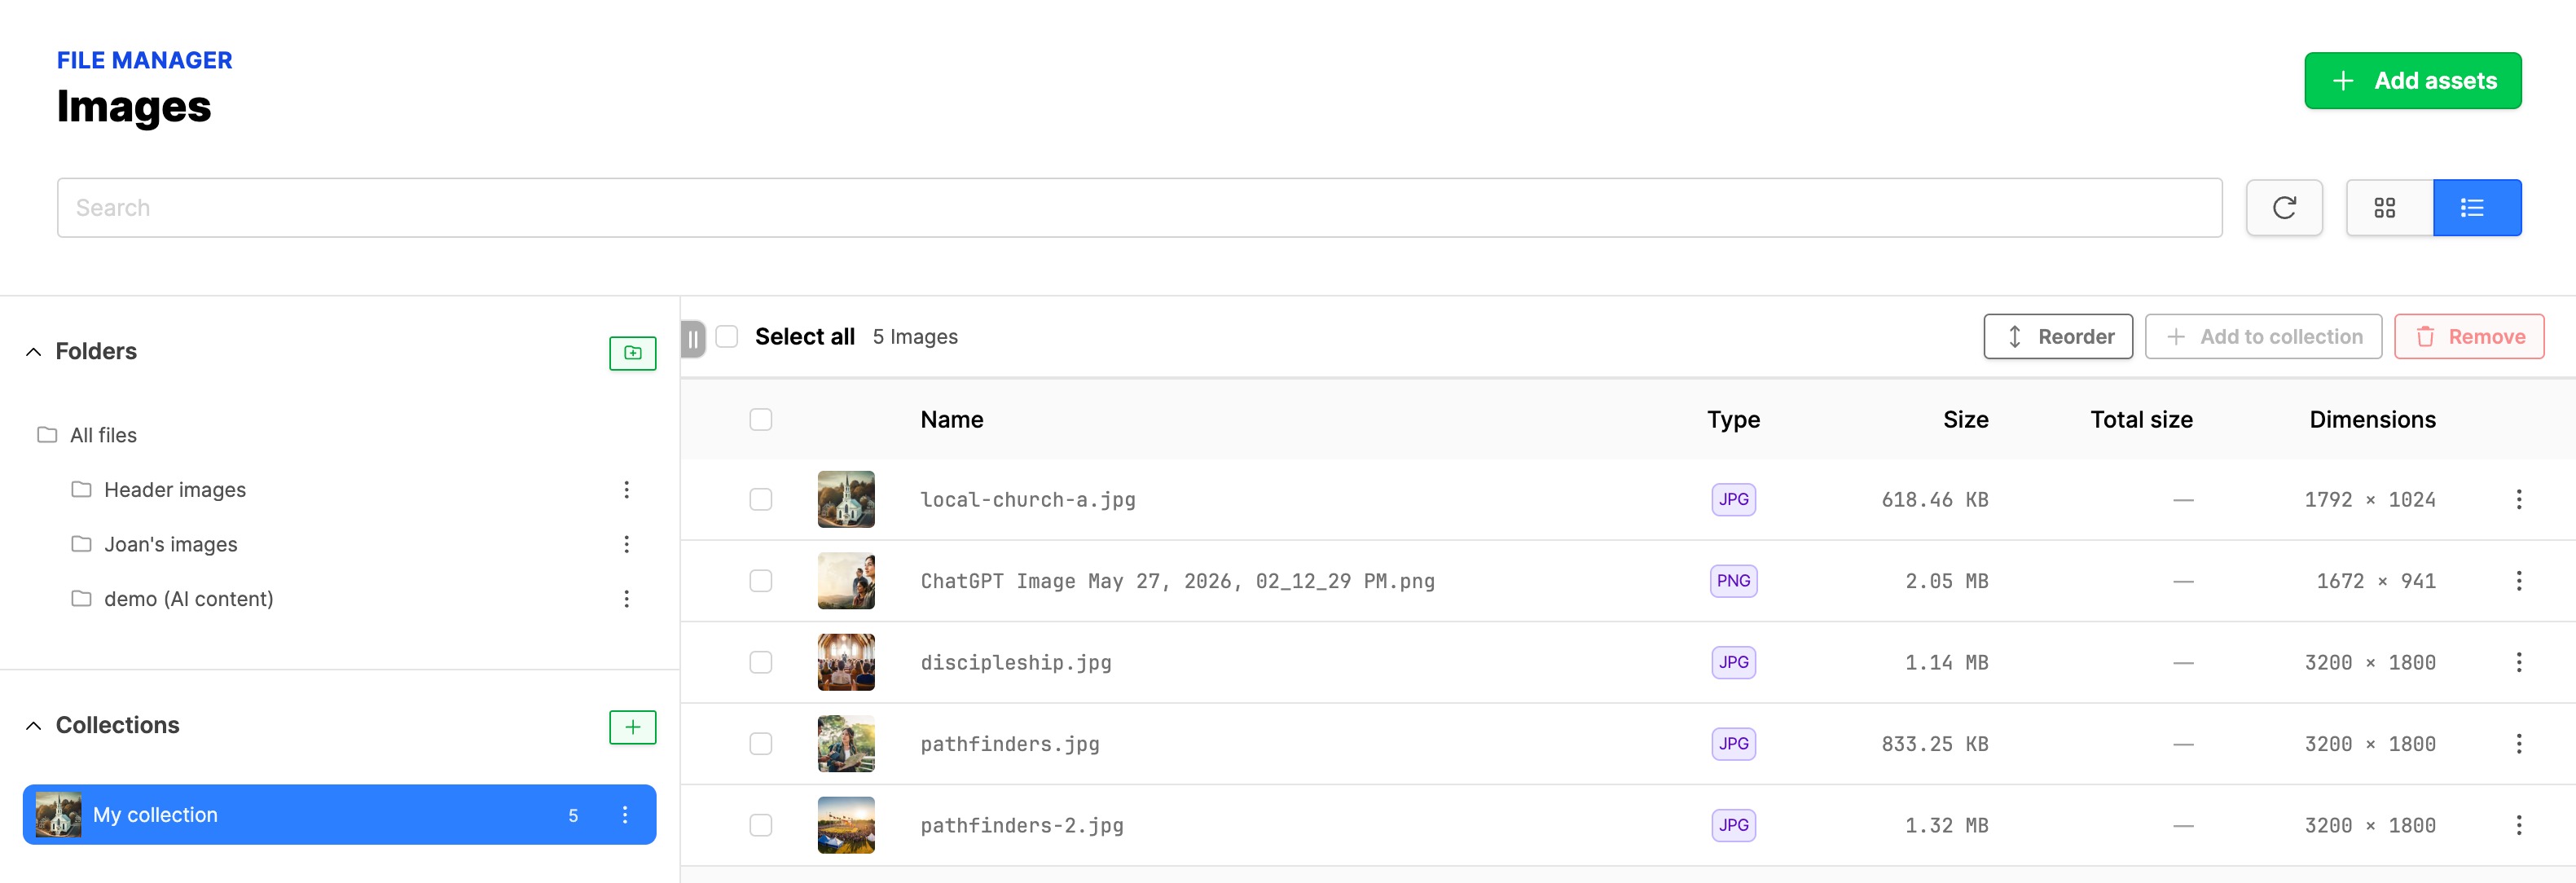
- The collection will have a thumbnail image from the files selected.
- There is a count of assets in the collection.
- Click on the collection to display the files in the collection.
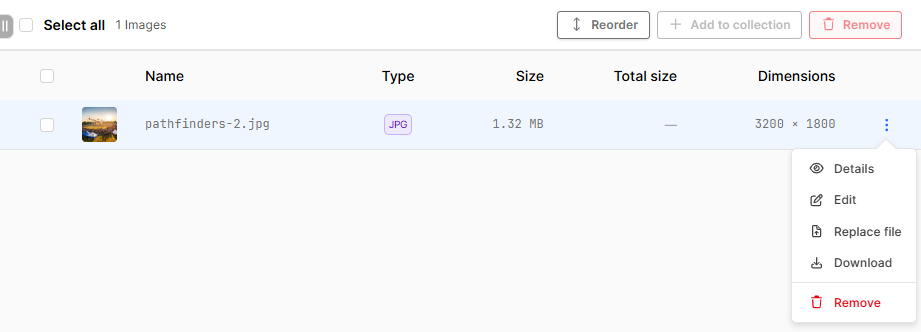
- Click on the three vertical dots to the right of the file, to access the action menu.
- Click on Details to get information on the file, click Remove to remove the file from the collection.
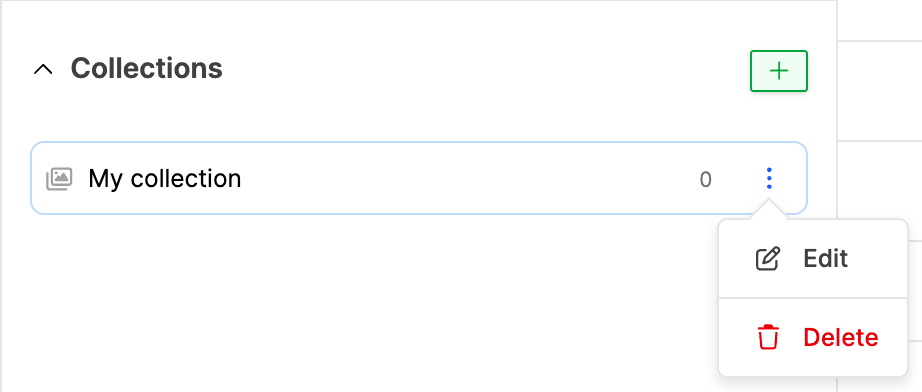
- If the collection should be deleted or edited, click on the three dots to the right of the collection name.
- Click on Delete to delete the collection.
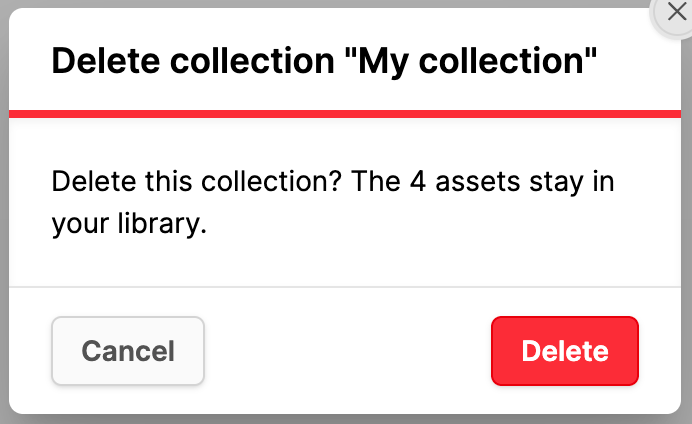
- A modal will appear. Click on Delete to remove the collection.
- The files will remain in their folders.